

Do you have an old sweater or scarf that’s been sitting in your closet for years but never gets worn? Have you recently unearthed a half-finished project from the depths of your yarn stash, hoping to get it finally finished and added to your wardrobe? If so, then learning how to frog knitting may be just what you need.

Frog knitting is a craft with many uses – whether you are trying to dress up an old item of clothing or create something entirely new, this technique can help you do just that. It’s a unique way of adding texture and vibrancy to your decor, clothing, or even accessories.
In this post, we will cover the basics of how to frog knit in order to give any project some extra life. You’ll learn different stitches and textures so that you can produce beautiful pieces for yourself or as gifts!
What Will You Need?
Before you begin, make sure you have the following items:
- Knitting needles (the size of the needle depends on how thick or thin your yarn is)
- Yarn (choose a color and type that will look great with your project)
- Scissors
- A tapestry needle for weaving in ends
- A crochet hook (optional)
Once you have all the necessary supplies, it’s time to get started!
10 Easy Steps on How to Frog Knitting
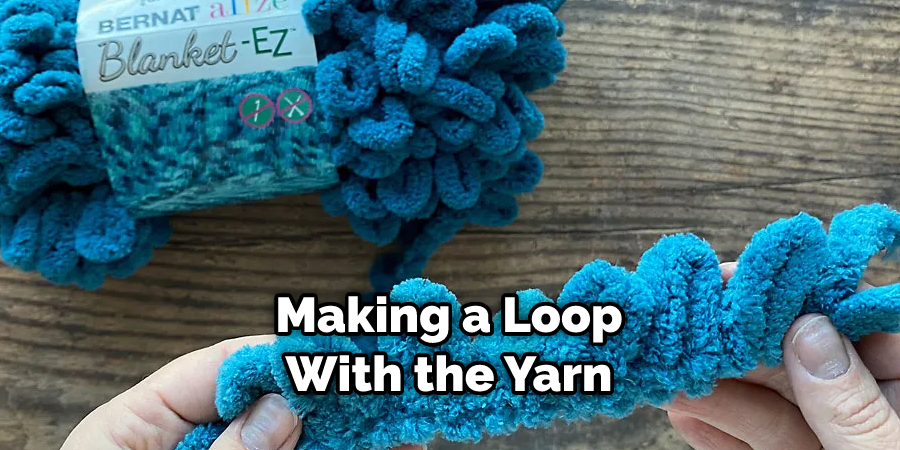
1. Make a Loop:
Begin by making a loop with the yarn, tying it around one of your knitting needles. You can leave a tail of yarn to make weaving it in easier at the end. It will also help you keep track of how many stitches you have made.
2. Make a Slip Knot:
Next, make a slip knot by looping the yarn around the needle. Pull tight to secure it in place. Be careful not to pull too tight, or it won’t be able to move when you frog later.
3. Start Knitting:
Start knitting by pushing the right needle through the first two stitches on the left needle, wrapping the yarn around it, and pulling it back through both loops again. Continue until you have knitted all of your stitches.
4. Unravel Your Work:
When you are ready to frog your work, start unraveling by taking out one stitch at a time from the right needle and putting it onto the left needle. Make sure that each stitch is firmly in place before going on to the next one. This will ensure that none get lost during frogging!
5. Cut Yarn Tails:
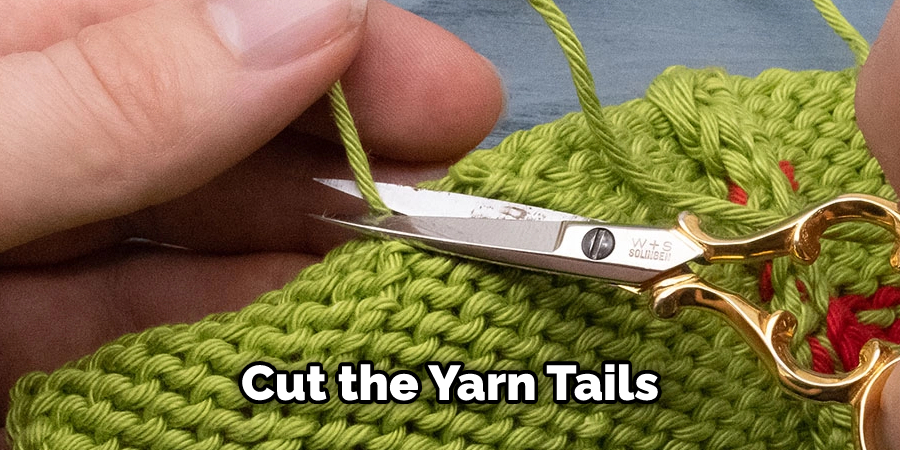
Once all of your stitches are back on the left needle, cut the yarn tails and remove them from the project. This will make it easier to start again with new yarn if you want to change colors or add a new texture. If you plan to use the same yarn, leave the tails in place.
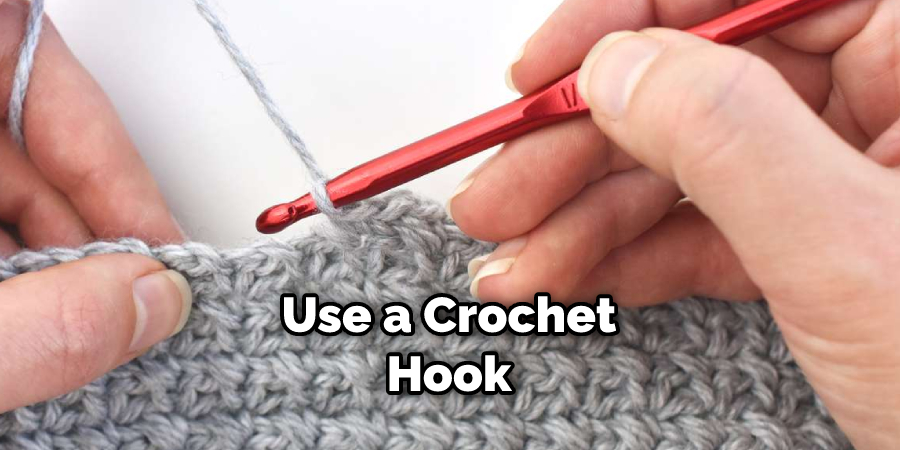
6. Re-insert Needle:
Re-insert the right needle into each stitch that was just taken out from the left needle and knit across again. You can do this row by row until you have reached the desired length for your project. Additionally, you can use a crochet hook to pick up the knit stitches if you’re having trouble with the needles.
7. Add New Yarn:
If you would like to add a different color or texture, take out one stitch at a time from the right needle and put onto the left needle before cutting off any excess yarn tails. Don’t forget to add your new yarn before starting the next stitch. It is important to ensure that the yarn is wrapped around each stitch, creating an even texture throughout your project.
8. Weave in Ends:
Once you have finished your project, weave in the ends to secure them. Be sure to use a tapestry needle and weave through the edges of the knitting so that they don’t show when wearing your piece! This will also help keep your stitches in place and neat.

9. Block Your Piece:
Blocking is an important step for how to frog knit and is often overlooked. Blocking helps to even out any uneven edges or slumps that may have occurred during frogging. To do this, wet or steam press the piece on a flat surface before leaving it to dry completely. This will give your final product a professional finish!
10. Enjoy!:
Once you’ve finished blocking, it’s time to enjoy your project! Frog knitting is a great way to create unique garments and accessories. The possibilities are endless, whether you are making something for yourself or giving it as a gift!
Frog knitting can seem intimidating at first, but with practice, you will be an expert in no time. With these easy steps on how to frog knit, you will be able to make beautiful knitted items that everyone will admire! Good luck and happy crafting!
5 Additional Tips and Tricks
- When frogging a project, make sure to frog in the opposite direction of how you originally knitted. This will help ensure that your stitches stay in order and aren’t disrupted as you frog them.
- When removing dropped stitches while frogging, always uses a crochet hook or needle instead of your fingers to ensure it is done safely.
- It’s important to keep track of how many rows back you need to frog when unraveling so you don’t unravel too much or not enough of the knitting project.
- To prevent tangled threads, use stitch markers between each row that needs to be ripped out when frogging multiple rows at once.
- Finally, if you’re having trouble frogging, don’t be afraid to enlist outside help. Ask a friend or family member if they’ve had experience frogging knitting projects and how they did it.
With the right know-how, you can frog your project safely and quickly! The best way to learn from knitting is with practice, so get out there and start ripping away!
5 Things You Should Avoid
- Avoid frogging too much at once, as this can make it difficult to keep track of how many rows you’ve undone.
- Avoid using your fingers when removing dropped stitches, as this can be dangerous and cause injury.
- Avoid tugging or pulling on the yarn when frogging, as this can cause the stitches to become distorted and tangled.
- Avoid working with more than one strand of yarn during frog knitting, as it can become confusing and difficult to manage all the different threads.
- Finally, avoid skipping any steps when frog knitting, such as blocking or weaving in ends, as these are important components of a successful project!
You can successfully frog-knit and do beautiful projects with the right knowledge and care!
How Do You Frog on Circular Needles?
Frogging on circular needles is very similar to how you frog with straight needles. The process begins by removing the needle from the loop and then reinserting it from left to right into each stitch that needs to be undone. Once all stitches have been removed, start frogging back in the opposite direction until you reach the desired amount of rows.
This method is best used when undoing several rows at once, as stitch markers can help track how many rows have been unraveled.
As always, use a crochet hook or needle when removing dropped stitches for safety. With a little practice and patience, you’ll become an expert at frog knitting with circular needles!
What is the Frog Trend About?
The frog trend is a recent knitting phenomenon that has been gaining popularity among makers of all levels. This trend involves using the frogging technique to create unique garments and accessories, such as sweaters, hats, and scarves.
Frog knitting is different than traditional knitting because it allows you to make pieces without having to start from the beginning each time. It allows for more creativity and experimentation with colors and textures, making it perfect for those who want to explore how their work looks after every row.
Whether you are an experienced knitter or starting out, the frog trend is worth exploring! With some practice and patience, you, too, can become an expert at how to frog knit! Be sure to check out online tutorials and how-tos to get started. Happy crafting!
Conclusion
Congratulations – you’ve finished your first foray into frog knitting! Frog knitting is an enjoyable hobby for people of all ages and skill levels. While it can be intimidating at first, the techniques used in frog knitting are easy to learn with some patience and practice.
Whether you plan to create a sweater, scarf, or another beautiful knitted item, learning how to frog knit will open up endless possibilities. Remember that every mistake is an opportunity to learn, so don’t be afraid of making them along the way.
Hopefully, the article on how to frog knitting has given you the confidence to get started. Thank you for taking the time to read this article and learn how to do it! With practice and patience, you can create beautiful knitted items that are truly unique. Happy knitting!