

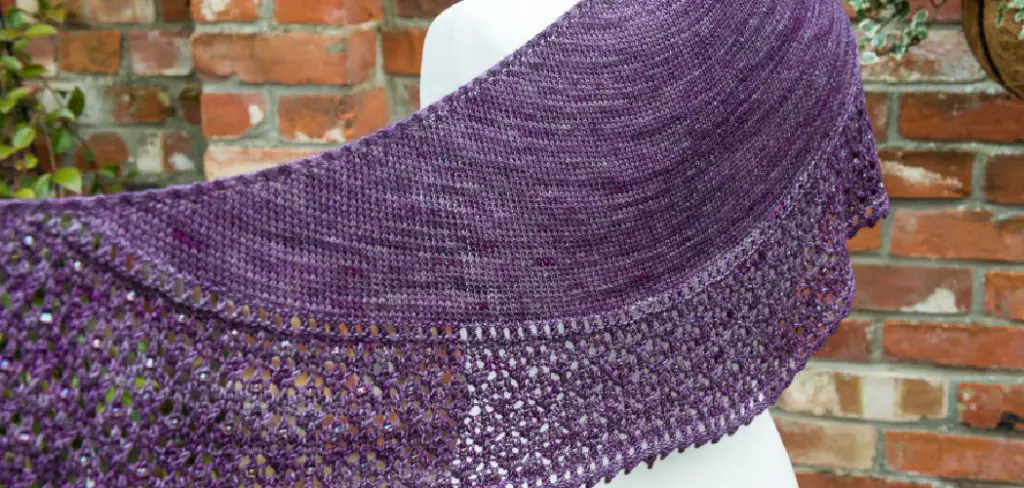
Are you a fan of knitting? Scarf knitting is one of the most popular and enjoyable ways to make something special with your hands. It’s not only great for creating gorgeous pieces, but it can also be quite therapeutic! If you’re looking to take your scarf-knitting skills up a notch, learn how to block a scarf knitting. Blocking is an easy process that helps give definition and shape to knitted scarves, whereas unblocked scarves look droopy or lifeless in comparison.
Learn all about the process, from measuring and pinning to steaming and blocking so that you can get perfect results every time!
Why Do You Block a Knitted Scarf?
Blocking a knitted scarf is an essential step in the knitting process. Blocking helps your scarf to look neat and professional, as well as helps to make all the stitches even in size and tension. This, in turn, will help your finished project maintain its shape over time. Without blocking, your scarf may become misshapen or look uneven.
Additionally, blocking can bring out the texture of lace or other intricate stitch patterns, which are often lost when not blocked properly. Overall, blocking helps create beautiful knits with maximum impact!
Now that you know why it’s important to block a knitted scarf, let’s discuss how to do it!
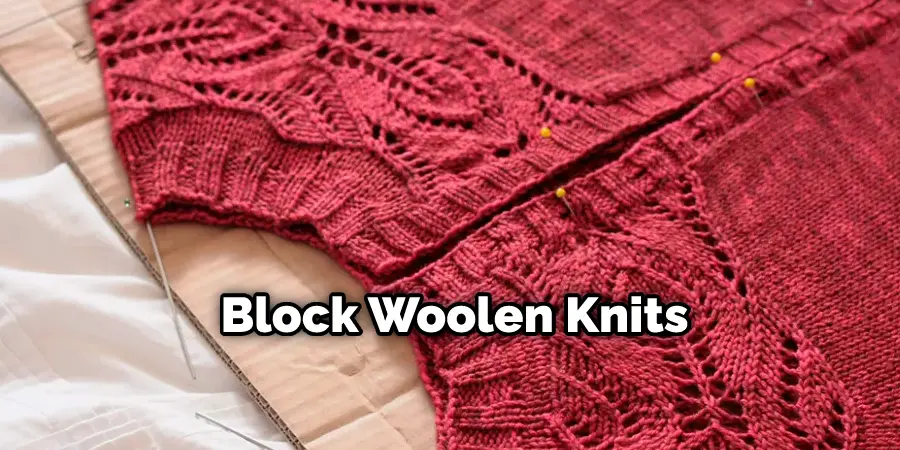
There are several different methods for blocking a knitted scarf, depending on the fiber content of your yarn. Wool is a very common yarn used for knitting scarves, and there are a few different methods you can use to block woolen knits.
The most traditional method of blocking scarves knit with wool requires wetting the entire scarf and stretching it over an ironing board or other flat surface. To do this, start by filling a basin with lukewarm water and adding a small amount of wash-safe detergent.
Then submerge your finished knit in the soapy water and let it soak for 15 minutes before gently pressing out any excess moisture. Once it’s damp, lay the scarf out on an ironing board or other flat surface (like a kitchen table) and use rustproof pins to gently stretch the scarf into its desired shape. Finally, let the scarf air dry completely before unpinning it.
Another way to block a woolen knit is by using steam. To do this, start by laying the finished piece out on an ironing board or other flat surface and lightly mist it with water from a spray bottle.
Then use your iron (set on low) to steam the entire surface of the scarf for about 15-20 seconds at a time, being careful not to touch the fabric directly with the hot plate. Once you’ve steamed both sides of your knit, rearrange as needed and allow ample time for drying.
7 Methods How to Block a Scarf Knitting
1. The Long Tail Cast On
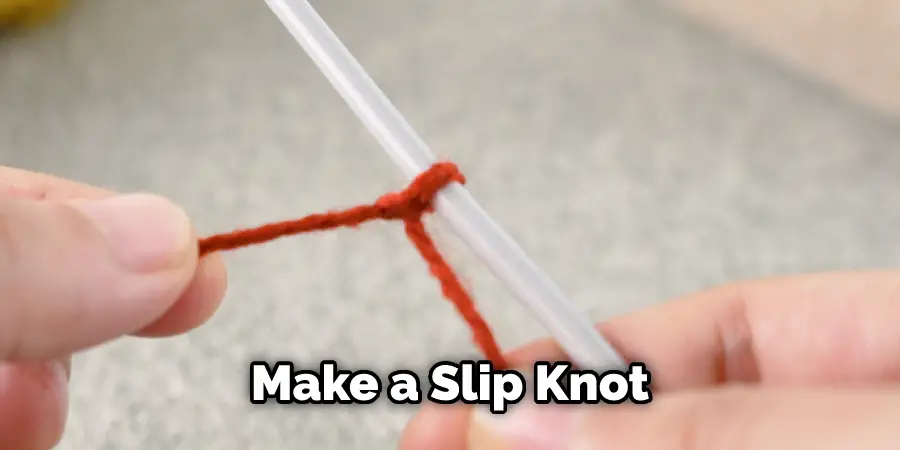
This method is often used for toe-up sock knitting and creates a nice, stretchy edge that is easy to knit into. To do this, cast on, make a slip knot, and place it on your needle. Then, using your thumb and index finger, make a loop around the needle.
Insert your needle through the loop and pull it tight. Repeat this process until you have the desired number of stitches. If you need to, use a pencil or other tool to help you keep the loops in place. Once you have the desired number of stitches, you can begin knitting.
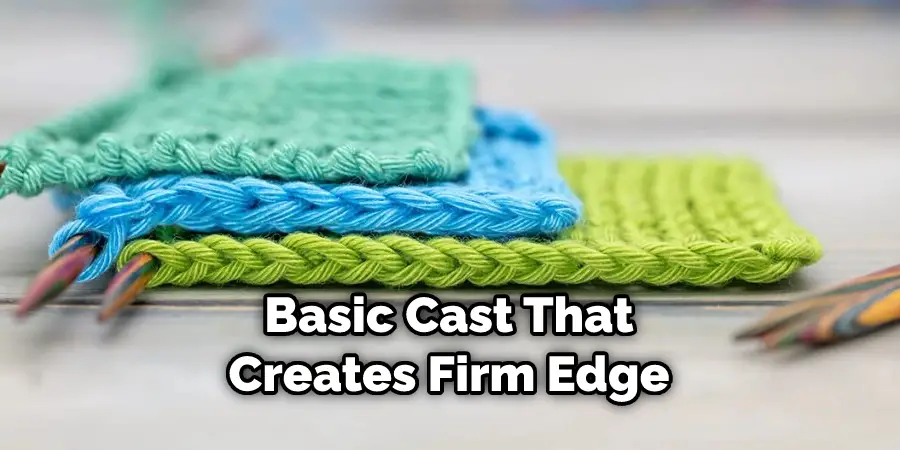
2. The Knitted Cast On
This is a basic cast that creates a firm edge. To do this, make a slip knot and place it on your needle. Then, insert the needle into the stitch below the slip knot on the left-hand needle. Wrap the yarn around the needle and pull it through to create a new stitch.
Place this new stitch on the right-hand needle. Repeat this process until you have the desired number of stitches. When binding off, be sure to knit the first stitch before slipping it off of the left-hand needle. Try to keep your tension even while knitting. Additionally, avoid pulling too tightly on the yarn, or the edge of your scarf can become too tight.
3. The Cable Cast On
This method creates a firm edge with a bit of give, making it ideal for projects like cabled sweaters. To do this, cast on, make a slip knot, and place it on your needle. Then, hold the needle in your right hand and use your left hand to wrap the yarn around the needle from back to front twice.
Next, use your right hand to insert the needle into the first stitch on the left-hand needle and knit it as normal. You will now have two stitches on your right-hand needle. Repeat this process until you have the desired number of stitches. This will create a sturdy edge that’s perfect for cable projects. If you want a softer edge, make sure to keep your first two loops loose.
4. The Thumb Cast On
This method is also known as the “e-wrap” cast on and creates an elastic edge that is perfect for projects like hats and socks. To do this, cast on, make a slip knot, and place it on your needle.
Then, hold the needle in your right hand and use your left thumb to wrap the yarn around the needle from front to back once. Next, use your right hand to insert the needle into the first stitch on the left-hand needle and knit it as normal.
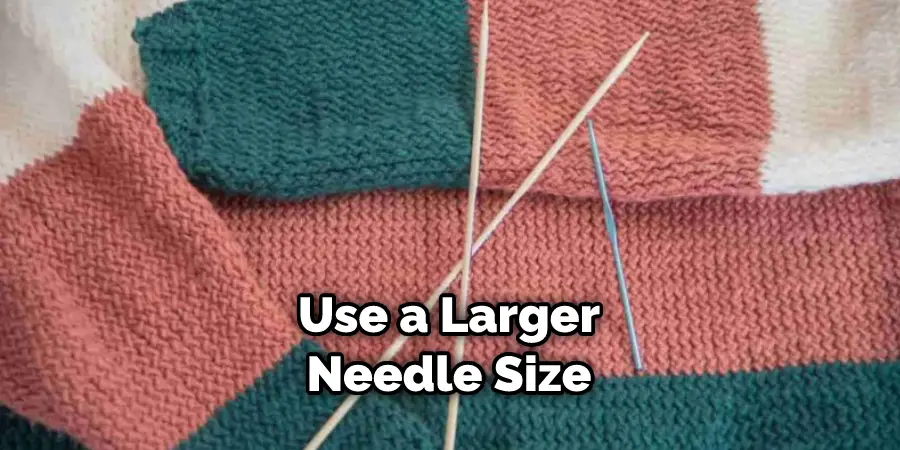
You will now have two stitches on your right-hand needle. Repeat this process until you have the desired number of stitches. Once you’ve finished casting, you can begin working on your pattern. However, remember to use a larger needle size than you would normally use with this technique to ensure the edges aren’t too tight.
5. The Backward Loop Cast On
This is one of the easiest methods for casting on and creates an edge that is slightly loose and stretchy. To do this cast-on, make a loop with the yarn around your thumb (or any other finger) so that there is one “leg” of yarn coming off of each side of your thumb (or finger).
Insert your needle under both legs of yarn and then over the top of them so that it catches both loops of yarn. Now pull both loops of yarn through onto your needle to create one stitch; don’t pull too tight, or else you will make it difficult to knit into this stitch later on!
Repeat this process until you have cast on the desired number of stitches. This method is ideal for scarves as it creates a dynamic edge that doesn’t need to be sewn in when you’re finished.
6. The Crochet Cast On
This is a great cast-on method if you don’t have much practice using knitting needles and want to create a firm edge. To do this, cast on, make a slip knot, and place it on your crochet hook. Then, insert the crochet hook into the stitch below the slip knot on the left-hand needle.
Wrap the yarn around the crochet hook from back to front once and pull it through to create a new stitch. Place this new stitch onto your right-hand needle and repeat until you have cast on the desired number of stitches.
7. The Long Tail Tubular Cast On
This method creates an elastic edge that is perfect for projects like hats and scarves. To do this, cast on, make a slip knot, and place it on your needle. Then, measure out approximately 2 inches of yarn for every stitch you need to cast on, plus an extra 6-10 inches (15-25 cm).
Wrap the yarn around your left thumb and index finger to create a loop with two “legs” of yarn coming off of each side. Insert your needle under both legs of the loop and then over the top of them so that it catches both loops of yarn.
Pull the loop through onto your right-hand needle to create one stitch; don’t pull too tight or else you will make it difficult to knit into this stitch later on. Do this for the desired number of stitches. This cast-on is relatively tight and will draw up a bit as you knit, so it’s important to leave those extra 6-10 inches of yarn at the beginning.
Once you have finished casting on all your stitches, gently tug that extra piece of yarn at each end to even out the stitches on your needle. To finish this cast on, simply begin knitting in the first row. There you have it – a perfect elastic edge for your scarf!
Conclusion
Now that you understand how to block a scarf knitting, get out there and practice! Blocking is an important part of the knitting process and can make all the difference in the appearance of your finished product. By taking the time to learn this technique, you’ll be sure to produce professional-looking results that will impress your friends and family. So what are you waiting for? Get started today!