
Do you need to know what size your knitting project is? Are you tired of wasting time and energy trying to figure it out without any reliable way to measure it? You’ve come to the right place! In this blog post, we’ll teach you how to measure knitting, no matter its size or shape.

This cheat sheet will save you time, stress, and money – showing you techniques that are quick and easy for knitters of all skill levels. Ready for an expert lesson on measuring your knits like a pro? Let’s get started!
Why is Measuring Important?
Measuring is an important part of knitting because it ensures that the finished product will be the size you want. It also allows you to track your progress and determine how much yarn or supplies you’ll need for each project.
To measure a knitting project accurately, you’ll need at least two tools: a tape measure or ruler and a needle gauge. A tape measure is used to measure the length and width of your project, while a needle gauge will help you determine which size needles were used to make it – this is important for determining the gauge of your project.
Needed Tools
When measuring knitting, you will need the following tools:
- Tape measure or ruler
- Needle gauge
- Pencil and paper (optional)
10 Instructions How to Measure Knitting
1. Lay Out
Lay out your knitting project on a flat surface. A flat surface is key because it will ensure that your project is not distorted and you can get an accurate measurement. The measurement doesn’t have to be exact, but it should be close.
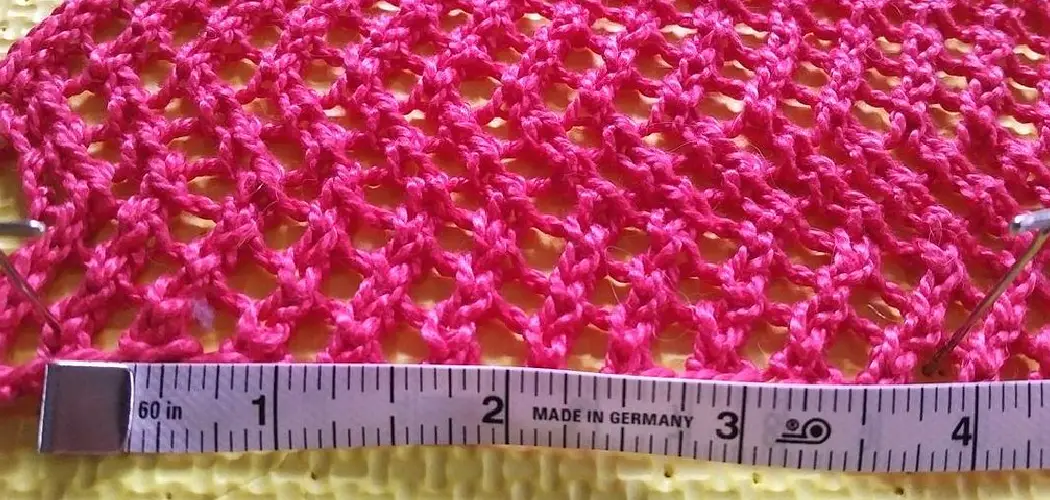
2. Measure Length and Width
Use the tape measure or ruler to measure the length and width of your knitting project. Make sure to note down this measurement so you can refer back to it later. Use the pencil and paper to write down your measurements if needed.
3. Check Stitches Per Inch
Using the needle gauge, determine the number of stitches that are worked in each inch. This is known as the stitch gauge or “stitch per inch” (SPI). The SPI will tell you how many stitches you should be working in order to achieve a certain size.
5. Check Rows Per Inch
Using the needle gauge, determine the number of rows that are worked in each inch. This is known as the row gauge or “row per inch” (RPI). The RPI will tell you how many rows you should be working in order to achieve a certain size.
6. Measure Side Edges
Using the tape measure or ruler, measure the side edges of your knitting project to determine how wide it is from edge to edge. This measurement will help you determine if your knitted piece is the correct size for what you’re making.
7. Check How Many Stitches Are in Each Row
Count the number of stitches that are in each row. This will help you determine if your knitted piece is the correct size for what you’re making. Counting the number of stitches in each row will allow you to compare your stitch gauge to your pattern to make sure that you’re knitting the correct size for your project.
8. Measure How Many Stitches are in Each Inch
Count how many stitches are in each inch. This measurement is known as the stitch gauge or “stitch per inch” (SPI). The measurement will tell you how many stitches you will need to work in order to achieve a certain size.
9. Measure Rows in Each Inch
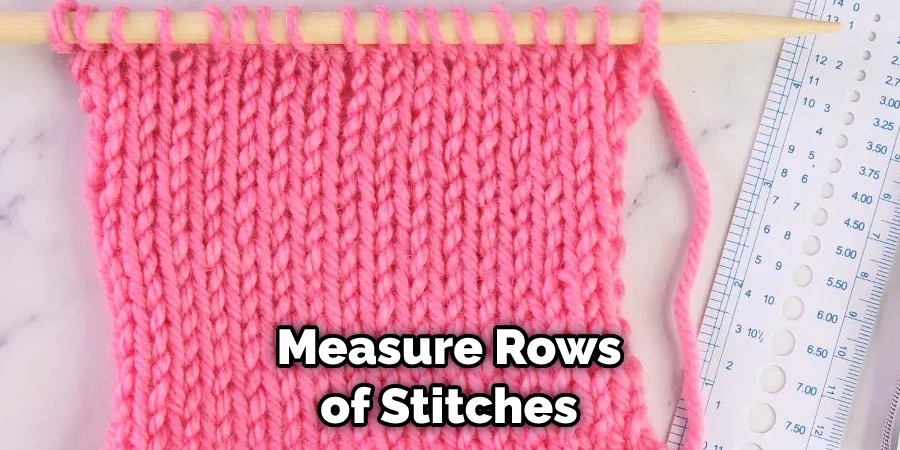
Count how many rows are in each inch. This measurement is known as the row gauge or “row per inch” (RPI). The measurement will tell you how many rows you will need to work in order to achieve a certain size.
10. Measure Rows or Stitches
Once you have taken all of the measurements, you can use them to determine how many stitches or rows are needed for your pattern. This will help ensure that your knitting project is the correct size for what you’re making.
Measuring your knitting project accurately is essential for achieving the desired results and ensuring that your finished product turns out as expected. By using a tape measure, needle gauge, pencil, and paper, you can easily measure your knitting project and make sure that it is the correct size for what you’re making. With these simple tools and instructions, you can now measure your knitting project with confidence!
8 Common Mistakes to Avoid
- Not measuring gauge or tension. Gauge and tension are integral components of knitting projects, as they determine the size and shape of a garment or item. Be sure to check the pattern for gauge before beginning a project – use swatches to make adjustments if necessary.
- Not following the pattern exactly. It is important to follow the pattern as closely as possible to ensure that the item turns out correctly. If modifications are made, be sure to take detailed notes so that any adjustments can be replicated in future projects.
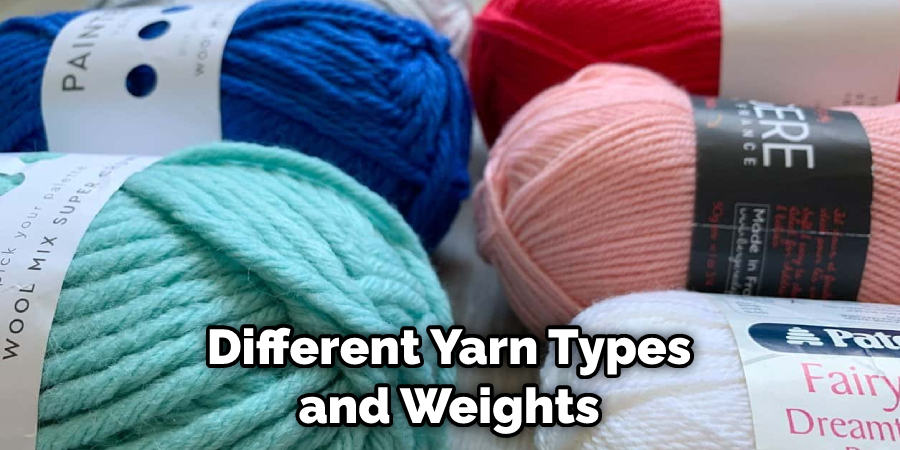
- Not accounting for different yarn types and weights. Different types of yarn will affect the size and shape of a finished project. Be sure to use the recommended type of yarn to avoid unexpected results.
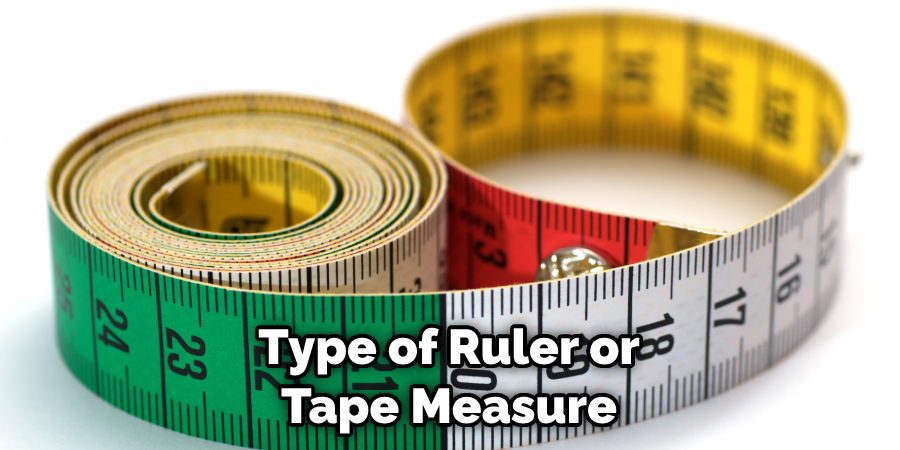
- Not measuring correctly. When taking measurements, be sure to use the right type of ruler or tape measure – a standard ruler may not provide enough accuracy for certain projects. Also, make sure that you are using the correct length (inches versus centimeters).
- Not leaving enough room for growth or shrinkage. Many garments, especially those made from natural fibers, will shrink or stretch over time. Be sure to leave enough room in the finished item for this adjustment.
- Not checking gauge often enough. Checking the gauge of a project often is important – it can help to ensure that the finished piece looks and fits as expected. It will also help to prevent mistakes from being made further down the line.
- Not accounting for personal preference. Different people have different preferences when it comes to fit and shape – be sure to take the time to adjust tension and measurements according to each individual’s preference.
- Not stopping if a mistake is made. If an error is noticed, stop immediately and fix the problem before continuing with the project. This can save time and effort in the long run. Keep in mind that mistakes can often be salvaged, so don’t give up too quickly.
- Following these tips on how to measure knitting will help ensure that projects turn out correctly and look their best. Taking the time to measure accurately, follow patterns closely, and adjust for personal preference is essential for achieving successful results.
Frequently Asked Questions
What is Actual Measurement?
Actual measurement is the size of a project after it has been completed. This measurement should be taken with a tape measure to ensure accuracy. The measurement should be taken while the project is flat, with no stretching. The actual measurement can then be compared to the pattern’s stated size to ensure a proper fit.
How Do I Take Measurements for a Pattern?
When taking measurements for a pattern, make sure to use the recommended type of ruler or tape measure – standard rulers may not provide enough accuracy for certain projects. Also, be sure to use the correct length (inches versus centimeters). It is important to follow the pattern as closely as possible to ensure that the item turns out correctly. If modifications are made, take detailed notes so that any adjustments can be replicated in future projects.
How do I Measure Tension?
Tension can be measured by counting the number of stitches and rows in a 10 cm (4 in) square sample piece using the recommended needle size and the yarn recommended. To make sure that it is accurate, measure several samples of different sizes to ensure consistency. Make any necessary adjustments and take detailed notes so that future projects will turn out correctly.
With these tips on how to measure knitting, you can start your next project with confidence! By taking the time to accurately measure
Conclusion
Overall, measuring knitting can be tricky and time-consuming, but the process doesn’t have to be overwhelming or confusing. With the right tools and some practice, you can confidently measure your project and determine whether or not it’s up to standard. Having these measurements on how to measure knitting can help you figure out how to adjust the pattern, if necessary, without making a mess of your work. The best advice is to always measure twice, just to be sure that everything is perfect.
No matter how confident we are in our skill level, mistakes still happen! Furthermore, understanding how measurements work for different types of projects is always beneficial, and being able to do them yourself instead of relying on someone else can give you an extra confidence boost when starting a new creation because you know right away it’s going to turn out well. So gather your supplies and get measurements.