
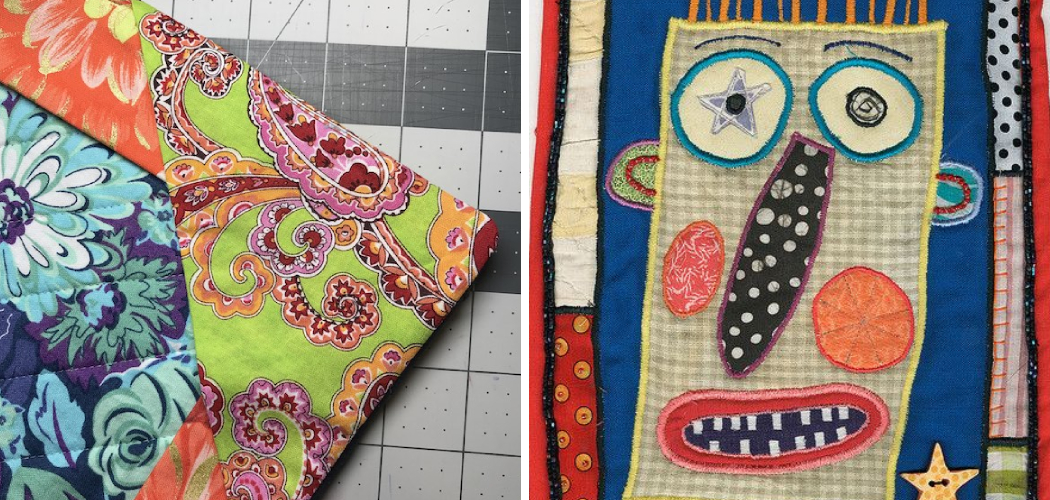
Are you looking to face a quilt? It’s easier than you might think. With these simple steps, you can add a layer of protection and decoration to your quilt.
Quilting is a craft that has been around for centuries and provides people with an enjoyable way to combine creativity, practicality, and personal expression. If you’re looking to get started in quilting but feel overwhelmed by all the necessary steps, you’ve come to the right place!

In this blog post, we’ll provide step-by-step instructions for how to face a quilt. With just a few basic tools and supplies, it’s easy to make one of these timeless masterpieces of your own! So read on to learn how it’s done – then grab your fabric scraps, and let’s get stitching!
What are the Benefits of Facing a Quilt?
When it comes to quilting, facing is an important step. Not only does it add an extra layer of warmth and protection to your quilt, but it also gives your finished product a beautiful, professional-looking finish. Additionally, since the facing fabric typically “frames” the design of your quilt top, it can be used to highlight special features, like appliqué or intricate quilting stitches.
Another great benefit is that facing a quilt helps reduce bulkiness around the edges and makes it much easier to bind the quilt afterward. All of these advantages make facing a quilt worth the effort!
So now that you know why facing a quilt is important, let’s move on to the instructions!
What Will You Need?
Before you begin to face a quilt, there are a few items that you’ll need. First, gather your quilt top, backing fabric, and batting (or wadding); if you plan on washing and drying your finished product once it’s complete, pre-wash and dry all these fabrics.
You’ll also want scissors or a rotary cutter for cutting the facing fabric; an ironing board and iron for pressing; pins or basting spray; needles and thread; and any optional decorative trim or ribbon you may want to use. Now let’s get started!
10 Easy Steps on How to Face a Quilt
Step 1. Cut the Facing Fabric:
Cut your facing fabric slightly larger than the quilt top. Add a 1/2″ seam allowance around all four sides and trim away any extra excess fabric. If you plan on using ribbon or trim, this is the time to do it.

Step 2. Pin the Facing Fabric:
Place the facing fabric right side on top of the backing fabric, aligning all four corners. Use pins or basting spray to secure in place. Try to place pins perpendicular to the quilt edge so that they don’t get in the way when you stitch.
Step 3. Sew Around Edges:
Using a 1/4” seam allowance, sew around three sides of the edges, leaving one open so that you can turn it right side out later. Make sure to backstitch at the beginning and end of each seam for added strength. Be careful not to catch any batting or backing fabric in the seam.
Step 4. Keep Seams Straight:
Press it flat with an iron to ensure that your seam allowance is even. This will also help keep the seams straight and prevent them from puckering up later on. Use a seam ripper to remove any fabric that may have been inadvertently caught in the seams.
Step 5. Trim Excess Fabric:
Once you’ve pressed the facing fabric, use a rotary cutter or scissors to trim away any excess fabric around the edges. Leave about 1/4” all the way around for extra seam allowance. Otherwise, the facing fabric may not fit properly.
Step 6. Clip Corners & Notches:
Clip notches into each corner of the quilt and trim off the excess bulk by cutting small triangles in each corner (this will make it easier to turn the right side out). Use scissors or a rotary cutter for this step. Another option is to use pinking shears to give your quilt a nice decorative finish.
Step 7. Turn Right Side Out:
Carefully turn the facing fabric right side out, pushing in the corners to make them as sharp as possible. Ensure that all of the exposed edges are neatly tucked inside. Because of the notches and clips, this can sometimes be tricky.
Step 8. Iron Flat:
Once you’ve turned it right side out, iron down the edges and corners to smooth and flatten them. You can also press any decorative trim or ribbon you may have added. Check to make sure that all of the edges are evenly aligned and that everything looks neat.

Step 9. Topstitch Around Edge:
Topstitch around the edges of the quilt, using a 1/4” seam allowance. Make sure to backstitch at the beginning and end to secure the stitches. Keep your stitches close together and ensure the fabric is flat as you sew.
Step 10. Add Decorative Trim or Ribbon:
Add decorative trim or ribbon along the edges for an extra special touch to your quilt if desired. Once you’ve finished adding trim, simply press with an iron, and your quilt is now ready to be bound! Remember that the binding will cover most of the topstitching, so don’t worry if your stitches are imperfect.
By following these simple steps, you can face a quilt with ease. Whether for your own home or as a gift for loved ones, facing a quilt adds an extra special touch to your creation – and you’ll be glad you took the time to do it right!

5 Additional Tips and Tricks
- Use a rotary cutter and ruler for accurate fabric cutting. It will also help avoid costly mistakes.
- Pin your fabric pieces together before sewing to ensure they are aligned correctly and for a smoother result.
- To give your quilt an extra professional look, press seams open with an iron as you sew each row together instead of pressing them all after the entire quilt is done.
- Use basting spray adhesive on large fabric sections to keep it in place while you sew it, or use small pins when joining other smaller sections.
- Quilting can be intimidating at first, but practice makes perfect! Start out with simple projects and then gradually move on to larger, more complex designs as you become more comfortable using the techniques involved in making a quilted face.
With these tips and tricks, you’ll be on your way to creating beautiful quilts that will last for years to come. So get out there and give it a try! You never know what amazing designs you’ll be able to create.
5 Things You Should Avoid
- Don’t be tempted to stretch your fabric as you sew. This will cause uneven and stretched-out seams, making your quilt look sloppy and unprofessional.
- Remember to finish all the raw edges of your quilt, as this will help keep it lasting longer.
- Avoid using too many different colors or patterns in one quilt design. Too much variation can create a busy and overwhelming look that won’t be very pleasing to the eye.
- Make sure you are cutting fabric pieces accurately with appropriate measurements because mistakes here can throw off the entire balance of the quilt pattern.
- Be careful to use only a little thread when sewing, as this will create an unattractive, bulky effect on your finished product.
With these tips and tricks, you’ll better understand how to face a quilt properly so that it looks beautiful and can stand the test of time. So get out there and give it a try!
How Do You Drape a Quilt?
- Start by laying out your quilt flat and arranging the desired pattern.
- Secure the edges of the quilt with pins to keep it in place while you work.
- Pull up one corner of the quilt until it reaches your desired height, then secure it with another pin or two at the top.
- Continue this process until all sides have been raised and pinned, gently pulling each side as needed for an even look throughout.
- Lastly, trim any excess fabric around the edge so that only the patterned fabric is visible along the edges of your quilt face.
Following these simple steps, you can easily drape a quilt for a beautiful and professional-looking finish.

Conclusion
Quilts are a great way to show your personality and create something unique. You can create the perfect quilt for any space or occasion with the right fabric, batting, supplies, and practice. Take your time tackling something new – trust the tips in this post to help you get started and have fun creating beautiful works of art that will last for generations.
Whether you choose an intricate pattern or want to make something unique, it’s important to remember the value of each stitch you sew – the detail makes all the difference. So remember – enjoy every quilting moment as a fun, creative journey with no right or wrong answers!
Hopefully, the article on how to face a quilt has been a helpful guide in getting you started on your quilting journey. Take the time to practice and learn as you sew, and you’ll be an expert quilter soon! Best of luck!