

Are you looking for a fun and creative way to store your scrapbook paper, cardstock, ribbon, and other crafting supplies? You can easily build your own organizational system with some basic materials! This blog post will provide step-by-step instructions on how to build scrapbook paper storage so you can keep all of your crafty items in one place.
From selecting the right materials to constructing the components of the unit—this guide has it all! Keep reading because organizing your scrapbook paper collection is only a few steps away.
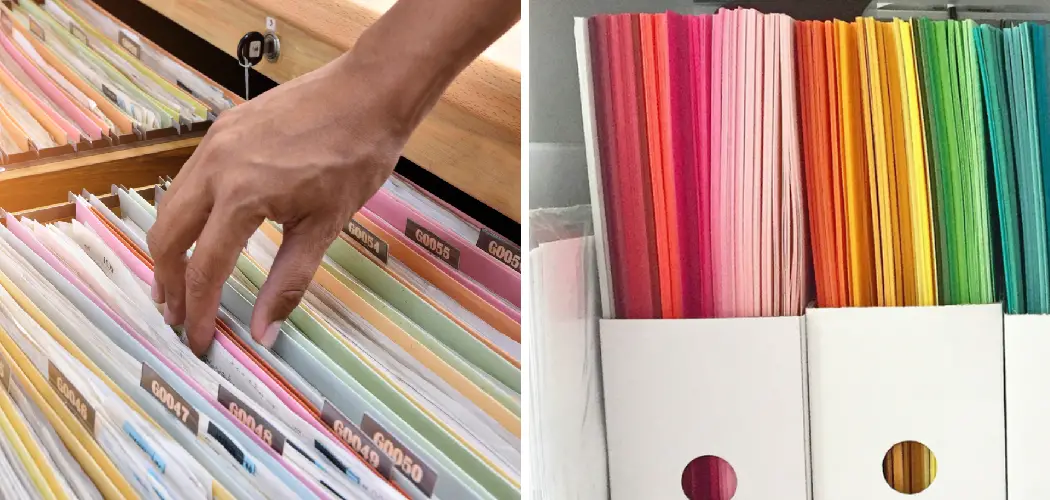
If you’re a fan of scrapbooking, then you know how challenging it can be to keep your supplies organized and easy to access. Scrapbook paper storage is an essential part of any hobbyist’s toolkit, so having the right setup can make all the difference when it comes to staying creative and productive.
In this blog post, we’ll walk through the materials needed for basic scrapbook paper storage and some simple tips on how best to organize your materials for optimal efficiency!
Benefits of a Scrapbook Paper Storage
There are many benefits of having a scrapbook paper storage system. Such as:
1. Save Space
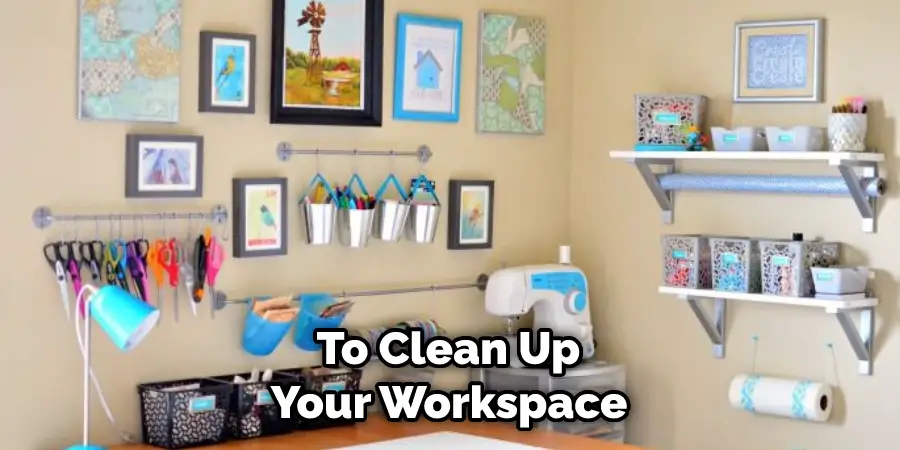
One of the main benefits of having a scrapbook paper storage system is that it allows you to store all your scrapbooking supplies in one place, saving you plenty of space. So if you want to clean up your workspace, a scrapbook paper storage system is definitely the way to go.
2. Stay Organized
Having a scrapbook paper storage system also helps you stay organized and maximize your crafting time. With everything you need right at your fingertips, you won’t have to waste time searching for the supplies that you need.
3. Cost-Effective
Finally, scrapbook paper storage systems are also very cost-effective. Instead of buying multiple supplies and organizing them separately, you can purchase one single system that will keep all your items in one place. This way, you can save money while still having an organized workspace.
Whether you’re a beginner or an experienced scrapbooker, having a scrapbook paper storage system is essential to stay organized and making the most out of your crafting time. Now that you know the benefits of having one, let’s take a look at how to build it.
How to Build Scrapbook Paper Storage in 7 Easy Steps
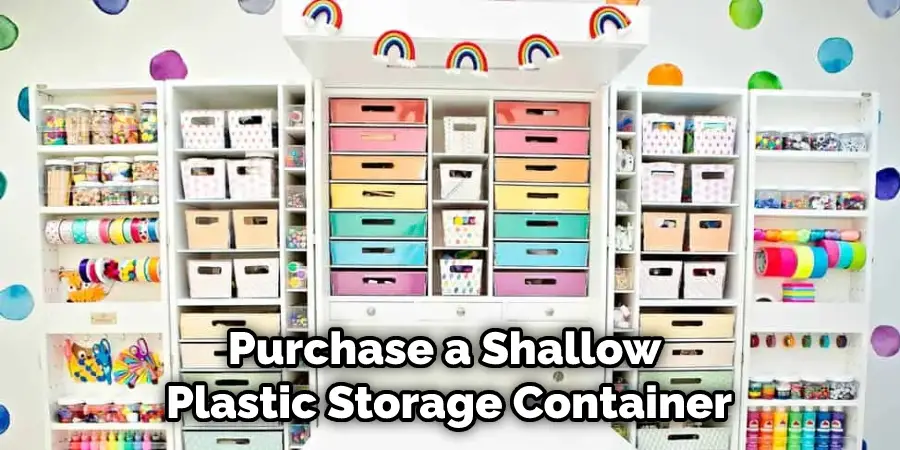
Step 1: Purchase a Shallow Plastic Storage Container
The very first step is to purchase a shallow plastic storage container. This can help you store and organize all your scrapbook paper in one place. Make sure that the container you choose isn’t too deep, as this will make it difficult to access all the papers easily.
Step 2: Measure and Cut the Plastic Container to Fit Your Space
Measure out the inside of the container and make sure that it can fit in the space where you want to keep it. Once you have measured the area, cut down or adjust your plastic container accordingly.
Step 3: Place Foam Inserts in Your Container
You can now place foam inserts into your container to help hold each piece of scrapbook paper in place. This will help make the whole process of organizing and storing your papers much more efficient. But you have to be careful not to use too much foam, as it might damage your papers.
Step 4: Arrange Your Papers in the Container
Now you can arrange all your scrapbook paper in the container. Place each piece of paper behind a foam insert and make sure that they are all arranged neatly and systematically. This will help you find any particular paper quickly and easily.
Step 5: Label the Container and Its Contents
Label the outside of the container so that anyone who comes across it knows what’s inside. You can also label individual pieces of paper or divide each section into categories and label them accordingly. This makes finding a particular paper much easier in the future.
Step 6: Place the Container in an Accessible Space
Now you can place the container in a space that is easily accessible. This could be on a shelf, a table, or even on the floor. Make sure that it’s somewhere that won’t get too much direct sunlight, as this might damage your papers over time.
Step 7: Keep Your Scrapbook Paper Organized
Keeping your scrapbook paper organized is an important step when it comes to storing them properly. Make sure you put the paper back in its place after using it and maintain an orderly system for easy access. It will ensure that you can always find the right paper quickly and easily.
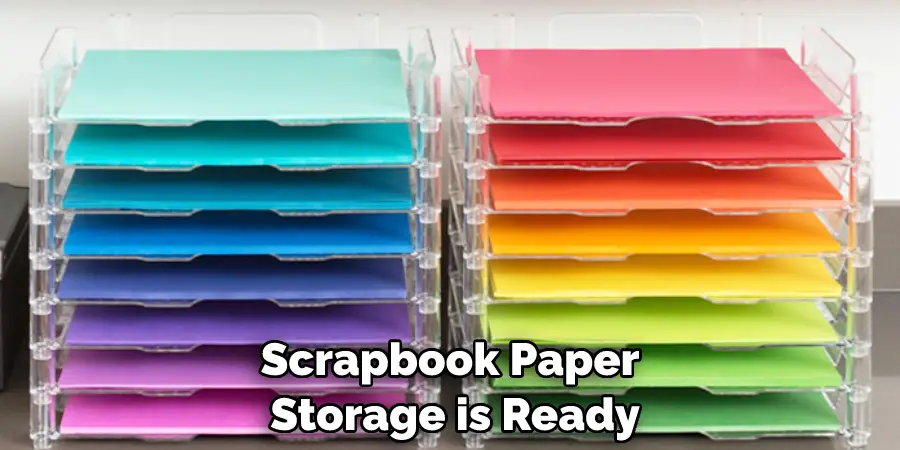
Once you have followed all these steps, your scrapbook paper storage is ready to be used! It will help you organize and store all your papers in one place, making it easier to access them whenever needed. So, follow these simple steps and start building your own scrapbook paper storage today.
Some Additional Tips And Tricks to Build Scrapbook Paper Storage
1. Use Magnetic Strips
Magnetic strips are one of the best ways to store and organize your scrapbook paper. This allows you to keep all of your paper in one place easily, and it’s easy to access when you need it. You can even add labels on the back of each strip so that you know exactly which type of paper goes where!
2. Utilize Baskets
Baskets are a great way to store smaller pieces of scrapbook paper. This way, you can organize your paper into different categories or according to the project that you’re working on. You can also use baskets to separate out specific colors and textures for easy access. You can use wicker baskets or plastic containers to store your paper.
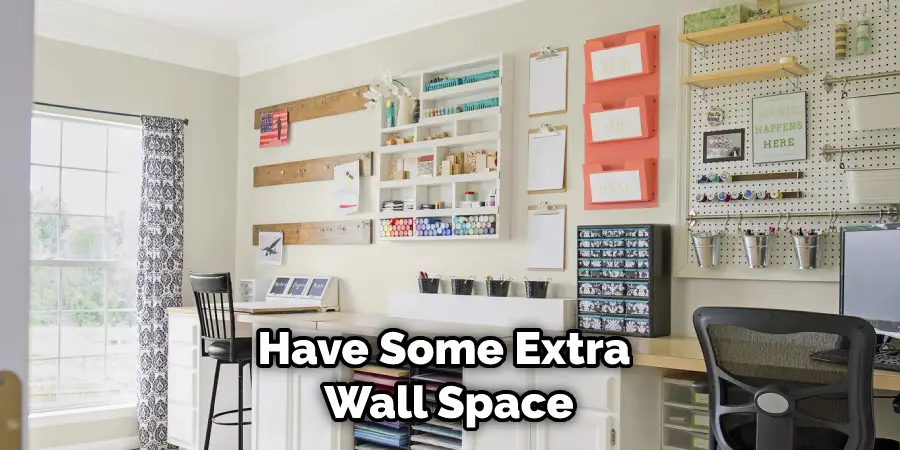
3. Make Use of Wall Space
If you have some extra wall space, you can use it to hang up pieces of scrapbook paper for easy access and storage. You can buy a special hanging system designed specifically for scrapbook paper storage or just use a basic bulletin board. You can also hang baskets or plastic containers to keep your paper organized and easily accessible.
4. Utilize Drawer Space
If you have some extra drawer space in your home, you can also store scrapbook paper. Make sure you have enough room for all of your paper to make everything easily accessible. You can also use drawer dividers and organizers to separate and organize your paper.
5. Label Everything
This may seem like a no-brainer, but labeling your scrapbook paper will help you identify exactly what type of paper you are looking for quickly and easily. It’s best to add labels directly onto the paper, as this will make it easier to find in the future. You can also add labels to your storage containers or baskets so that you know exactly which type of paper goes where.
These are just a few tips and tricks for building scrapbook paper storage that you can use to keep your crafting space organized and easily accessible. With the right organization system, you’ll be able to find the paper that you need in no time! Good luck!
Frequently Asked Questions
How Much Space Do I Need to Build Scrapbook Paper Storage?
This depends on how much scrapbook paper you wish to store. Generally, it is best to plan for more storage space than necessary and be prepared to expand if needed. If you have limited space, consider investing in stackable containers or shelves that can fit into a corner or along a wall. Also if you want to store your scrapbook paper vertically, you will need more height than width.
What Materials Do I Need to Build Scrapbook Paper Storage?
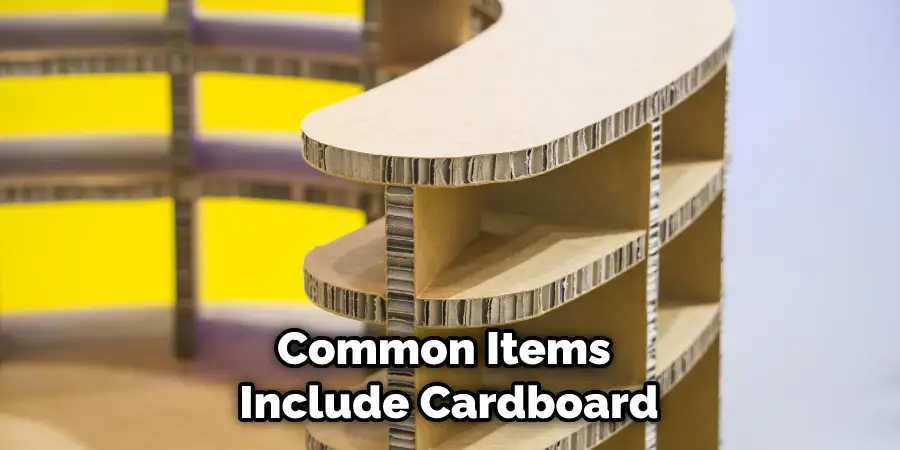
The materials you will need to build scrapbook paper storage depend on the storage solution you choose. Common items for creating containers or shelves include cardboard boxes, large plastic bins or jars, wood or metal shelving units, and drawer organizers. If you’re feeling crafty, you can make your own wood or MDF board shelves.
You may also need adhesive, screws, nails, and other tools depending on the project.
What Are Some Tips For Building Scrapbook Paper Storage?
It is important to plan ahead when building scrapbook paper storage. Make sure to measure the area you plan to use for storage so that the containers or shelves fit properly. Additionally, consider labeling each container or shelf with a description of its contents, such as “Printed Pattern Paper” or “Glitter Cardstock”. This will help keep your scrapbook paper organized and accessible.
Lastly, think about investing in storage solutions that are stackable or adjustable, so you can add more storage if needed.
What Are Some Alternative Options for Storing Scrapbook Paper?
Besides creating your own scrapbook paper storage solutions, many pre-made options are available on the market. These include desk organizers, hanging wall files and racks, craft carts, and other containers specifically designed for scrapbook paper storage.
If you are looking for a less permanent solution, several pocket-style pages are available with pre-made pockets perfect for storing your scrapbook paper.
What Are the Benefits of Building My Own Scrapbook Paper Storage?
The main benefit of building your own scrapbook paper storage is that it can be tailored to your own preferences. You can choose the size, shape, and material of the containers or shelves that best fit your space and customize labels to identify contents easily.
Additionally, creating your own scrapbook paper storage may also be cheaper than purchasing one pre-made solution. With a little bit of creativity, you can create a storage system that is both functional and stylish.
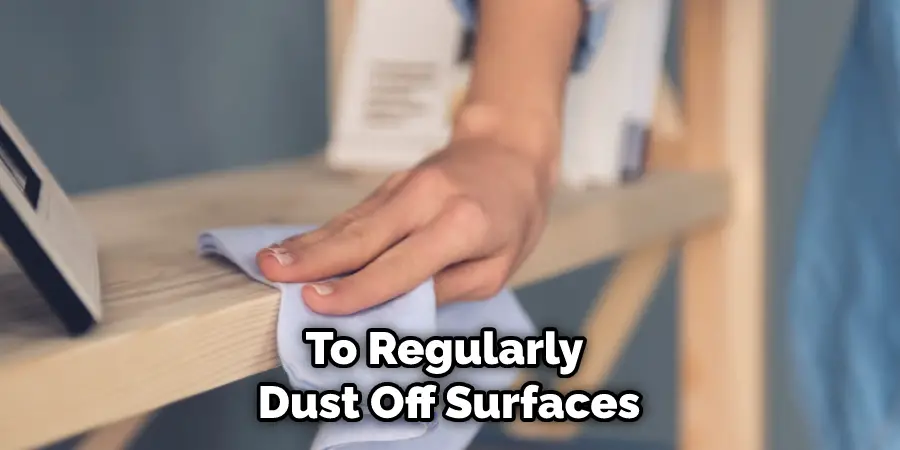
How Should I Care For My Scrapbook Paper Storage?
To ensure that your scrapbook paper storage stays in good condition, following proper care and maintenance is important. Be sure to regularly dust off surfaces and clean them with a damp cloth when needed. Additionally, if you’re using cardboard boxes or shelves, make sure to reinforce any weak spots with glue or tape.
Finally, if you have any storage solutions made of wood, be sure to treat them regularly with a protective sealant. With basic care and maintenance, your scrapbook paper storage can last for many years.
What Are Some Creative Ways To Store Scrapbook Paper?
If you want to store your scrapbook paper in a unique and creative way, plenty of options are available to you. For instance, you could use a hanging shoe organizer or file folders on the wall to create a fun display. You can also use vintage frames or shadow boxes to hang your scrapbook paper in style.
Lastly, if you have extra space in your home, you could mount a pegboard and use clips to hang your paper. With these creative methods, you can easily create a storage system that looks as good as it functions.
Conclusion
Now you know how to build scrapbook paper storage that is both functional and cost-effective. By using recycled materials like cardboard boxes, you can help the environment while still keeping your scrapbooking supplies organized.
Once you’ve built your storage containers, they are easy to accessorize with labels or other decorations to make them look more attractive in your crafting space.
With the right supplies, a few hours of free time, and a little bit of elbow grease, you now have an attractive and space-saving solution for all your scrapbook paper needs.
Best of all, you can customize your own space-saving storage system to suit your individual craft room better. Whether you’re planning on building an entire wall of scrapbook paper slots or just need one tucked away in a corner, this project is easy and rewarding for anyone with beginner DIY skills. So go ahead and get your craft on by building some beautiful scrapbook paper storage today!
You Can Check It Out to Make Paper Hydrangeas