
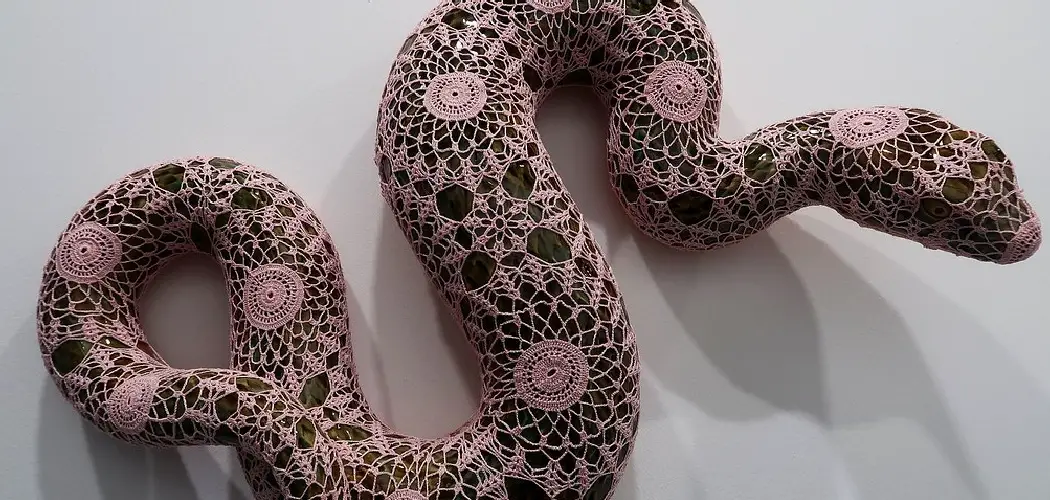
Do you have a creative streak? Have you ever wanted to try something fun, unusual, and creative? Crocheting your own snake might be just the craft project for you! With only some basic materials required and just one crochet stitch needed, crocheting a snake is an easy-to-master skill.
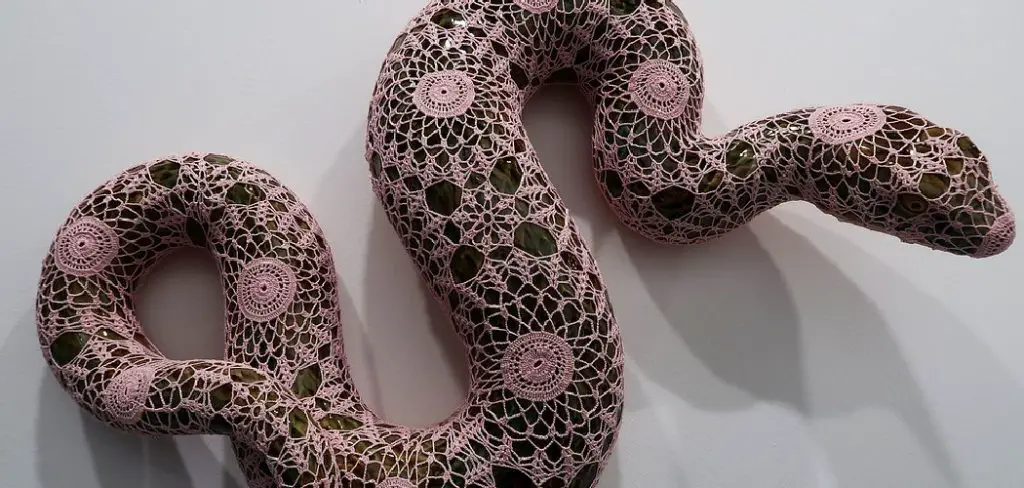
You can make it as simple or as intricate as you’d like – from brightly colored stripes to more accurate reptilian patterns. In this blog post, we’ll cover all the basics of how to crochet a snake, plus useful tips on embellishments and other design possibilities. So grab your yarn and hook, and get ready to let your imagination soar!
What Is the Easiest Animal to Crochet for a Beginner?
If you’re new to the craft of crochet, starting out by making an animal might be a great way to hone your skills. But there are so many different patterns and designs for animals that it can be difficult to know which one would be the best option for a beginner. Fortunately, crocheting a snake is one of the easiest animals you can make. It’s a great project to start with, and getting through it successfully will give you the confidence to tackle more complex patterns in the future.
Snakes are some of the simplest animals to crochet because they don’t require much shaping or detail work. The basic pattern is just a long tube that you can work in a single color or multiple colors, depending on your preference. Once the tube is complete, you’ll just need to stuff it and add some features like eyes and teeth to give your snake more character.
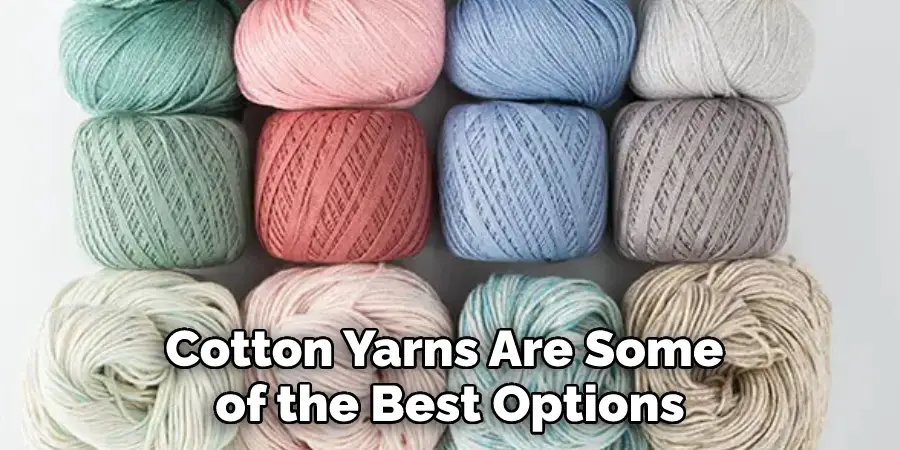
In terms of materials, all you really need for this project is yarn and a crochet hook. If possible, try to get a smooth, medium-weight yarn that won’t be too difficult to work with. Acrylic and cotton yarns are some of the best options for beginners. You’ll also need a few safety eyes or buttons to use as the snake’s eyes, a pair of scissors, and stuffing (scraps of fabric or material will do).
With the right materials and some practice, crocheting a snake is an easy project that anyone can do. If you’ve wanted to explore the art of crochet, a snake might be the perfect way to start! Good luck!
9 Methods on How to Crochet a Snake
1. Choose the Right Yarn
The first step in crocheting a snake is to choose the right yarn. You’ll want to use a worsted-weight yarn in a solid color. Avoid using variegated or multi-colored yarns, as they will make your snake look messy. If you plan to use multiple colors for your snake, choose two or three colors that work well together. However, keep in mind that the more colors you use, the more complicated your project will be.
2. Crochet a Chain
Once you’ve chosen your yarn, you’ll need to crochet a chain that is about 30 stitches long. To do this, simply make a slip knot on your crochet hook and then insert the hook into the second loop from the end of the yarn. Wrap the yarn around the hook and then pull it through the loop on the hook.
When you’ve reached the desired number of stitches, cut the yarn and pull it through the last loop to secure your chain. Though snakes can be longer or shorter than 30 stitches, this is a good starting point.
3. Single Crochet in Each Stitch
Once you have your chain of 30 stitches, you’ll need to single crochet in each stitch across the row. To do this, insert your hook into the first stitch, wrap the yarn around the hook, and then pull it through both loops on the hook. Next, insert your hook into the next stitch and repeat the process until you reach the end of the row.
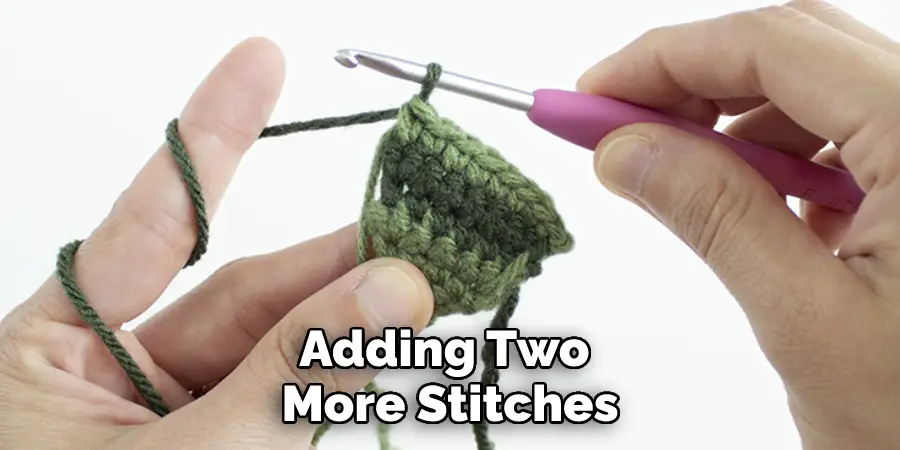
While you are still in the same row, you will be adding two more stitches at either end of the row. To do this, make sure your hook is in the last stitch, then wrap the yarn around the hook and pull it through both loops on your hook. This will add an extra stitch to the row. You should now have 32 single crochet stitches in total.
4. Crochet 2 Single Crochets in Each Stitch
For the next row, you’ll need to crochet 2 single crochets in each stitch across the row. To do this, insert your hook into the first stitch and wrap the yarn around the hook. Pull it through both loops on the hook and then insert your hook into that same stitch again.
Wrap the yarn around the hook and pull it through both loops on the hook again. You’ve now made 2 single crochets in that one stitch and should move on to the next stitch. Repeat this process until you reach the end of the row and have 60 stitches total.
5. Single Crochet in Each Stitch
For row 3, you’ll once again single crochet in each stitch across, just like you did for row 2. This will give you 60 stitches at the end of this row as well. When you reach the end of the row, turn your work so that you can crochet back in the opposite direction.
6. Crochet 2 Single Crochets Together
For row 4, you’ll need to start decreasing your snake’s length by crocheting 2 single crochets together. To do this, insert your hook into both loops of the first 2 stitches and wrap the yarn around the hook.
Pull it through all 3 loops on your hook to complete 1 sc2tog decrease stitch. If you’re new to this technique, check out some video tutorials online. Once you’ve completed the entire row of decreasing sc2tog stitches, cut off any remaining yarn.
7. Create the Snake’s Tail
Continue crocheting 2 single crochets together until you have only 6 stitches left on your hook. This is what will create the snake’s tail shape. Cut a long tail about 10 inches from the end of your crochet work. Pull the tail through the loop created by the last 2 single crochets, and pull tight.
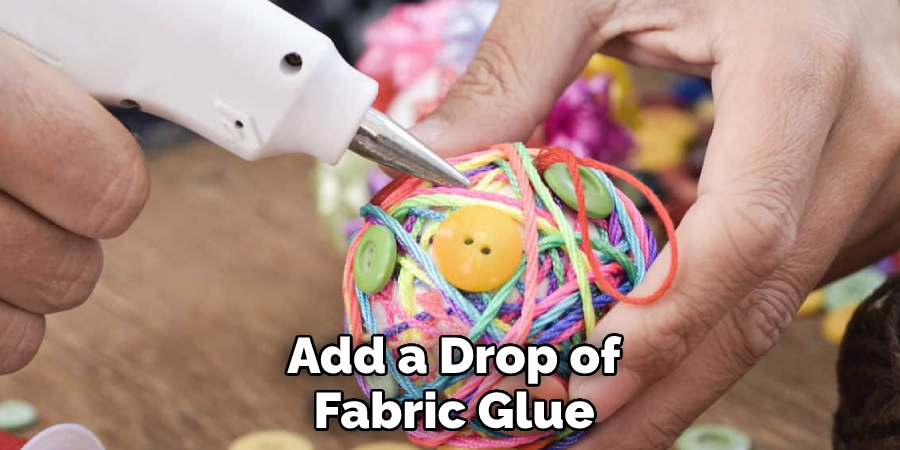
This will create a knot on the end of your snake’s tail, which will keep it from unraveling. However, if you would like to be extra secure, you can add a drop of fabric glue or fray check on the knot. This will also help to keep it from unraveling. Trim any excess yarn, and your crochet snake is complete!
8. Make Slip Stitches Across the Row
Now, make a slip stitch in each of the remaining 6 stitches across the row. To do this, insert your hook into the first stitch and wrap the yarn around the hook. Pull it through both loops on your hook to complete 1 slip stitch. It’s important to count the stitches at each row before moving on. This will help ensure that your snake is the right size and shape.
9. Tie Off the Yarn and Weave in the Ends
Once you’ve completed your snake’s body, you’ll need to tie off the yarn and weave in any loose ends. Cut your yarn about 4 inches from the last slip stitch, then pull it through the loop on your hook to secure it.
Use a tapestry needle to weave in any loose ends at either end of the snake’s body. You can also use the yarn to create a loop at one end of your snake if you’d like to attach it as an applique or keychain. Once all the ends are secured, you can snuggle up with your new snake and admire your handiwork!
What Is the Easiest Amigurumi Crochet?
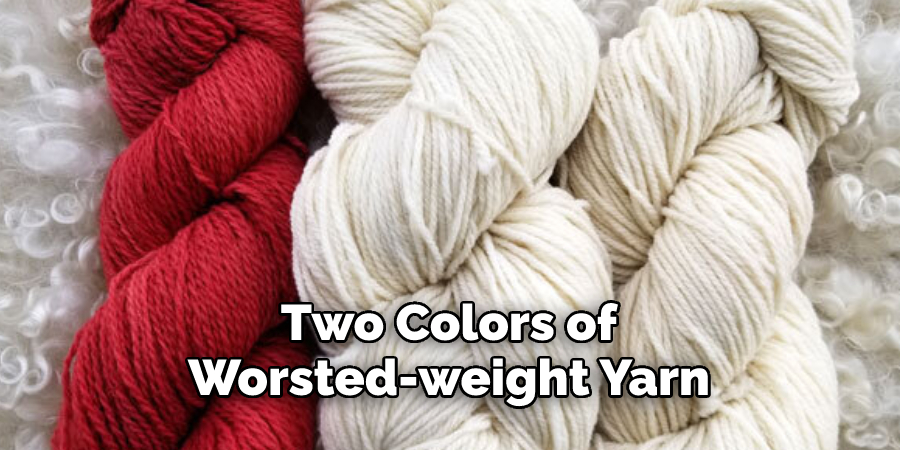
The easiest Amigurumi crochet project for beginners is making a snake. This can be done with just a few basic materials and stitches.
To make a snake, you will need an F/3.75mm crochet hook and two colors of worsted-weight yarn in your preferred colors (or one solid color). You’ll also need scissors and a tapestry needle to weave in the ends.
Conclusion
Now that you know how to crochet a snake, it’s time to get creative. Try using different colors and patterns to make your snakes unique. You can also experiment with the size of your snakes to see what works best for you. As you can see, crocheting a snake is not as difficult as it may seem at first.
With a little practice and patience, anyone can do it! Whether you’re looking for a new craft project or just want to make something unique, give crocheting a try. You might be surprised at how satisfying it is to create something with your own two hands.
You Can Check It Out to Do a Picot Stitch