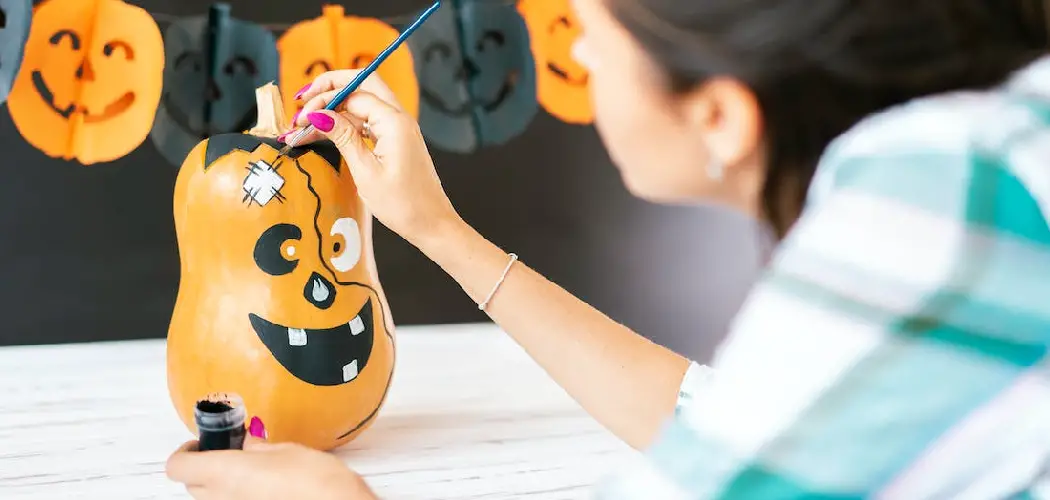
Fall is just around the corner, and nothing screams “autumn” more than a pumpkin! But rather than going for the cliche plastic or foam pumpkins in your decorations this season, why not try sprucing up paper pumpkins?
Not only are paper pumpkins an inexpensive way to add a festive touch to your home decor, but they also provide an enjoyable activity that will get both you and any little ones involved in the creative process.
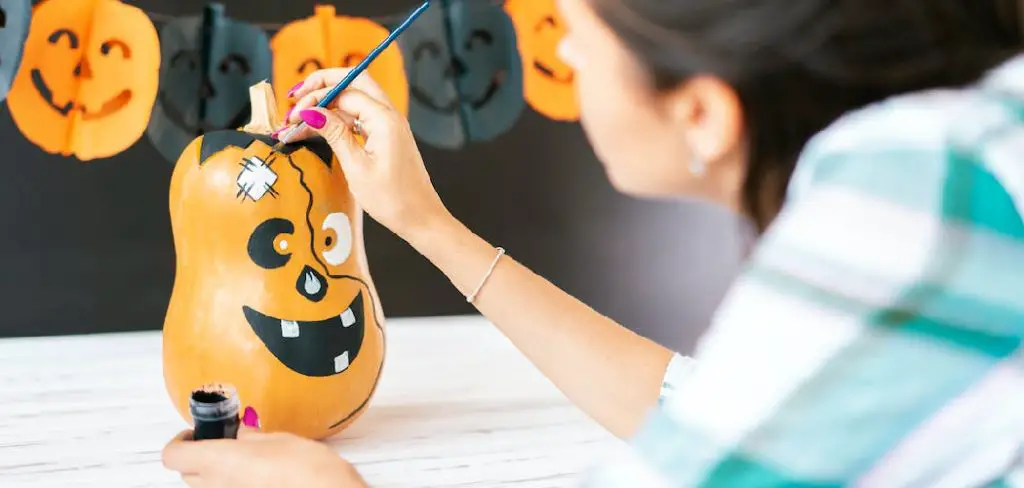
In this blog post, we’ll show you how to decorate paper pumpkin with minimal supplies and effort. So grab some markers, stickers, glue – whatever other materials you have lying around – and let’s get crafting!
Does Sharpie Stay on a Pumpkin?
The answer to this question depends on the type of Sharpie you are using and how you prepare the pumpkin. Permanent markers, like Sharpies, can be used on pumpkins, but the design may not last for long unless it is properly sealed. To ensure that your Sharpie art stays put, lightly sand off any rough areas with fine-grit sandpaper and wipe off the pumpkin with rubbing alcohol.
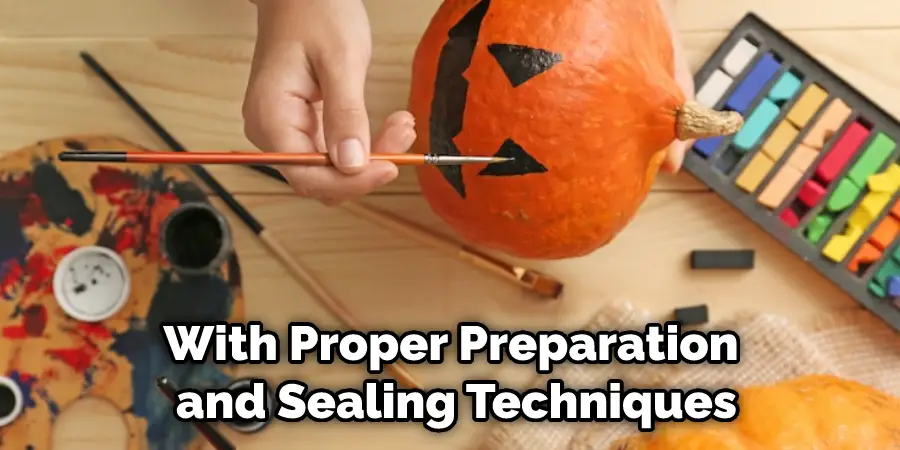
Then, apply a layer of acrylic sealer to protect your art from fading or smudging over time. For best results, choose an outdoor-rated sealant that is designed for use on porous surfaces such as pumpkins. With proper preparation and sealing techniques, Sharpie designs can last for several months!
Other types of markers may also work well depending on their ingredients and how they are sealed. Water-based markers, like those used in scrapbooking or wood-burning pens, require additional steps to ensure the design won’t fade or smear.
Before applying any marker onto the pumpkin surface, apply a thin layer of Mod Podge first. This will help create a barrier between the marker and the pumpkin, preventing any smudging or fading. If you have a fabric-safe spray sealant on hand, it can also be used to protect your design.
You Can Check It Out To Make a Spider Out of Paper and Scissors
10 Methods on How to Decorate Paper Pumpkin
1. Paint Them
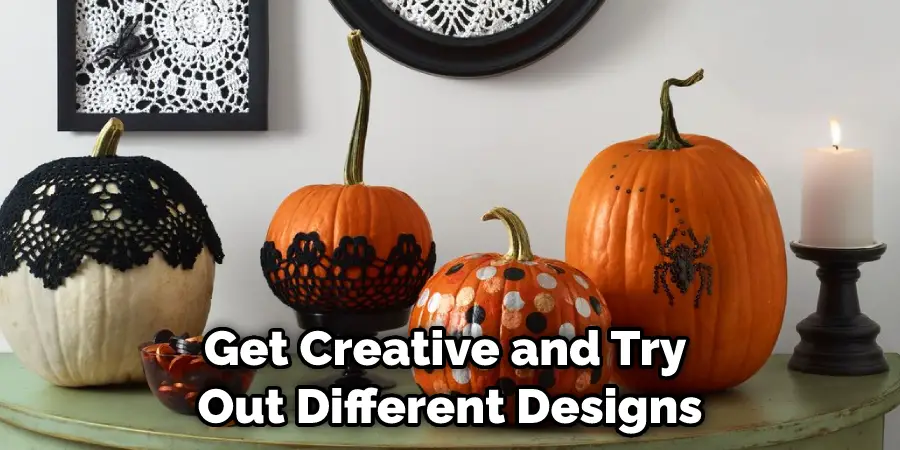
One of the simplest ways to decorate paper pumpkins is to paint them. You can use acrylic paints, watercolors, or even spray paint. Get creative and try out different designs. You could even paint each pumpkin a different color.
Once you’re finished painting, finish off the project with a few coats of clear sealer to keep your pumpkins looking fresh. If you want to add extra sparkle, try adding glitter or sequins to the painted pumpkins. Although this may be a bit messier, it will definitely make your pumpkins stand out!
2. Glue on Sequins or Glitter
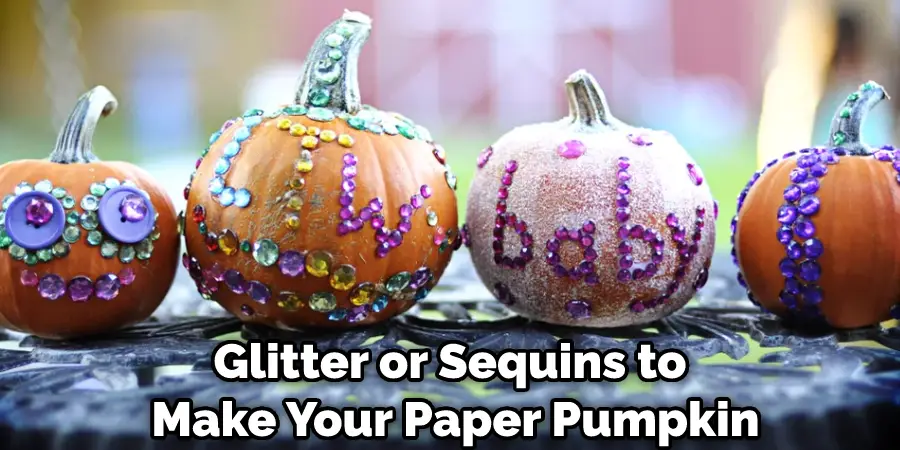
If you want your paper pumpkins to really stand out, glue on some sequins or glitter. This is a great way to add some sparkle and glamour to your décor. Once the glue is dry, you can go over it with a clear sealer to protect it from scratches and wear and tear.
You can find sequins and glitter in a variety of colors at craft stores, so you’ll be able to find the perfect color for your paper pumpkins. Be sure to keep the colors in mind when you’re designing your pumpkins so that the colors coordinate and flow together. However, if you’re feeling creative, feel free to mix and match different colors. Have fun with it!
3. Wrap Them in Ribbon
Another easy way to decorate paper pumpkins is to wrap them in the ribbon. This is a great way to add a pop of color or pattern to your décor. Simply choose a ribbon that you like and wrap it around the pumpkin. You can use hot glue or tape to secure the ribbon. You may also want to consider adding a bow or other decorative accents for added interest. This is a great way to create unique, one-of-a-kind decorations. Once your paper pumpkin is wrapped in ribbon, it can be hung or displayed on a tabletop. Although this is a simple way to decorate, it can make a big impact on your décor.
4. Add Stickers or Labels
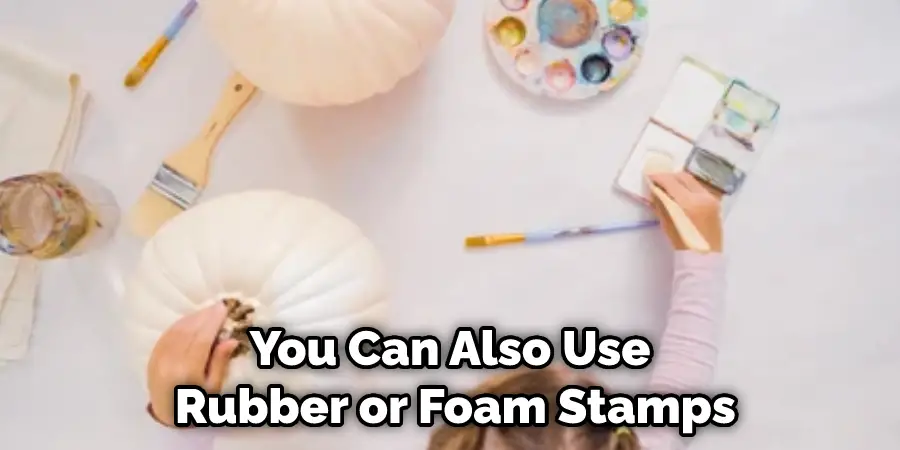
Stickers or labels are another easy way to decorate paper pumpkins. You can find stickers or labels in a variety of designs, so you can easily find something that fits your décor. Simply peel and stick the stickers or labels onto the pumpkin. You can also use rubber or foam stamps to create your own custom design.
If you’re feeling adventurous, try out some glitter paint for an extra sparkly look. For an even more creative touch, use fabric or scrapbook paper to create your own custom labels for the pumpkin. No matter what type of stickers or labels you choose, they’ll be a great way to make your paper pumpkins unique.
5. Draw on Them with Markers or Pens
If you’re feeling creative, draw on the paper pumpkins with markers or pens. You can use permanent markers or washable markers, depending on what you’re using them for. Get creative and try out different designs. You could draw a face, make stripes, or any other fun pattern.
If you’re feeling extra creative, you could also print out some stencils and trace them onto the paper pumpkins. Although you can’t put these paper pumpkins outside like real pumpkins, they make an excellent addition to any home decor. Make sure to hang them up with string or display them on a shelf for everyone to see. Enjoy your beautiful paper pumpkins!
6. Paint Them with Chalkboard Paint
Chalkboard paint is a great way to decorate paper pumpkins because it allows you to write or draw whatever you want on the pumpkin. Simply paint the entire pumpkin with chalkboard paint and let it dry. Then, use chalk to write or draw whatever you want on the pumpkin. You can add designs, quotes, names, or anything else you like. Just make sure to seal the chalk with a light coat of clear spray paint when you’re finished to make sure the chalk won’t smudge. This is a great way to create unique, custom pumpkins for a holiday gathering, party, or just decoration.
7. Tie Yarn Around Them
Yarn is a great way to add texture to paper pumpkins. Simply wrap the pumpkin in yarn and tie it at the end. This is a great way to add some color or texture to your décor without having to buy new materials. You can also use yarn to create a stem for the pumpkin.
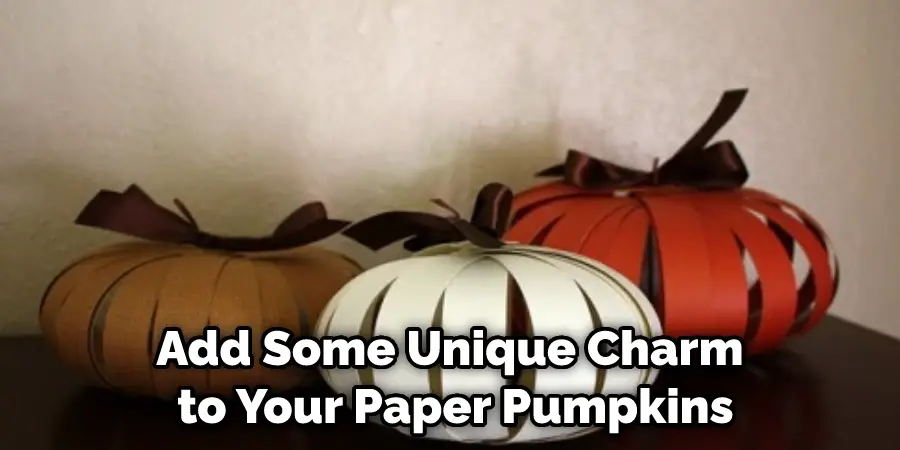
Just wrap the yarn around the center of the pumpkin and tie it off at the end. You can even add some extra leaves or vines with the yarn for an extra decorative touch. While this method is a bit more involved than the previous ones, it will definitely add some unique charm to your paper pumpkins. Make sure to choose a yarn color that will complement your décor and not clash with it.
8. Embellish with Buttons
Buttons are another easy way to decorate paper pumpkins. You can use any type of button that you have lying around, such as wooden buttons, plastic buttons, or fabric-covered buttons. Simply glue the buttons onto the pumpkin however you like – this is a great project for kids.
If you’d like a more uniform look, try stringing the buttons onto a piece of twine and then tying it around the pumpkin. You can also glue the buttons on in a pattern or in rows. Depending on what style you want your paper pumpkin to have, it could be fun to mix different types of buttons together for an eclectic look.
9. Cover with Contact Paper or Wrapping Paper
Contact paper and wrapping paper are two great materials to use when decorating paper pumpkins. Simply cut out a piece of contact paper or wrapping paper that is slightly bigger than the pumpkin and then glue it onto the pumpkin. You can use fabric glue or hot glue for this.
If you want to make sure that your design is extra secure, you can apply some Mod Podge over the top of it. This will also help to seal any pieces that might be peeling off. You can also add ribbons, lace, and other decorations to give your pumpkins a more custom look. Make sure to use a low-heat hot glue gun so that you don’t accidentally burn the paper.
10. Embroider Them with Yarn or Thread
If you’re looking for a more advanced way to decorate paper pumpkins, try embroidering them with yarn or thread. You can use any type of embroidery stitch you want – such as cross-stitch, chain stitch, seed stitch, etc. This is a great way to add some color and detail to your décor without having to buy new materials.
If you’re new to embroidery, there are plenty of tutorials online that will teach you the basics. Plus, this is a fun way to practice your stitching skills! You can even add words or phrases with different colors of thread for an extra special touch. This is a craft project that’s perfect for all ages and skill levels. Happy crafting!
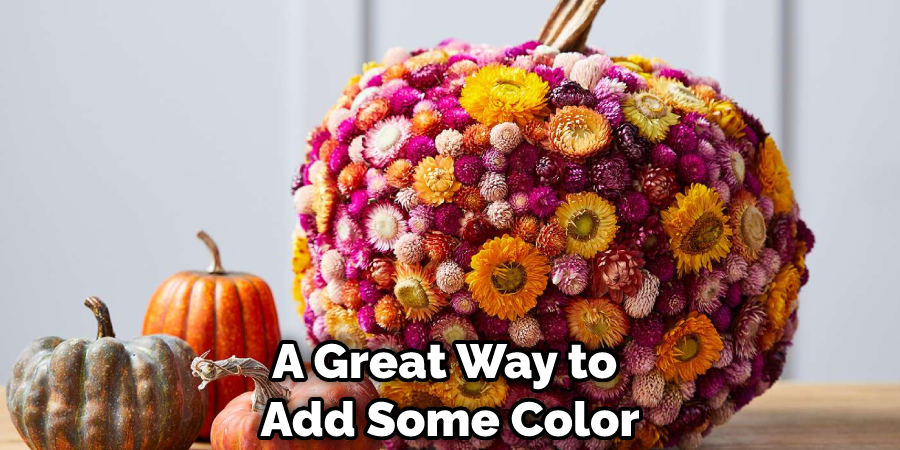
By following these simple steps, you can easily add some color and flair to your paper pumpkins this season. Whether you’re a beginner or an advanced crafter, there are plenty of options available to make each one unique. So get creative and have fun! With just a few supplies, you can transform plain white pumpkins into something truly special.
Things to Consider When Decorating Paper Pumpkin
1. Color:
The colors you choose when decorating paper pumpkins can have a huge impact on the overall look of your decoration. Think about the colors that you want to use and how they will fit in with the rest of your decor. You can also mix and match different shades to create a unique look.
2. Texture:
The texture is an important aspect of paper pumpkin decoration. Consider using textured paper or fabric for the pumpkin itself as well as any elements you are adding on such as leaves, vines, or stems. Textures add depth and interest to your project and make it stand out from the crowd.
3. Accessories:
Adding accessories to your paper pumpkins can give them a special touch and help them stand out even more. Consider using things like ribbons, glitter, sequins, beads, buttons, or feathers to customize your pumpkin.
4. Glue:
Using the right type of glue is essential when decorating paper pumpkins. Make sure you have a strong and reliable craft glue that will hold all of your elements in place. Also, be sure to check that the glue won’t damage or discolor your paper pumpkin in any way.
5. Decorative Items:
Once you have chosen the colors, textures, and accessories for your paper pumpkin decoration, it’s time to think about adding some decorative items such as leaves, vines, or stems. These can help to add even more interest and give your project an extra boost of personality.
6. Finishing Touches:
For the perfect finishing touches, consider adding some glitter or sequins to make your paper pumpkin sparkle. You could also use ribbons, feathers, or buttons for an extra special touch. With a few simple decorations and accessories, you can transform your plain paper pumpkin into something spectacular!
7. Display:
Finally, think about how you want to display your finished work of art. Consider using small hooks so that you can hang them on the wall or large stands so that it can be displayed on a table or shelf. No matter what you choose, your beautiful paper pumpkin decoration will be sure to impress everyone who sees it!
Conclusion
So, the next time you find a Paper Pumpkin in your mailbox, think outside the box- or inside the pumpkin! With some extra supplies and a bit of creativity, you can turn your simple kits into amazing creations.
By following these easy instructions on how to decorate paper pumpkin, you’re sure to impress anyone who sees your decorated pumpkin.
You Can Check It Out To Make a Paper Bat Step by Step

