Are you looking for a fun and creative project that’s perfect for any occasion? If so, making a paper mailbox just might be the solution! It is important to know how to make paper mailbox. In this blog post, we’ll provide step-by-step instructions on how to make your very own mailbox out of cardstock paper.
Whether it’s used as a gift holder or simply an adorable accent piece in your home, crafting up a personalized paper mailbox is sure to be loads of fun. Imagine all the special cards and notes you can store inside—your friends and family are sure to love receiving mail delivered right into their handmade mailbox.
Let’s get started!
Tools You Will Need
- Cardstock paper in the desired color
- Scissors
- Glue stick or double-sided tape
- A ruler or measuring tape
- Pencil and/or marker
- Decorative items to add your personal touch (optional)
6 Easy Instructions Guide on How to Make Paper Mailbox
1. Take and Measure Your Cardstock Paper
Cardstock paper is a great medium for crafting projects due to its thickness and durability. To get started, begin by taking two pieces of cardstock paper and measuring each one to 11 inches in length and 8.5 inches in width.
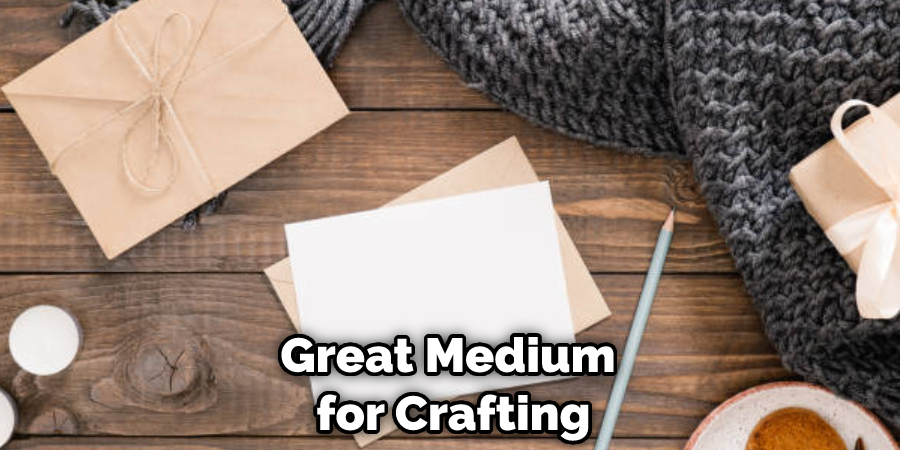
After you have the right measurements, use scissors or an X-ACTO knife to cut them to size. The result will be two pieces of perfectly shaped cardstock that are ready for your creative project!
2. Fold It in Half
With your ruler or measuring tape, measure 1 inch from both ends and make a small mark with your pencil or marker.
Taking a piece of cardstock paper, and folding it in half allows us to create an evenly symmetrical crease in the middle while making sure that it stays together. To ensure our measurements are accurate, use a ruler or measuring tape.
We can mark 1 inch away from both ends of the paper with either a pencil or marker. This will provide us with well-measured markings and ultimately help us to complete whatever craft project we wish to accomplish.
3. Unfold the Paper and Cut Along the Crease
After you have unfolded the paper, it is time to start cutting. Carefully run the scissors along the crease of the paper and then cut out two 3-inch strips from one end.
These strips must be parallel; so make sure they stay on the same side. If done correctly, you will now have four open ends with two thin strips attached to one of them. Now you can continue with your paper craft project!
4. Cut Out Two 3-inch Strips
Taking the second piece of cardstock paper, you’ll need to measure and cut out two parallel strips from one end. These strips should be 3 inches in length, but before you start the cutting process, double-check your measurements.
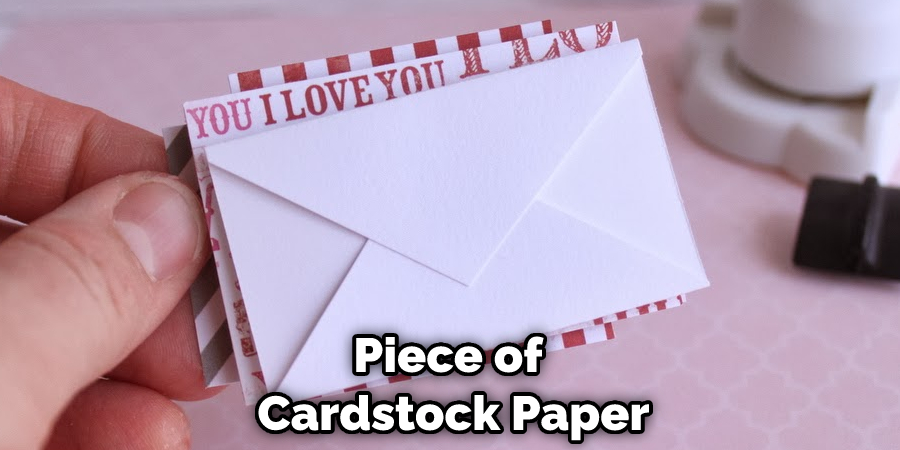
Making sure the strips remain parallel is key; otherwise, your project won’t turn out as expected. Once you’ve cut each strip, set them aside until it’s time to assemble your project.
5. Arrange All Four Pieces of Cardstock
Arranging four pieces of cardstock paper into a square shape with an open top is a fairly easy task, as long you have the necessary supplies. Begin by laying the papers out on a flat surface with the 12×12 inch papers combined at the bottom, and the three-inch strips facing inwards to form all four sides.
After you are finished, secure the flaps together using either glue or double-sided tape, and let them dry completely before proceeding. Once they are secured and dried, you will have a customized cardstock box that can be used for any purpose you desire.
6. Decorate It by Adding Items
Decorating your paper mailbox is a fun and creative way to add some extra flair for personalization. With a few simple items such as ribbons, stickers, markers, etc., you can make your mailbox stand out! Start by picking a theme or color scheme that you would like to use, then arrange the decorations interestingly on the outside of the mailbox.
Try something complex like alternating colors as stripes around your mailbox or pick three colors to make a tri-color spiral design around it. If painting isn’t for you, try arranging ribbons across the top of your mailbox or add glitter to give your decoration an even more unique touch.
Decorating your paper mailbox is a great way to show off your creativity and express yourself – let that box shine!
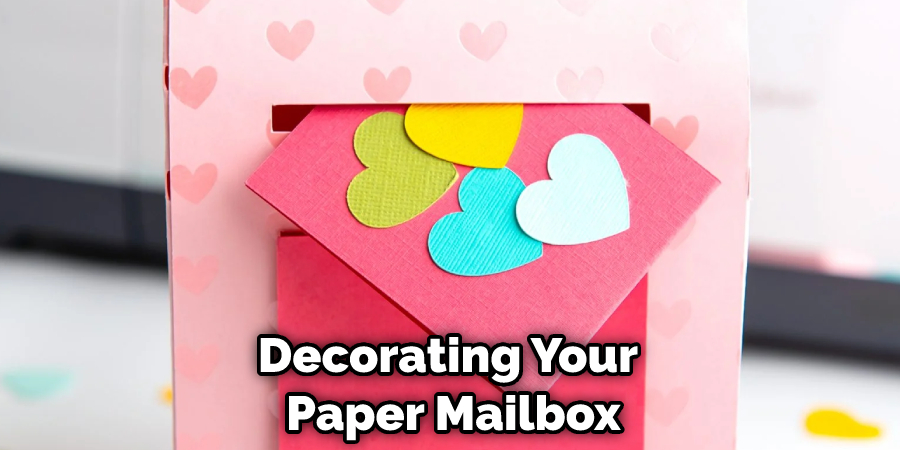
Congratulations! You’ve just made yourself a cute and handy paper mailbox. Now you can use it to store cards, notes, or any other small items that fit inside.
We hope you enjoyed our step-by-step tutorial on How to Make a Paper Mailbox! Crafting up your personalized mailbox is a great way to make something special for yourself or someone else. So get creative and have fun with it!
Happy crafting!
8 Tips for Making Paper Mailbox
1. When it comes to choosing the right paper for your mailbox, you want to make sure that you choose a sturdy paper that will be able to withstand the elements. Cardstock and construction paper are both good options.
2. Once you have chosen the right paper, you need to decide on a design. There are a few things to keep in mind when it comes to designing your mailbox. You have to make sure that your design is big enough to fit all of your mail.
3. Once you have decided on a design, trace it onto the paper using a pencil or pen. Make sure that you trace the design onto the side of the paper that will be facing outwards.
4. After you have traced your design onto the paper, use a pair of scissors to cut out the shape of your mailbox. Be careful not to cut yourself!
5. Now it’s time to decorate your mailbox! You can use markers, paint, crayons, or any other materials that you have on hand. Get creative and have fun!
6. Once you have decorated your mailbox, add your address and name so that your mail carrier knows where to deliver your mail. You can use a permanent marker or sticker labels for this step.
7. Now it’s time to attach your mailbox to a post or fence. If you are attaching it to a post, make sure that the post is tall enough so that your mailbox won’t get knocked over by passing cars or pedestrians.
8. Now all you have to do is wait for your mail! Once your mailbox is all set up, your mail carrier will start delivering your mail right to your doorstep.
You Can Check It Out To Make a Ribbon From Wrapping Paper
How to Design your Mailbox?
Designing your mailbox is an easy, fun way to add a special personal touch to your home’s exterior. Your mailbox will be the focal point of its surroundings and can become a conversation starter.
Start by deciding what materials you’d like to use – while affordable wood is an obvious choice, metal, plastic and even stucco are also viable options. Consider the elements of your local climate that may influence the design or build material you choose such as rain or extreme heat in certain areas of the country. Next comes size!
Make sure your mailbox is sized according to Post Office regulations for mail receptacles so that postal carriers do not have any difficulty accessing your mail. Finally, make sure your design incorporates adequate drainage holes so that water does not seep into the box and cause damage on wet or snowy days.
With these tips under consideration, designing your mailbox should be easy and enjoyable!
Frequently Asked Questions
How to Address and Name your Mailbox?
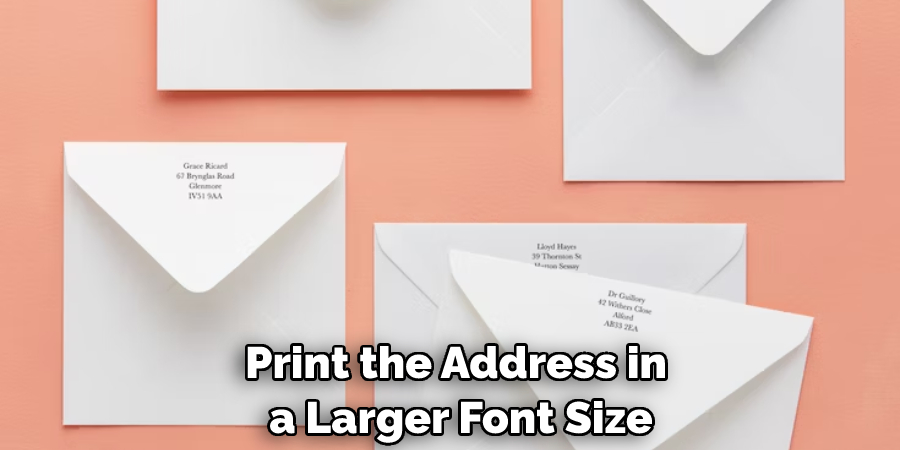
When addressing your mailbox, remember to print the address in a larger font size to make it easier for postal workers and other people handling the mail to read. Also, ensure that you include a hyphen between words such as house number and street name when writing out addresses.
If you’re worried about intruders reading your address, consider using creative ideas for naming your mailbox. Incorporate personal trinkets, like garden ornaments, or use a playful name like “The House of Muffins” instead of an address.
You can also make numbered signs that correspond with particular names if the postal service requires your house numbers to be quite obvious. In any case, be sure that everyone who needs access to the mailbox knows how you’ve labeled it!
How to Attach your Mailbox?
Attaching a mailbox to your house or post can be a simple project that most people can do themselves. The first step is to determine what kind of mailbox you will need.
Depending on the size of your lawn, and how much room you have available, you could opt for a full-size wall-mounted box or a smaller post-mounted variety. Once the selection is made, gather all the materials, such as screws, mounting brackets, and proper drill bits.
Mark where the holes will go in the appropriate locations on either your house or post. Make sure to double-check that everything fits together properly before making any final touches. Finally, drill into the designated areas and secure the mailbox with screws.
With these steps followed carefully, attaching a mailbox should be quick and easy!
Conclusion
It’s easy to make your mailbox out of paper! With just a few supplies, you can have your very own mailbox that looks great and works great. You should carefully determine how to make paper mailbox. By following these simple steps, you can create a beautiful and functional paper mailbox in no time. Thanks for reading! We hope you enjoyed this tutorial.
You Can Check It Out To Make Labels for Jars

