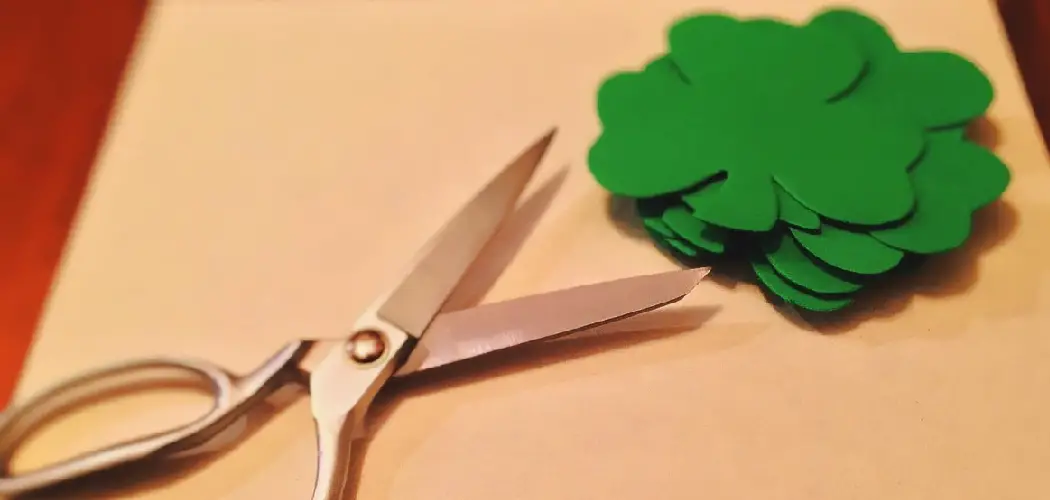
Tis the season of four-leaf clovers and shamrocks! If you’re looking for a special way to celebrate St. Patrick’s Day which is both festive and crafty, try cutting out your own shamrock with some paper and scissors. Making cut-outs is an age-old tradition, served with lots of possibilities for learning new skills—so roll up your sleeves, get creative, and let’s have some fun!
Whether this will be your first foray into paper crafts or if scissor art runs in your family bloodline, this guide on how to cut out a shamrock will provide easy-to-follow instructions on how to cut out the perfect shamrock every time.
What is a Shamrock?
A shamrock is a traditional Irish symbol that consists of three heart-shaped leaves. It is said to bring good luck and fortune, making it a popular motif during St. Patrick’s Day celebrations. In fact, the word “shamrock” comes from the Irish word “seamróg,” which translates to “little clover.” Historically, St. Patrick used the shamrock to explain the Holy Trinity to the Irish people, making it a significant symbol in Irish culture.
Materials Needed
To cut out your own shamrock, you will need the following materials:
- Green Paper or Cardstock (or Any Color of Your Choice)
- Scissors (Safety Scissors for Children)
- Pencil
- Ruler (Optional)
- Glue (Optional)
10 Step-by-step Instructions on How to Cut Out a Shamrock
Step 1: Prepare Your Work Area
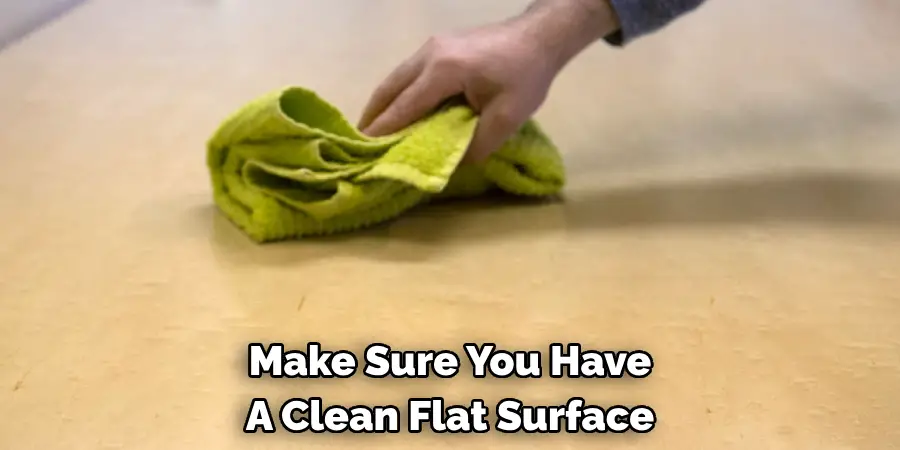
Make sure you have a clean, flat surface to work on. It is also recommended to cover your work area with newspaper or a reusable mat to protect it from any glue or pencil marks. But most importantly, have fun and let your creativity flow! It’s okay if things get a little messy. However, if you’re working with children, make sure to supervise them at all times. Safety first!
Step 2: Choose Your Paper
Decide on the color of your shamrock. Green is the traditional color associated with St. Patrick’s Day, but feel free to choose any color you like! You can also use different shades of green for a more interesting look. If you want to use patterned paper, make sure the pattern won’t be covered by the shamrock cut-out.
Step 3: Draw a Shamrock Shape
Take your pencil and draw a basic shamrock shape on the back of the paper. If you’re not confident with free-hand drawing, you can also use a stencil or template to trace the outline onto your paper. You can also use a ruler to make sure your lines are straight and even. It’s okay if your shamrock is not perfect – it adds to the charm of hand-made crafts! You can also draw a smaller shamrock inside the bigger one for more dimension.
Step 4: Cut Out the Shamrock
Using your scissors, carefully cut out the shamrock shape. Remember to always cut away from your body and keep your fingers away from the blades. If you’re working with young children, you can let them draw the shamrock and assist them in cutting. But make sure to supervise them closely and only let them handle child-safe scissors.
Step 5: Fold the Shamrock in Half
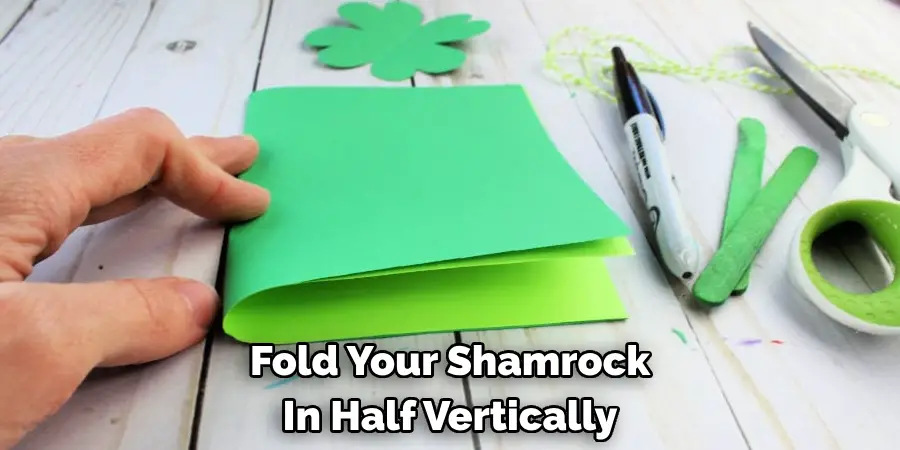
Fold your shamrock in half vertically – this will create a crease line down the center of your shamrock. This step is important if you want your shamrock to be symmetrical. It also helps to visualize where you will be cutting next. Although, you can also skip this step if you want a more organic-shaped shamrock.
Step 6: Cut Out the Center of the Shamrock
Use your pencil to draw a line from the top point of the shamrock down to the center crease. This will divide your shamrock into two separate halves. Using your scissors, carefully cut along the line and stop at the center crease. Repeat this step on the other side of the shamrock. This will create a gap in the center of your shamrock, separating it into three distinct leaves.
Step 7: Cut Out Notches
To give your shamrock those iconic heart-shaped leaves, use your scissors to cut out small notches on the curved edge of each leaf. You can also create different shapes, like triangles or ovals, depending on your preference. Make sure to be careful when cutting small details to avoid accidentally tearing the paper. Otherwise, you can also use a hole puncher to create small holes instead of cutting.
Step 8: Optional: Add Glue and Decorations
If you want to add more details or color to your shamrock, now is the time. You can use glue to stick on glitter, sequins, or other decorations. Let your imagination run wild! You can also use markers or paints to draw on your shamrock, but make sure to let it dry completely before continuing. But if you prefer a clean and simple look, you can skip this step.
Step 9: Fold the Shamrock Back Together
After cutting out and decorating your shamrock, carefully fold it back together along the center crease. This will reveal your finished shamrock with three distinct leaves and notches on each leaf. It’s okay if the edges don’t line up perfectly – it adds to the handmade charm! You can also fold the shamrock in half again to make it more compact.
Step 10: Display Your Shamrock!
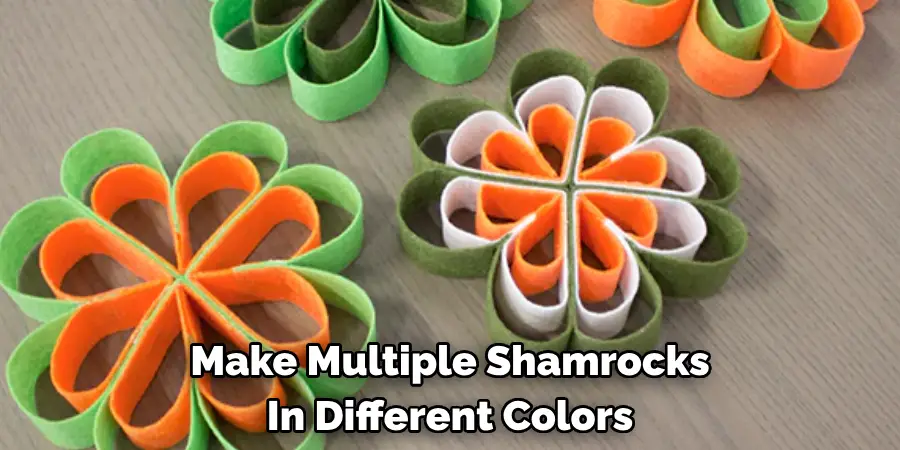
And there you have it – a beautiful, hand-made shamrock! You can use your finished shamrock as decorations for St. Patrick’s Day festivities or give them as special gifts to friends and family. You can also make multiple shamrocks in different colors and sizes to create a festive garland or wreath. The possibilities are endless! Just remember to have fun and enjoy the process of creating your own shamrocks.
Following these easy steps, you now know how to cut out a shamrock. But don’t stop there! You can also use these same techniques to create other shapes and designs – the only limit is your imagination. So gather your materials and get creative! Who knows, maybe you’ll discover a new favorite hobby or tradition that will continue in your family for generations to come.
Do You Need to Use Professionals?
No, you do not need to use professionals to cut out a shamrock. This is a simple and fun craft that anyone can do with just a few materials. It’s great for all ages and skill levels, making it a perfect activity for families or classrooms. So don’t be afraid to try it out and make your own unique shamrocks! Just remember to always prioritize safety and have fun while creating.
Frequently Asked Questions
Q: Can I Use Regular Paper Instead of Cardstock?
A: Yes, you can use any type of paper for this project. However, cardstock is recommended as it will give your shamrock a sturdier and more vibrant look. It will also be easier to cut through multiple layers of paper if you want to make thicker shamrocks.
Q: Can I Use Other Colors Besides Green?
A: Absolutely! While green is the traditional color associated with St. Patrick’s Day, you can use any color you like for your shamrock. You can also mix and match different shades of green for a fun and unique look.
Q: Do I Need to Follow These Steps Exactly?
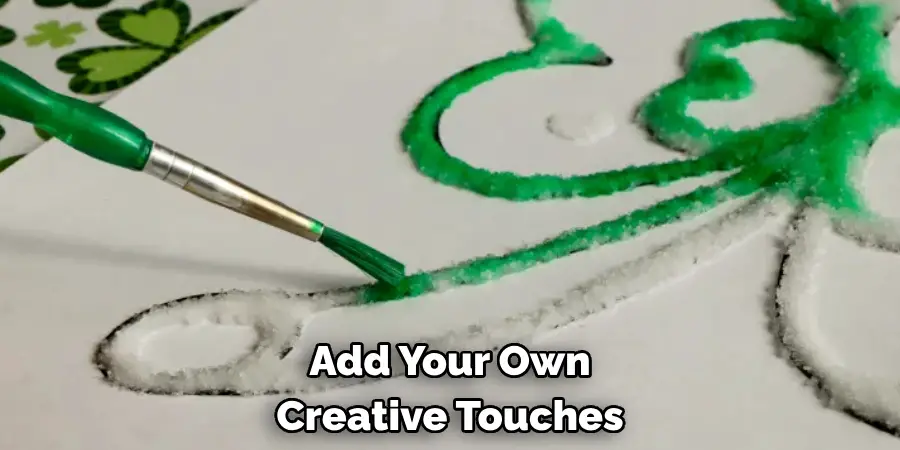
A: No, these steps are just a guide to help you create your own shamrock. Feel free to add your own creative touches or make changes as you see fit. The most important thing is to have fun and enjoy the process! So go ahead and get crafting – happy St. Patrick’s Day!
Q: What Other Crafts Can I Make for St. Patrick’s Day?
A: There are many other fun and easy crafts you can make for St. Patrick’s Day, such as making a leprechaun trap, creating a rainbow mobile or painting a pot of gold. You can also bake themed treats like shamrock cookies or decorate your home with festive banners and garlands. The possibilities are endless – just use your imagination! So get creative and have a lucky St. Patrick’s Day!
Conclusion
In conclusion on how to cut out a shamrock, cutting out a shamrock is really easy to do and only requires minimal time and effort. With the help of construction paper, scissors, glue sticks, glitter, foam paper, and Atkinson’s technique you can make absolutely beautiful decorations or accessories for St. Patrick’s Day or as a reminder of your Irish heritage.
Don’t forget that it’s important to lay the template on top of the construction paper while drawing the shape with pencil first before making any cuts. Choose your favorite craft material such as foam paper when decorating your shamrock and let your imagination go wild in creating one that expresses yourself!
Now that you have learned a bit more about shamrocks and how to cut one out, why not try it out for real? Some other fun activities would be to call some friends over for a craft session where everyone can make their own tattoos and jewelry using these traditional symbols!

