
If you’re looking to add some texture and interest to your next crochet project, the bean stitch is a great choice – especially if you’re just getting started with crocheting.
Easy enough for those new to the craft, it’s also an attractive way for more experienced crafters to spruce up their projects. In this blog post, we’ll go over how to crochet the bean stitch, everything from what materials are needed, how to start off your work with a foundation chain, the basics of working the stitch itself, and finally, what else you can do with it. So grab those hooks, and let’s get going!

What Is a Bean or Puff Stitch in Crochet?
The bean or puff stitch is a simple crocheting technique that adds texture and dimension to your crochet projects. It creates a raised three-dimensional look that resembles a bean or puff. You can use this stitch to create anything from intricate lacework to chunky blankets.
To crochet a bean or puff stitch, you’ll need to know the basic stitches of single crochet (sc) and double crochet (dc). The bean or puff stitch is worked in multiples of two and then one extra for crocheting the last stitch. Once you’ve mastered the technique, you can use it to create beautiful designs with just a few simple stitches. Let’s take a closer look at how to crochet the bean stitch.
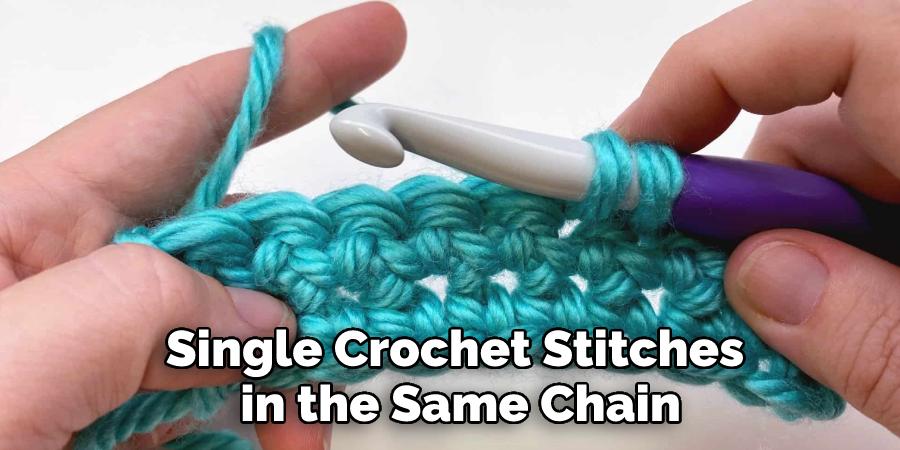
First, you’ll need to create a foundation chain in multiples of two plus one extra stitch. This means that if you want to crochet ten puff stitches, you will need to chain 21. Once your foundation row is ready, work one single crochet stitch into the second chain from the hook. Then, work two double crochet stitches into the same chain stitch. This forms your first bean or puff stitch.
Continue working a single crochet stitch followed by two double crochet stitches in each of the next chains across until you reach the end. When you get to the last chain, only work one single crochet stitch. Turn the work and repeat this row until you reach your desired length or number of puff stitches.
Once you have completed your bean or puff stitches, you’ve created a unique textured fabric that is perfect for any project. Whether it’s part of an intricate lace pattern or used to create a warm and cozy blanket, the puff stitch is an easy yet effective way to add dimension and texture to your work. With a few simple stitches, you can create beautiful projects that are sure to impress.
7 Methods How to Crochet the Bean Stitch
1. Gather the Materials
A crochet hook in size G (4.25 mm) and some worsted-weight yarn of your choice are necessary for this project. You can also use any other size of hook and yarn weight that you prefer. If you want a project that is more intricate, you can choose a smaller hook and thinner yarn. While you’re at it, you will also need a yarn needle and a pair of scissors. Though these are not absolutely necessary, they will make work easier.
2. Make a Slip Knot
To begin, make a slip knot by making an overhand knot around the hook and then pulling the working yarn through the loop that is already on the hook. Pull the slip knot so that it is snug but not too tight.
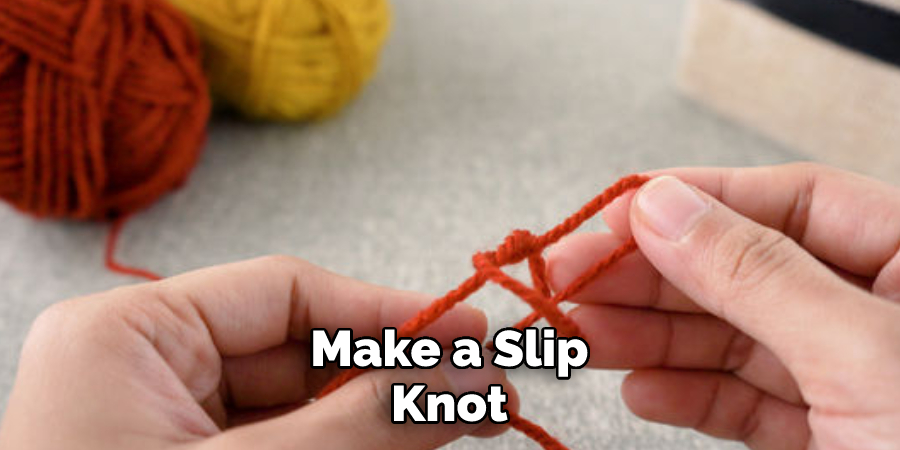
If the knot is too tight, it will be difficult to crochet the next stitch. Try to keep the loop of the slip knot around the same size as other crochet stitches. Although it may not look like a stitch, the slip knot counts as your first chain. Make sure you don’t pull the slip knot off the hook.
3. Make a Chain
Now, make a chain of 12 stitches (ch12). If you are a beginner, you can choose to start with fewer stitches and then increase the number of stitches later. Although, it is important to note that the bean stitch will not work unless you have an even number of stitches. Chain one more stitch in the end.
While creating the chain, make sure to keep the tension light and even. However, if you are a beginner and find it difficult to maintain even tension, don’t worry. You can always adjust it later.
4. Single Crochet in the Second Chain from Hook
Insert your hook into the second chain from the hook and work one single crochet (sc) stitch. You should now have two single crochet stitches in total. If you look closely, some of the stitches may be difficult to tell apart. The second stitch should be a little longer than the first one. If it isn’t, you may need to adjust the tension on your yarn. However, it shouldn’t be too tight. Make sure to count the stitches to make sure you have two single crochet stitches.
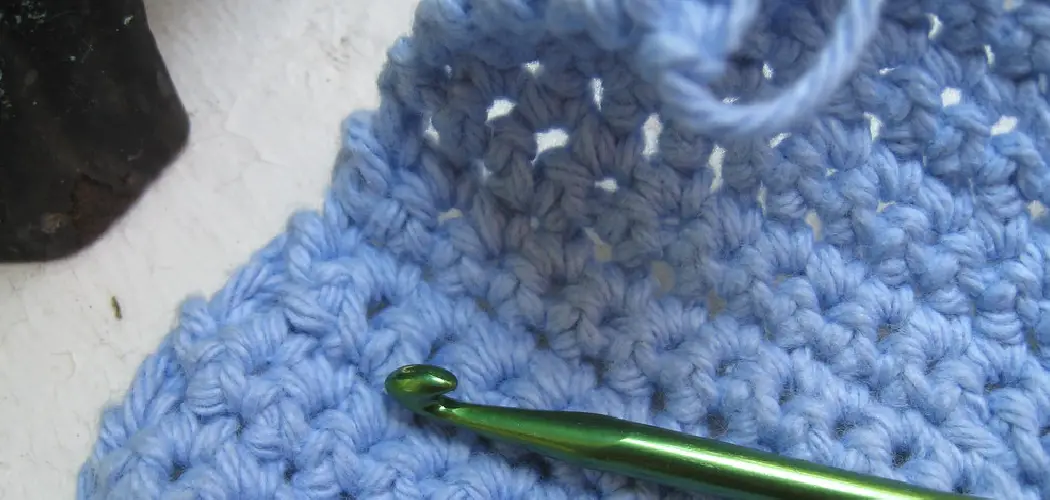
5. Bean Stitch
Work one more single crochet in that same chain, then chain two and work two single crochet stitches in the same chain. You have now created one bean stitch. Repeat this bean stitch pattern in every chain across the row. Work one single crochet in the last chain, then turn your work and repeat steps 4 & 5 for the next row.
Continue repeating steps 4 & 5 until you’ve achieved the desired length of your project. When finished, fasten off and weave in the ends. Congratulations, you’ve just learned how to crochet the bean stitch!
Don’t forget to practice your new skill; the more you practice, the better your results will be. To further hone your skills, try experimenting with different types of yarn and crochet hooks. You can also practice with different color combinations to add interesting details to your projects. Have fun, and let your creativity take you on a journey of exploration.
6. Single Crochet in the Next Chain
Work one single crochet in the next chain. Make sure you have your yarn over the hook and insert the hook into the chain, wrapping the yarn over the hook. Pull it through the chain to create a loop on the hook. Yarn over and pull it through both loops to complete the single crochet stitch. While crocheting the bean stitch, remember to keep your tension loose. However, don’t make it too loose, as this could cause gaps in your work.
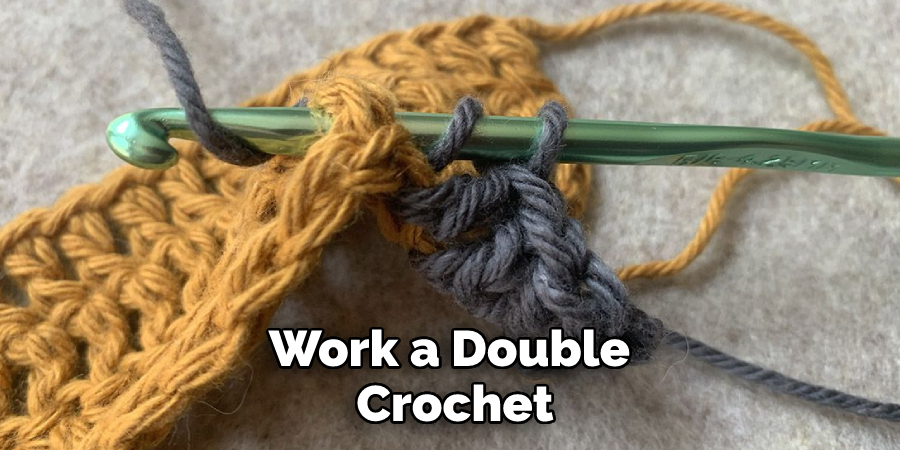
7. Double Crochet in the First Bean Stitch
Work a double crochet (dc) stitch into the first bean stitch of the row below so you can create the next row. If you need a refresher, double crochet is made by yarn over and inserting the hook, yarn over and pulling through two loops, yarn over again, and pulling through the last two remaining loops on the hook.
What Is a Bean Stitch?
The bean stitch is a type of crochet stitch that creates a raised, textured fabric. It’s made up of the same basic stitches used in other types of crochet: single crochet, double crochet, and treble crochet. The difference lies in how they are arranged together. When crocheting the bean stitch, groups of two or three single crochet stitches are placed in the same stitch, followed by one or two double crochets.
This creates a textured effect that resembles the shape of a bean. Because of its raised texture, it is perfect for creating cozy accessories and garments. In addition, it’s an easy stitch to learn and can be used to make everything from blankets to hats. With a few basic supplies, such as yarn and a crochet hook, you can start crocheting the bean stitch right away.
Things to Consider When Crochet the Bean Stitch
- Consider the fabric you are using for your crochet project. Different fabrics require different hook sizes and types of yarn to get the right tension. For example, bulky/bulky weight yarn may require a crochet hook size of 7mm or larger, whereas finer weaves may require a smaller hook.
- Consider the pattern you are using for your project. Different patterns will have different instructions on how to execute the bean stitch. Some may call for you to work multiple stitches together in one loop, while others may require you to crochet each stitch into the next loop.
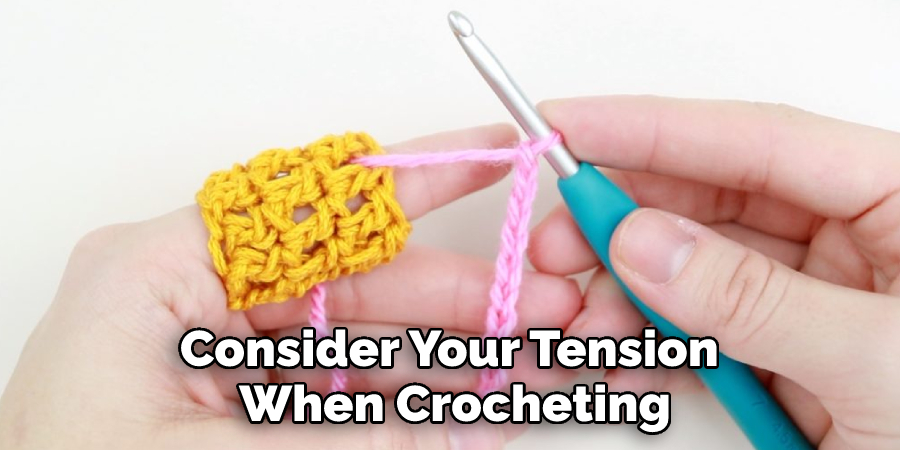
- Consider your tension when crocheting. Making sure that your tension is even and consistent will ensure better results with any project, but especially with the bean stitch. Pay attention to how tight or lose the yarn is in your fingers as you are working and adjust accordingly if necessary.
Conclusion
Are you looking for a new and exciting way to crochet? Why not try the bean stitch? This fun and simple stitch is great for beginners but can also add an interesting texture to more experienced projects.
With detailed instructions and helpful tips on how to crochet the bean stitch, this post will show you everything you need to know about crocheting the bean stitch so that your next project is sure to come out of exceptional quality. Get ready for some serious creativity!
You Can Check It Out to Weave in Ends While Knitting