

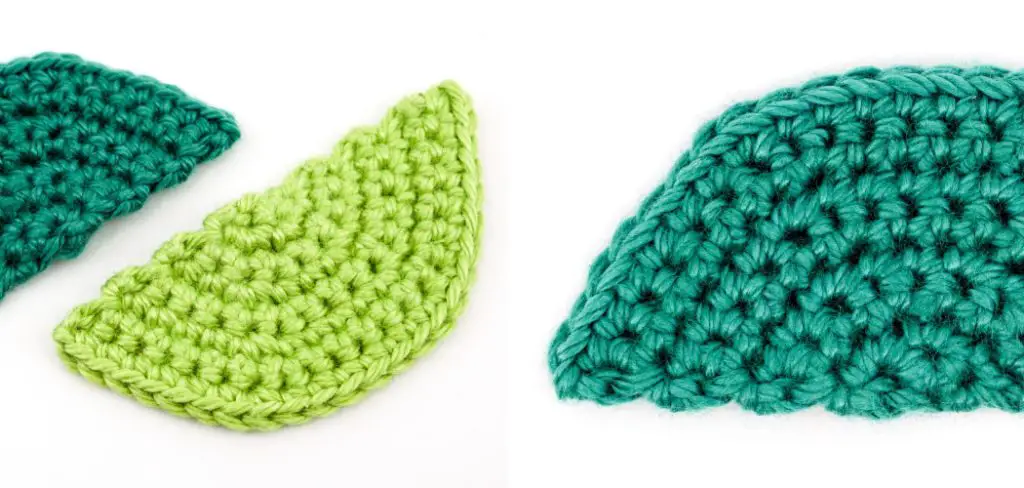
Crocheting a semicircle is a great way to make all sorts of items, such as blankets, hats, and even skirts. A semicircle can be crocheted with very little material, making it an ideal choice for quick projects or for those who are on a tight budget. Furthermore, the technique is simple enough that beginners can easily master it. The result of crocheting a semicircle is an item with a smooth and symmetrical look. It also looks neat and polished, making it perfect for any project.
Crocheting a semicircle is an easy and versatile way to create accessories, garments, and more. One of the major advantages of crocheting a semicircle is that it can be used in many different ways. It can be made into anything from hats to blankets and even scarves!
Additionally, when compared to other crochet shapes, a semicircle is much easier to shape and manipulate into the desired design. In this blog post, You will learn in detail how to crochet a semicircle.
Materials You Will Need
- Crochet hook
- Yarn
- Scissors
- Tapestry needle
- Ruler
- Stitch marker or safety pin
- Darning needle and thread
- Blocking mats (optional)
- Blocking wires (optional)
- Pins (optional)
What Type of Yarn Should You Use for a Semicircle?
When crocheting a semicircle, you have the choice of using any type of yarn that you desire. Depending on the project and your preferences, you may want to use a lightweight yarn such as worsted weight or DK (double knitting) yarn. You can also choose a more luxurious option and pick up some chunky wool or textured yarn.
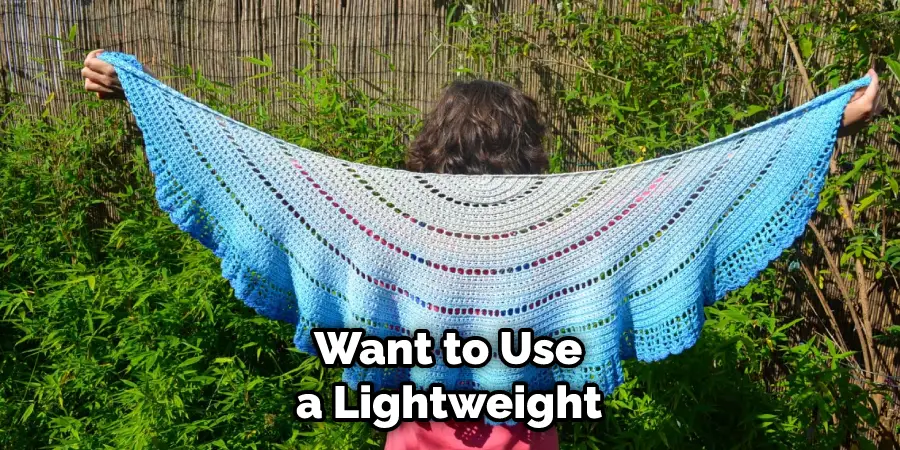
Regardless of the type of yarn you choose, be sure to select the correct hook size for your project. To ensure your semicircle turns out correctly, use the hook size recommended on the label of your chosen yarn or check your gauge swatch if you are substituting a different kind of yarn.
A too-small hook might make your semicircle end up looking too small, while a too-large hook can result in an oversized semicircle.
Step-by-Step Processes for How to Crochet a Semicircle
Step 1: Inspect Your Yarn
Take a look at your yarn and select the appropriate hook size for the weight of the yarn. This is essential to ensure that the stitch tension will be even and consistent throughout your work. To create a base for your semicircle, chain four stitches and join them together with a slip stitch in the first chain.
Step 2: Make a Foundation Chain
Begin by making a foundation chain of 12 stitches. This will form the base of your semicircle, so make sure to pay attention to yarn tension as you work. Use the same arm movement and pressure on each stitch to create even tension. Single crochet into the second chain from the hook. Then make one single crochet in each of the other ten stitches across. Chain two and turn your work to begin working on the next row.
Step 3: Increase Rows
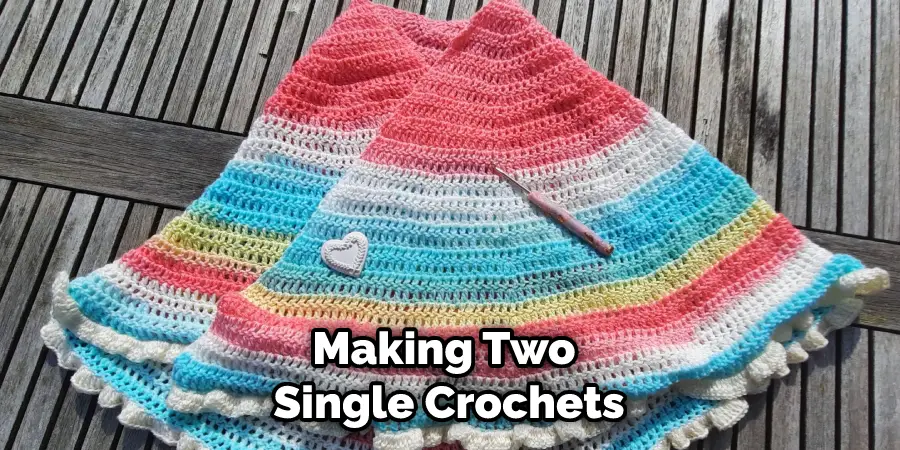
Make a single crochet for the first five stitches in each stitch, then increase by making two single crochets in the next stitch. Repeat this pattern of making one single crochet and then increasing until you reach 11 stitches in the row. Chain two and turn your work to begin working on the next row.
Step 4: Continue Increasing Rows
Make a single crochet for the first six stitches in each stitch, then increase by making two single crochets in the next stitch. Repeat this pattern of making one single crochet and then increasing until you reach 12 stitches in the row. Chain two and turn your work to begin working on the next row.
Step 5: Finish Increasing Rows
Make a single crochet for the first seven stitches in each stitch, then increase by making two single crochets in the next stitch. Repeat this pattern of making one single crochet and then increasing until you reach 13 stitches in the row. Chain two and turn your work to begin working on the next row.
Step 6: Begin Decreasing Rows
Make a single crochet for the first seven stitches in each stitch, then decrease by making two single crochets together. Repeat this pattern of making one single crochet and then decreasing until you reach 12 stitches in the row. Chain two and turn your work to begin working on the next row.
Step 7: Continue Decreasing Rows
Make a single crochet for the first six stitches in each stitch, then decrease by making two single crochets together. Repeat this pattern of making one single crochet and then decreasing until you reach 11 stitches in the row. Chain two and turn your work to begin working on the next row.
Step 8: Finish Decreasing Rows
Make a single crochet for the first five stitches in each stitch, then decrease by making two single crochets together. Repeat this pattern of making one single crochet and then decreasing until you reach ten stitches in the row. Chain two and turn your work to begin working on the next row.
Make a single crochet in each stitch across for the final row, then fasten off your work and weave in the ends. Your semicircle is now complete! If you want to add a border to your work, you can use the same stitch pattern to make one more round of single crochets around the outside edge of the semicircle. Following these steps, you can easily make a beautiful semicircle using crochet.
Tips for How to Crochet a Semicircle

- Wear safety glasses to protect your eyes from stray pieces of yarn or needles.
- Take frequent breaks and regularly stretch your hands, arms, shoulders, and back while crocheting.
- Keep the crochet needle away from young children at all times, as it can be a choking hazard if swallowed.
- Always store your crochet needles in a safe and secure place to avoid any mishaps.
- Use only sharp, good-quality crochet needles that are made of the right material for the project you’re working on (wooden or metal).
- Make sure to select a thread or yarn that is strong enough for the project and does not easily break or unravel when pulled.
- If working with large pieces of fabric, be sure to secure it in place before beginning your crochet work.
- If crocheting a semicircle shape, use a measuring tape and mark off the circle’s circumference beforehand to ensure the right size is achieved. This will help to prevent having to rip out stitches if it’s not the desired size.
These safety tips should be followed when crocheting a semicircle to have a safe and successful project.
Are There Any Special Techniques You Should Be Aware of When Crocheting a Semicircle?
Yes, there are some special techniques to keep in mind when crocheting a semicircle. One of the most important things to remember is that each row should be worked in the same direction. This will help ensure that your work looks even when it’s finished. Additionally, you’ll need to pay close attention to where you place your stitches.
Be sure to work each stitch into the corresponding loop of the previous row so that you don’t have any gaps in your semicircle. Finally, when you reach the end of the row, it’s important to make a slip stitch at the beginning of the next row to close up any holes that may form. This will create a more even and consistent look.
Is It Possible to Crochet a Full Circle Using the Same Methods as for a Semicircle?
Yes, it is possible to crochet a full circle using the same methods as for a semicircle. The stitches and techniques are similar, but there are some distinct differences in how you will approach creating a full circle compared to making just half of one.
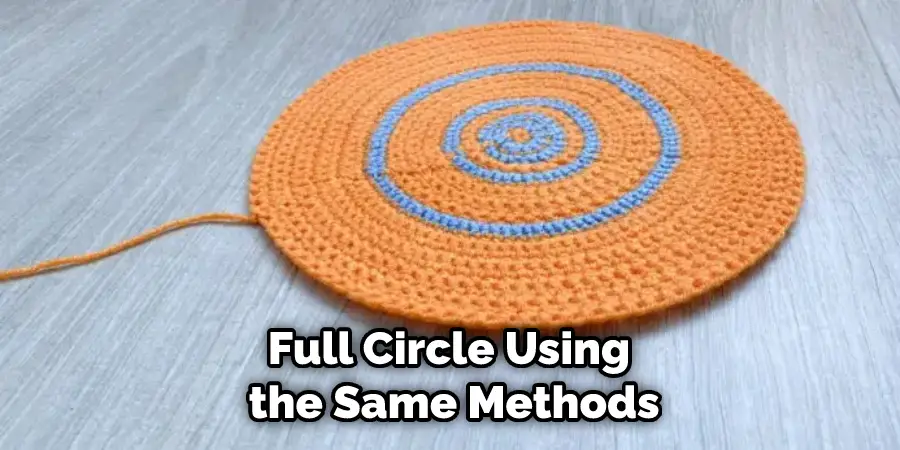
To begin crocheting a full circle, start with a tight center. This is important for the entire project, as it will ensure that your circle maintains its shape. You can create a tight center by making several single crochet stitches around an object smaller than what you eventually want the diameter of your circle to be. Instead of stopping after each round like you would when working on a semicircle, keep going until you have the desired number of stitches in your round.
Conclusion
In conclusion, crocheting a semicircle is an easy and fun way to add some interest to your crocheting projects. You can easily make one of these beautiful shapes with just a few basic supplies, some practice, and patience. You can use it for all kinds of things like scarves, doilies, hatbands, and more.
In the end, with a few basic supplies, some practice, and patience, anyone can learn to crochet a semicircle and create lovely pieces of fabric art. I hope this article has been beneficial for learning how to crochet a semicircle. Make Sure the precautionary measures are followed chronologically.