

Learning how to crochet can be a fun and rewarding experience for any crafter, but trying something new can also be intimidating. You must know how to crochet in back loop only. If you have already mastered the basics of crocheting and are looking for ways to add some extra dimension to your work, then learning how to crochet in a back loop only is an excellent next step.

Not only does it bring a unique twist on traditional stitches like single and double crochets, but it will improve your tensioning skills while giving your projects more texture and definition. In this blog post, we’ll give you all the tips necessary so that you too can master working exclusively in back loops!
Tools You Will Need
- A crochet hook of your choice
- Yarn in color and weight of your preference
- Scissors and a tapestry needle for finishing off
6 Steps Guide on How to Crochet in Back Loop Only
1. Create a Slip Knot
To crochet in the back loop only, start by creating a slip knot, then chain the desired number of stitches. Alternatively, you can also begin with a foundation chain. Crocheting in this way will produce a waffle stitch which is both eye-catching and great for decorative projects.
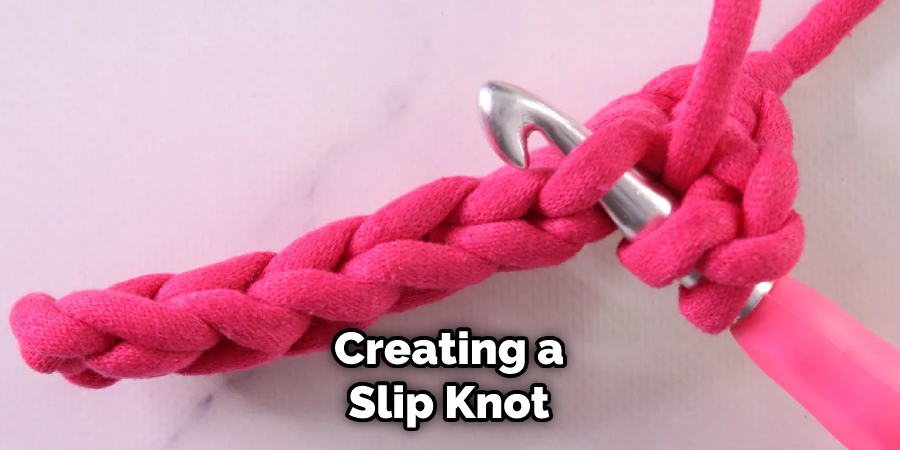
The trick to this technique lies in recognizing which loops to focus on – they always lie behind the regular project stitching since the back loops = slightly taller loops and are more prominent than those found along the front of your work. This creates an interesting texture that can add dimension to any piece and is easy to work up once you understand how to pick out the right loops!
2. Insert Your Hook
To crochet in the back loop only, you’ll need to start by inserting your crochet hook underneath the back loop of a stitch. Once your hook is inserted and you have the loop on your hook, pull up a loop and then yarn over the hook to complete it.
Repeat this pattern until you reach the length of stitches specified in the pattern. This is an essential technique for intricate designs, as it allows you to create textured effects within your pieces. The trick is to identify where the back loops are located, but if closely observed they can be found quite easily and act as a platform for creating unique crochet projects.
3. Complete Your Stitch as Normal
Crocheting in the back loop only is a great technique for getting unique and intricate stitch patterns. It is simple to do once you understand how it works: first, make sure that you’ve already got one loop on your hook. Then, yarn over and draw the yarn through just the back loop of your previous stitches, and complete your new stitch as normal.
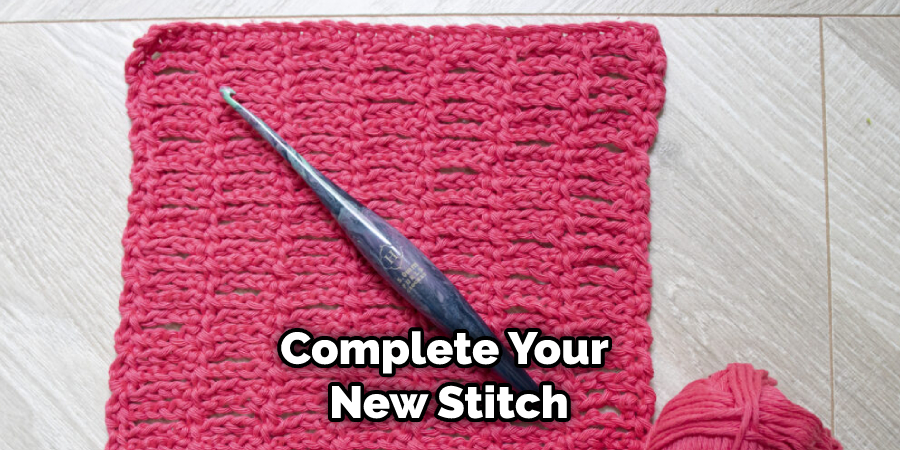
This creates an effect that has a subtle ripple across it, resulting in a textured, eye-catching piece. Once you’re comfortable with this method of crocheting, you can use it to create all sorts of gorgeous designs.
4. Repeat the Steps for All Remaining Stitches
Completing a crochet row with the back loop-only technique is easy. After completing your first stitch in the “back loop only,” as you move on to the next stitch, insert your hook in the same way: through both loops, but this time make sure to pick up only one of those two loops – that which lies behind the other one.
To be successful at crocheting in the back loop only, pay close attention to how you pull your yarn through each stitch. That’s the key to achieving a consistent look across all of your stitches within a given row. Once you get going, just keep repeating these steps for every stitch until you come to the last one – and voila! You’ll have successfully achieved back-loop-only crocheting for an entire row.
5. Turn Your Work and Begin Crocheting
When crocheting in back loop only (BLO), the technique may seem a bit tricky, but with practice, it will become second nature. The basic steps for BLO are easy to remember: crochet normally until you reach the end of a row, then turn your work and begin again in the same manner. Don’t forget to crochet into the next stitch when you make your turn!
This will ensure that all of your stitches line up correctly, creating even rows and an even look. As with any method of crochet, consistency is key; practice makes perfect! With some patience and dedication to mastering this new skill, soon you’ll be crocheting BLO with ease.
6. Continue Working in the Back Loop
Crocheting in the back loop only is a great technique for making unique projects. This method leaves you with fabric that has neat ridges and textures that stand out among regular crocheted items. To do this technique, it’s important to have a pattern developed so that you are following a clear structure and end up with even stitches and results.
Though it might take more time, making sure you keep working in the back loop of all your stitches will increase the quality of your item and ensure you get a strong final product that looks beautiful. Working in the back loop only is an easy way to elevate any crocheted piece.
Once you’ve gotten comfortable with this technique, there are so many possibilities that can be done with your back loop-only crochet. You can create interesting patterns and textures, such as stripes or ribbing, or you can use two different colors to add a pop of color to a pattern.
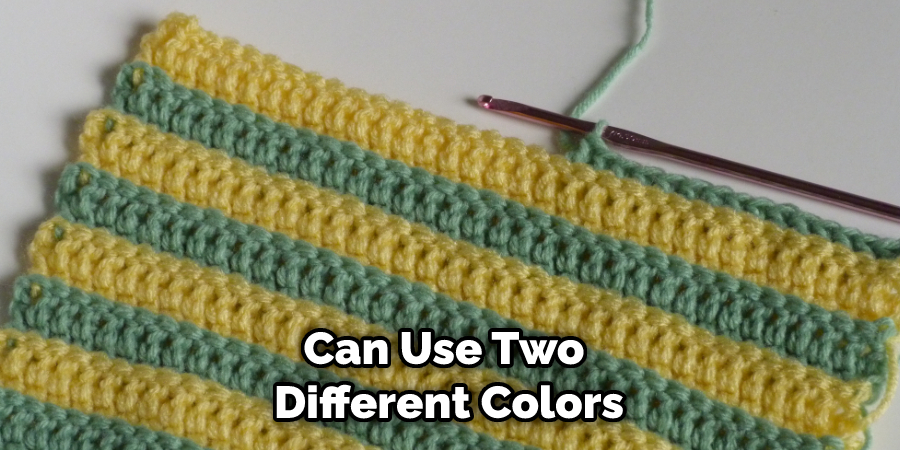
The most important thing is to have fun experimenting! Keep practicing and before you know it, you’ll be able to crochet in back loops with ease. Good luck and happy crocheting!
Tips to Crochet in Back Loop Only
- If you’re new to crocheting, it’s important to choose the right type of yarn for your project. For projects that require a lot of strength, such as bags or rugs, it’s best to use a sturdy yarn, such as wool or acrylic. For projects that are less strenuous, such as scarves or blankets, you can use a softer yarn, such as cotton or bamboo.
- It’s also important to choose the right size crochet hook for your project. The size of the hook will depend on the thickness of the yarn you’re using. If you’re using a thicker yarn, you’ll need a larger hook; if you’re using a thinner yarn, you’ll need a smaller hook. You can find the recommended hook size on the label of the yarn you’re using.
- Before you start crocheting, you’ll need to make a slip knot. To do this, wrap the yarn around your hand twice and then insert the hook into the loop that’s closest to your fingers. Pull the loop through the other loop and then tighten it around the hook.
- Once you’ve made your slip knot, you’ll need to insert the hook into the back loop only of the next stitch. To do this, insert the hook into the horizontal bar behind the front loop of the stitch and then pull up a loop of yarn. You should now have two loops on your hook.
- Once you have two loops on your hook, yarn over and pull through both loops. You’ve now completed one stitch in the back loop only! Continue working in the back loop only until you reach the end of your row or round.
- When you’ve reached the end of your row or round, fasten off by cutting the yarn and pulling it through the last loop on your hook. Then weave in any loose ends so they don’t come undone.
How to Create Unique Textures and Patterns with Back Loop Only Crochet?
Back Loop Only crochet is a great technique for creating unique textures and patterns. To back loop only crochet, you need to insert your hook under the back loop of every chain in the row, thus skipping over the front loops.
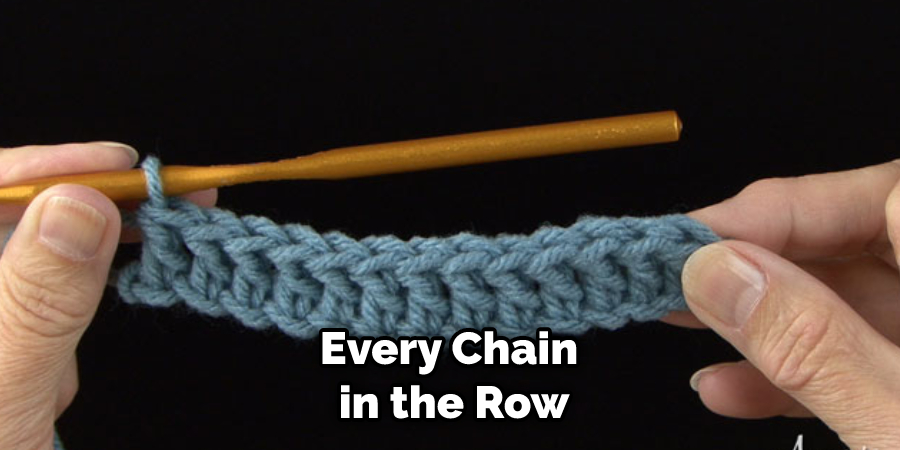
This technique lends itself well to using stitches of different heights and when used with single crochet and double crochet can produce ribbing or basketweave effects. Back loop-only crocheting has so many possibilities that allow you to customize the range of textures you create according to your taste.
You could even take it a step further by creating your custom stitch combinations to come up with an infinite number of intricate lines, shapes, and designs. With a little practice, you’ll be able to master this special technique and create beautiful pieces that stand out from the rest.
Unlocking the Secrets to Crochet in Back Loop Only
Delving into the secrets of how to crochet in a back loop only can be an exciting opportunity for any beginner crafter, as it adds a lot of texture and depth to the work. While mastering this technique takes some practice and focus, the process doesn’t have to be difficult.
After becoming familiar with standard single crocheting in both loops, you will want to pause your stitches and look at where the front loop and back loop are located on each stitch.
To successfully crochet in the back loop only, insert your hook under just the back loop of each stitch, skipping right over the front loop – giving your project more defined edges, which are especially desirable if you’re working with thicker yarns.
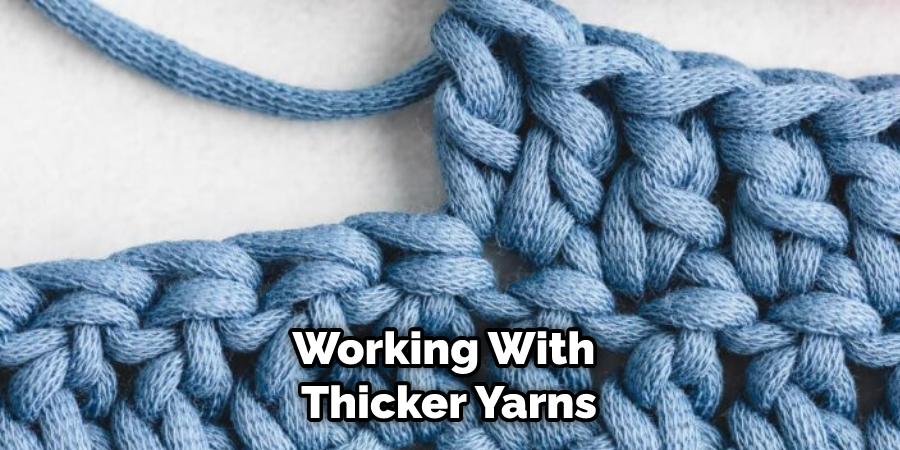
Work up a sample swatch beforehand so that you get used to seeing what the difference looks like before you start moving on to other projects. A small dose of trial and error is expected so don’t give up – soon enough you’ll have your project proudly displaying those beautiful textural “ripples”.
How to Create Professional-Looking Projects with Back Loop Only Crochet?
Back loop-only crochet is an excellent technique to use when striving for a polished look in a project. Stitches created with this method will be more structured, making them ideal for items such as blankets, shawls, and scarves. It’s even possible to create garments with back loop-only crochet if the pattern calls for it.
Once you get used to working with the technique, you’ll find that it’s both cozy and comfortable to work with – all while producing projects that look professional and polished. With clever stitches and attention to detail, the sky is the limit when it comes to what can be created using back loop-only crochet!
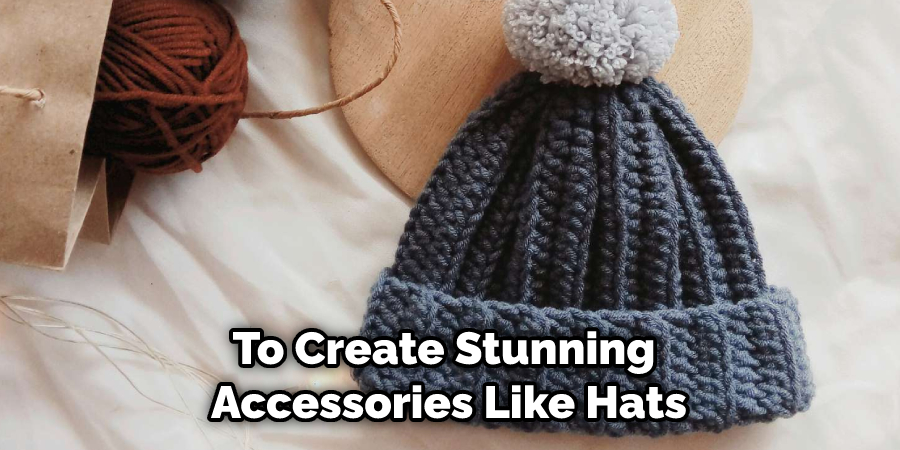
How to Make Stunning Accessories Using Crochet in the Back Loops Technique?
The back loop crochet technique gives projects an extra flair and dimension. It’s easy to master, even for beginners and can be used to create stunning accessories like hats, scarves, shawls, and more. Start by chaining the desired number of stitches. Pull the yarn up towards you to make the first stitch.
Then place your hook into the exposed back loops. Yarn over and draw through only the back loop for each stitch in the row until it’s complete. To create a more interesting texture work two single crochet stitches into one loop on alternating rows. With a little practice, you’ll soon develop a feel for working with back loops to create stylish accessories that will stand out from the crowd!
Conclusion
Now that you know how to crochet in a back loop only, put your new skills to the test with one of our free crochet patterns. You should carefully determine how to crochet in back loop only. You can find a wide variety of projects, from easy Crochet hats to more advanced amigurumi patterns. Don’t forget to share your finished projects with us on social media! We can’t wait to see what you create.
You Can Check It Out to Crochet a Circle Coaster