

Are you looking for a fun and creative way to express your personal style? If so, then look no further than crochet bat wings! This DIY project is easy to learn and customize, making it as unique as you.
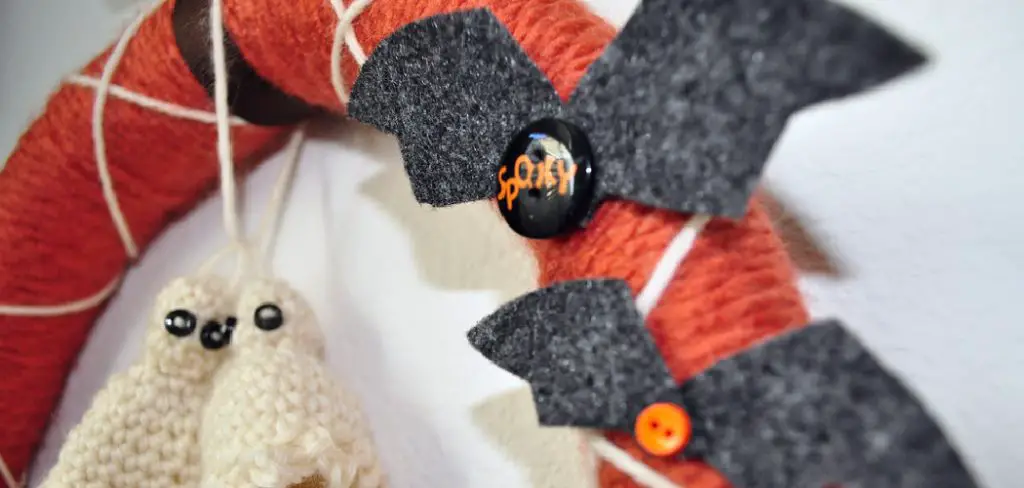
In this blog post, we’ll provide step-by-step instructions on how to crochet bat wings – complete with helpful tips along the way. So grab your yarn and hooks, get comfortable in your favorite spot, and let’s get started crafting some celestial bat wings together!
How Do Bat Wings Fold?
Bat wings are able to fold up due to their unique structure and design. The wings of a bat are made up of two layers: the upper layer is thin, lightweight skin called the patagium, while the lower layer is muscle and connective tissue that enable movement and flexibility. This special design allows the wings to hold in the air when folded, reducing the amount of energy required for flying.
The wings also have flexible joints, which allow them to fold up tightly against the body when not in use. To crochet your own bat wings, you’ll need a pattern and some basic knowledge of crochet techniques. You can easily find patterns online or in craft stores that will give you step-by-step instructions on how to crochet your own wings.
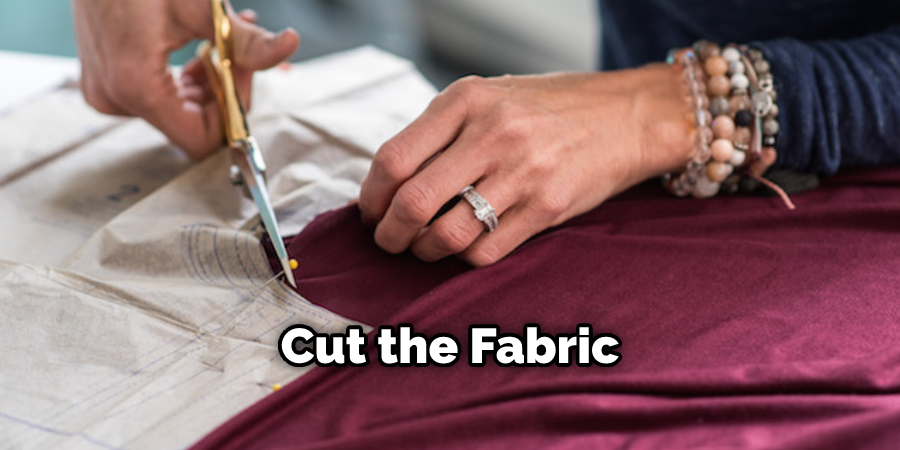
Once you’ve chosen a pattern, it’s important to measure and cut the fabric for your pattern pieces so that the wings can fold properly. To give the wings their lifelike look and function, stuff them with cotton batting or another lightweight material. You may also want to add a few wires for support and flexibility, as well as some elastic or ribbon to help hold them in place. Once the wings are complete, attach them to your costume and experience the thrill of flight!
7 Methods on How to Crochet Bat Wings
1. Choose the Right Yarn
The first step in crocheting bat wings is to choose the right yarn. You’ll want to use a worsted-weight yarn in a light color. This will help the wings look more realistic. Choose a color that will contrast with the colors of your costume, such as black against a white dress. If you want to make the wings look more realistic, use black and white variegated yarn. However, if you’re going for a more colorful look, use solid or multicolored yarn.
2. Crochet a Foundation Chain
Next, you’ll need to crochet a foundation chain. This will be the base of your wings. To do this, simply crochet a chain of stitches that is the same width as you want your wings to be. For example, if you want your wings to be 4 inches wide, crochet a chain of 4 stitches.
Once you have your foundation chain, turn your work and begin single crocheting in the second chain from the hook. Continue single crochet until you reach the end of your chain. Turn your work and single crochet in the other direction, creating a row of stitches.
Continue adding rows until you have reached your desired length. Make sure that your wings are slightly longer than the measurements of your bat. This will give you a place to attach the wings to your costume, and it will also make sure that your wings fit properly. When you have finished crocheting, fasten off and weave in any loose ends.

3. Single Crochet Across the Foundation Chain
Once you have your foundation chain, it’s time to start single crocheting across it. This will create the main body of your wing. Be sure to work evenly and keep your stitches tight so that the wing holds its shape. To single crochet, insert the hook in the second chain from the hook and yarn over it.
Pull the loop through the chain; you should now have two loops on the hook. Yarn over and pull through both loops to complete the single crochet stitch. Continue crocheting one single crochet in each chain across the row. When you reach the end of the row, chain one and turn your work to start working in the other direction.
4. Crochet Two Half-Circle Shapes
Once you’ve reached the end of the foundation chain, it’s time to start crocheting the half-circle shapes that will make up the leading edge of the wing. To do this, simply crochet a half-circle shape using double crochet stitches. Make two of these shapes, one for each wing.
The size of the half-circle shapes should be slightly larger than the armhole area for which you will later sew them. To get the right size, count the number of stitches included in your foundation chain. Multiply that by two and use that total when making your half-circle shape.
5. Join the Half-Circle Shapes Together
Once you have both of your half-circle shapes, it’s time to join them together at the top. To do this, simply slip the stitch into the topmost stitch of each half-circle shape. This will form the wings of your bat.
To make sure that they are firmly attached, you may wish to add a few extra stitches along the edge of each half-circle shape to secure them in place. Once all the stitches have been joined together, your bat’s wings are complete! Additionally, you may want to add a couple of rows to further define the shape of the wings.
6. Crochet Along the Edge of the Half-Circle Shape
Now that you’ve joined the two half-circle shapes together, it’s time to start crocheting along the edge of one of them. This will create the trailing edge of the wing. Again, be sure to work evenly and keep your stitches tight so that the wing holds its shape. Chain one single crochet into the next stitch, and continue in this pattern until you reach the end of the half-circle.
Make sure that when you reach the end, you are crocheting into the last stitch and not just skipping it. Fasten off your yarn, leaving a long tail for sewing. Although the wing will be held together by the stitches, you’ll want to use the tail to reinforce it.
7. Finish Off The Wing
Once you’ve reached the end of the half-circle shape, it’s time to finish off the wing by slip-stitching into the last stitch. Cut off any excess yarn and weave in any loose ends so that they’re hidden inside the wing. Repeat these steps for the other wing, and then you’re finished! Additionally, you can add embellishments, such as attaching additional yarn strands to the wings for decoration. With these simple steps, you now know how to crochet bat wings!

Now that your bat wings are complete, you can use them for a variety of creative projects. Sew them onto a jacket or shirt, or attach them to a plush toy. You can also hang them up in a window to add some spooky Halloween decorations! With a little imagination, you can find all sorts of ways to use your crocheted bat wings. Have fun with your new project, and show off your creative flair!
Things to Consider When Crocheting Bat Wings
1. Choose the Right Yarn:
When crocheting bat wings, it’s important to choose a yarn that is lightweight and easy to work with. This will help ensure your finished product looks as professional as possible.
2. Choose Your Pattern:
There are many different patterns available for crochet bat wings, so make sure to choose one that will work best for your project. Consider the size of the wings you want to create and the skill level of the crocheter.
3. Safety First:
When making any type of garment or accessory, safety is important. Before beginning, check for any loose ends or sharp edges on your crochet hook that might be hazardous.
4. Get Creative:
Now that you have your pattern and yarn, it’s time to get creative with your bat wings! Use different colors of yarn to create interesting patterns, or try using different types of stitches to add dimension and texture. You can also experiment with adding small embellishments, such as buttons or beads, for an extra artistic touch.
5. Quality Control:
Once your bat wings are complete, be sure to inspect them thoroughly to make sure there are no flaws or defects. Also, double-check that the wings fit comfortably and securely when worn. This will help ensure that you are creating a durable, high-quality product.
Following these tips will help ensure that your crochet bat wings turn out looking great! Have fun and get creative with the project, and before you know it, you’ll have a pair of beautiful wings to show off. Happy crocheting!

Conclusion
Now that you know how to crochet bat wings, put your new skills to use and make something spooky for Halloween!
These wings would also be perfect as part of a costume for other creatures, such as fairies, bats, or birds. With this pattern, the sky’s the limit when it comes to what you can create.