
Unlocking the art of crochet opens a world of creative possibilities, with techniques that range from the basic to the intricate. Among these techniques, crocheting an i-cord stands out as a versatile and essential skill.
The i-cord, or “idiot cord,” may have a humorous name, but its applications are anything but simple. In this article, we delve into how to crochet icord, guiding you through the process of creating this seamless, tubular structure that can be used for a multitude of projects.

Whether you’re a beginner or an experienced crocheter looking to expand your skill set, mastering the i-cord technique allows you to add a polished and professional touch to your creations. So, gather your yarn, hook, and enthusiasm as we explore the fascinating world of crocheting an i-cord, stitch by stitch.
What I-Cord Is and Its Uses
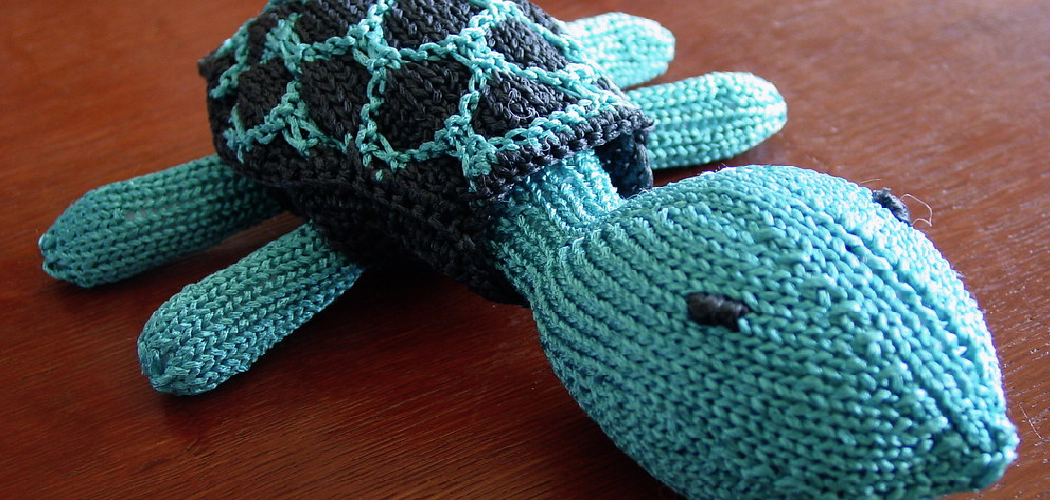
I-Cord, also known as Idiot String or Crochet Cord, is a small tube of knitted or crocheted yarn that can be used for decorative purposes. It has many uses in knitting and crochet projects including edging, necklines, straps, drawstrings and more. It’s an easy way to add texture and visual interest to any project.
Crocheting I-Cord is a simple process that requires basic crochet skills. It’s worked in rounds, like a tube, so there are no seams to worry about. The size of the cord can also be adjusted by adding or subtracting stitches. With just some yarn and a crochet hook, you can make this versatile cord to use in all kinds of projects.
Creating an I-Cord using crochet is a great way to use scrap yarns or leftover strands of yarn from other projects. It’s also great for trying out new stitches and techniques since the cord can be used in any kind of project, from hats to bags to blankets. And because it’s so small and quick to make, it’s perfect for practicing basic crochet stitches and techniques.
Once you have mastered the basics of crocheting I-Cord, there are many ways to customize it. You can use different colors or textures of yarns, combine different kinds of stitches, or make the cord larger or smaller by adding or subtracting stitches.
The Skills Required for Crocheting I-Cord
Crocheting I-Cord requires a few basic skills that will be helpful in gaining the desired results. First and foremost, it is important to understand the basic principles of crochet. This includes understanding how to read crochet patterns and diagrams, as well as being able to create even stitches with the correct tension.

Additionally, crocheters should have a firm grasp on how to make a chain, double crochet, and reverse single crochet. The combination of these skills will allow individuals to be able to successfully complete any project involving I-Cord.When starting out with crocheting I-Cord, it is important that the necessary supplies are gathered beforehand. This includes an appropriate sized crochet hook for the yarn being used as well as a tapestry needle.
Additionally, the project being worked on should also be planned out prior to starting. This includes creating any diagrams and following instructions that are included with the pattern. Once all of these items have been gathered, crocheters can feel confident in their abilities before beginning their work.
10 Steps How to Crochet Icord
Step 1: Gather Your Materials
To embark on your i-cord journey, assemble your crafting arsenal: a ball of yarn chosen for its quality and desired texture, a crochet hook appropriate for the yarn weight, and a pair of sharp scissors for precision.
Step 2: Choose the Starting Stitch Count
The i-cord’s width is determined by the number of starting stitches. Decide the stitch count based on the desired width of your i-cord. Typically, an i-cord consists of 3 to 5 stitches, but you can adjust it to suit your project.
Step 3: Craft the Initial Slip Knot

Begin with a slip knot on your crochet hook, ensuring you leave a tail of approximately 6 inches. This tail will play a vital role in securing your i-cord later in the process.
Step 4: Commence Crocheting the I-Cord
Insert your crochet hook into the slip knot you’ve created, gently pulling up a loop. This loop serves as your first stitch. Yarn over and then pull the yarn through both loops on the hook. This single chain stitch constitutes the inaugural stitch of your i-cord.
Step 5: Progressing Through the I-Cord Stitch
Avoid turning your work as you proceed. Instead, replicate the previous step. Insert your hook into the last stitch you made, carefully pulling up a loop. Following this, yarn over once more, and then pull the yarn through both loops on the hook. This repetition continues for the desired number of stitches in your i-cord.
Step 6: Shaping the Tube
With your chosen stitch count completed, gently tug on the tail end to close the loop at the i-cord’s inception. Observant eyes will note the formation of a distinct tube, one of the hallmark characteristics of the i-cord.
Step 7: Crocheting the Rows
To extend the i-cord, continue replicating the previous steps. Insert your hook into the most recent stitch, then pull up a loop and proceed to yarn over, eventually pulling through both loops on the hook. With every additional row, the tubular structure will become more apparent.
Step 8: Consistency in Tension
Maintaining consistent tension is pivotal in the creation of an ideal i-cord. Your stitches should be firm but not excessively tight, preserving the tube’s shape without warping the individual stitches.
Step 9: Culminating the I-Cord
As your i-cord nears the desired length, it’s time to finalize it. Clip the yarn, leaving a tail approximately 6 inches long. Pull this tail through the last stitch to secure it. To achieve a clean finish, weave in both the beginning and ending yarn tails.

Step 10: Harnessing the Power of the I-Cord
With your i-cord in hand, you’re now equipped to unleash its versatility. Incorporate it into a plethora of projects—whether it be a charming drawstring, a chic embellishment, or the building blocks for more intricate designs such as handles, straps, and beyond.
Things to Consider When Crocheting Icord
Crocheting icord is a great way to spruce up any project, but there are a few important things you need to consider before getting started.
First, it’s important to choose the right type of yarn for your project. Yarns vary in texture and thickness which can affect how easy (or difficult) it is to crochet into an icord. Generally speaking, the thicker and stiffer the yarn is, the easier it will be to crochet with.
Second, you’ll want to make sure that your hook size is appropriate for your yarn choice. For thicker yarns, you’ll need a larger hook size than what you would use with thinner yarns. A good rule of thumb is to use a hook that is one size larger than what is recommended on the yarn label.
Third, it’s important to keep your tension even as you crochet. This will help ensure that the icord doesn’t become too loose or tight and keeps its shape better. If you find yourself struggling with tension, try using a smaller hook or switching to a yarn type that is easier to work with.
Some Common Mistakes When Crocheting Icord
Making an icord is easy, but there are some common mistakes that can cause the project to look wonky. To avoid these problems, keep the following tips in mind:

- Make sure you’re using the correct size hook for your yarn. If it’s too small, the chain will be too tight; too large and it will be too loose.
- Count your stitches carefully as you go along to avoid accidentally dropping one.
- Avoid twisting the chain while crocheting, as it will affect the finished look of your icord.
- Don’t pull too tightly on the yarn after a stitch is worked; it could cause the stitches to bunch up and make them difficult to work into.
- Make sure you’re using the right type of yarn for your project; some types are too thin or thick for icord.
- Don’t crochet too tightly, as it can make the icord difficult to shape and manipulate. Crocheting loosely will give you better results.
Conclusion
Crafting unique and stylish projects is what makes crocheting such an enjoyable hobby. Creating icord provides you with a unique texture and design element that’ll truly make your finished project stand out from the crowd! Now you have the skills to craft any icord project, so let your imagination run wild! With the help of this guide, you can create beautiful finishes reflecting any mood or occasion.
Whether it be hats, scarves, shawls, or anything else – just remember the basics and you’re sure to have an awesome finished product in no time! So, take what you’ve learned about how to crochet icord and get creative. There’s so many possibilities of where this knowledge could take you – now go explore and don’t forget to show off your awesome creations when you’re done!