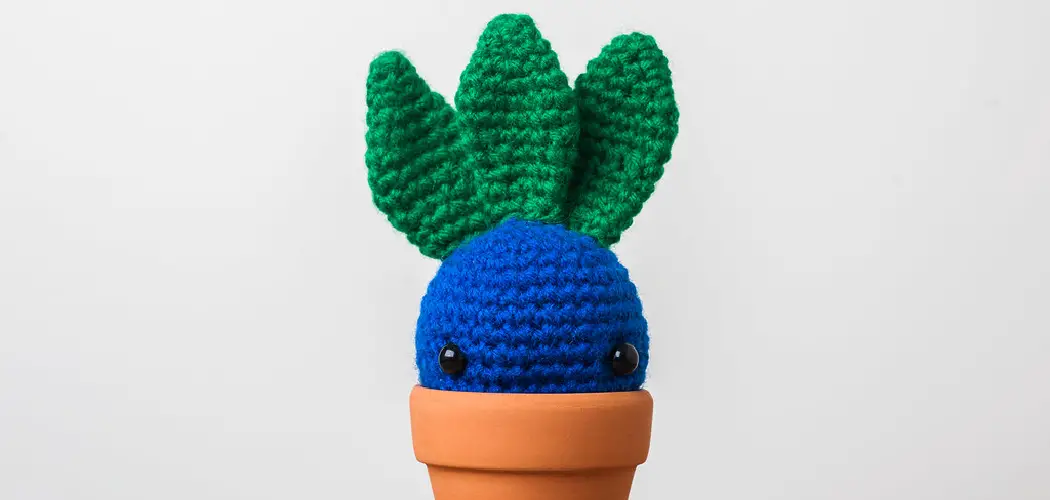
Are you looking for a new creative outlet to express yourself and beautify your home? Crochet can be an enjoyable hobby that allows you to create charming décor pieces. We’re all familiar with the idea of knitting a scarf or sweater, but how about taking it one step further and crocheting your own cactus?
Cacti are known for their compact size and variety of interesting shapes – transforming them into crochet patterns is an amazing way to bring some life (and an extra bit of warmth) into any room!
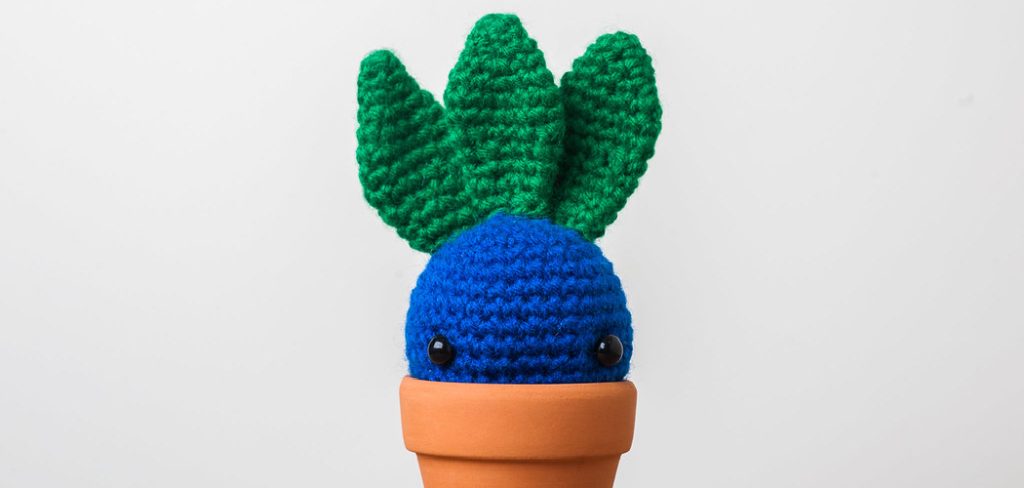
And don’t worry – if you haven’t yet picked up a hook, this tutorial on how to crochet a cactus will show anyone from beginners to experienced crafters how easy it can be. So grab your yarn, follow along, and get ready for some prickly yet lovely fun!
Step-by-step Guides on How to Crochet a Cactus
Step 1: Gather Your Materials
For this project, you’ll need a crochet hook in the size of your choice (we recommend starting with a size 4.5 or 5.0mm hook), yarn in the colors of your cactus, and stuffing for the pot. You’ll also need a pair of scissors, a tapestry needle, and some stitch markers to make your project easier to work with.
Step 2: Start Your Cactus
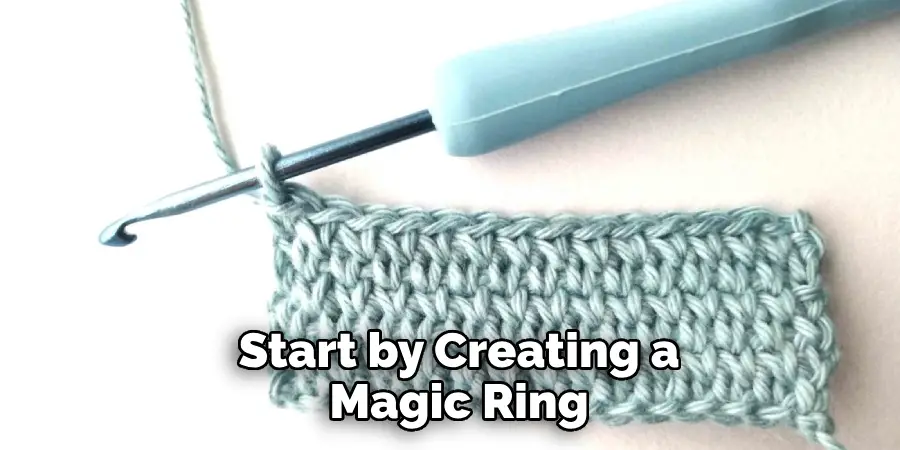
Start by creating a magic ring – this forms the base of your cactus. To do this, create a loop with the tail end of your yarn and then wrap it around your finger twice. Insert your hook into the loop while holding onto both ends of the yarn and pull through to form a complete circle. If you’re a beginner, watch the video tutorial or look up additional instructions for a more in-depth guide.
Step 3: Crochet Your First Round
Now for some simple single crochet stitches. Place 6 single crochet stitches into the center of your magic ring and then pull the tail end to close the loop. You should now have 6 stitches in total – 3 on each side of your starting chain. But don’t worry if you end up with more or fewer stitches – this can easily be corrected at the next step.
Step 4: Continue Crocheting Your Cactus
For Round 2, simply make a single crochet stitch into every stitch from the previous round. This will increase your cactus’ size and create a slightly more textured shape.
Continue increasing the number of stitches in each round until you have reached your desired size. It’s important to keep track of the number of stitches as you go – this will help you out in the last few rounds!
Step 5: Weave In Your Ends
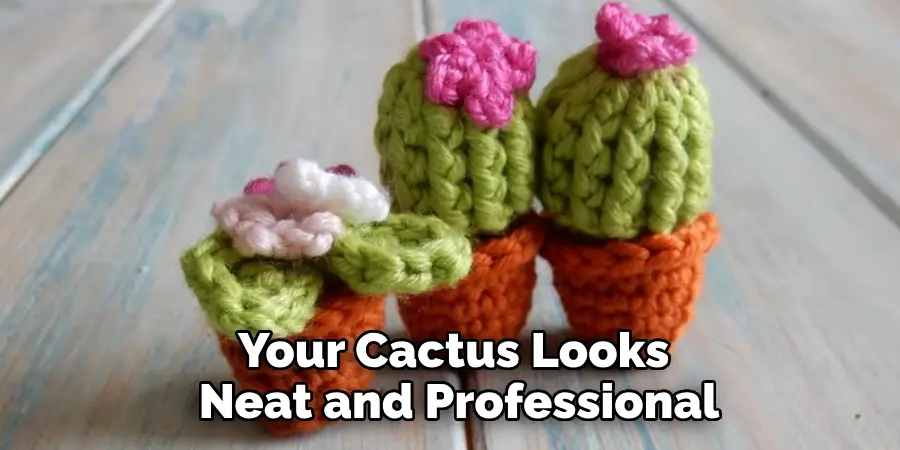
Once you have finished crocheting your cactus, it is time to weave in any loose ends from the beginning and end of each round. Use your tapestry needle to weave the ends into the opposite direction of where you crocheted – this helps to keep them secure and invisible. This step is essential to make sure your cactus looks neat and professional.
Step 6: Stuff Your Cactus
Take some stuffing and fill up your cactus until it is solid but not too tight. You can also add a bit of extra texture by adding some beads, buttons, or other small decorations to your cactus. However, make sure to avoid overstuffing as this will affect the shape of your cactus.
Step 7: Start on Your Pot
Your cactus needs somewhere to live! Begin crocheting your pot in whichever stitch you’d like – we recommend starting with a few rounds of single crochet stitches. Make sure that the size of your pot is proportional to the size of your cactus for a neat and tidy look. Otherwise, you can also crochet a separate base for your cactus pot if desired. It’s all up to you – have fun and be creative!
Step 8: Crochet Your Pot’s Rim
To create a nice finish for the top of your pot, you can crochet a classic rim. To do this, start by going around the circumference of your pot with single crochets in one color. Then, go back around and make a row of double crochets in the same color.
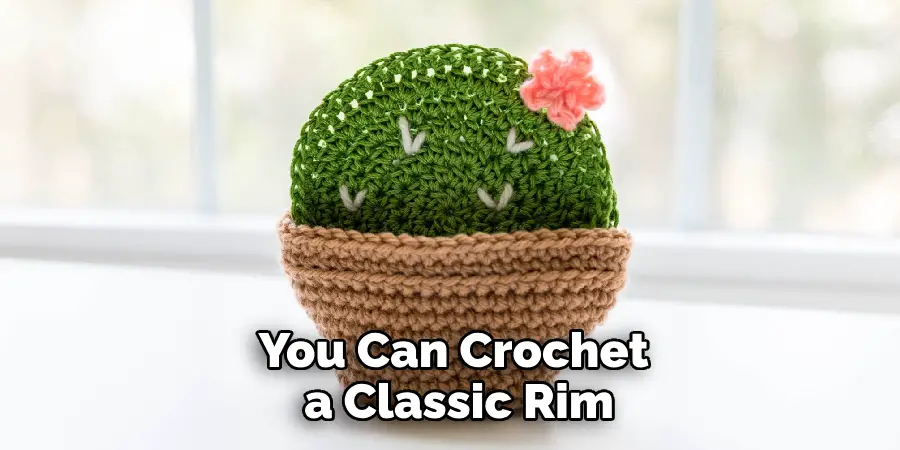
Finally, finish off with one more round of single crochet stitches in a different color for added contrast. It’s a simple but effective way to give your pot that extra decorative touch!
Step 9: Finishing Touches
Weave in any loose ends from the pot and add some details like pom-poms or tassels to give your cactus even more character. You can also use a contrasting color of yarn to whip stitch around the edge of your cactus for a neat and tidy look. But feel free to get creative and add any other details that you think would work well with the overall design of your cactus!
Step 10: Attach the Pot to Your Cactus
You’re almost there! Now it’s time to attach your pot to your cactus. Simply slip stitch around the edges of the pot, making sure to pick up stitches from both the pot and cactus for a secure attachment. Make sure to weave in any loose ends before moving on to the next step.
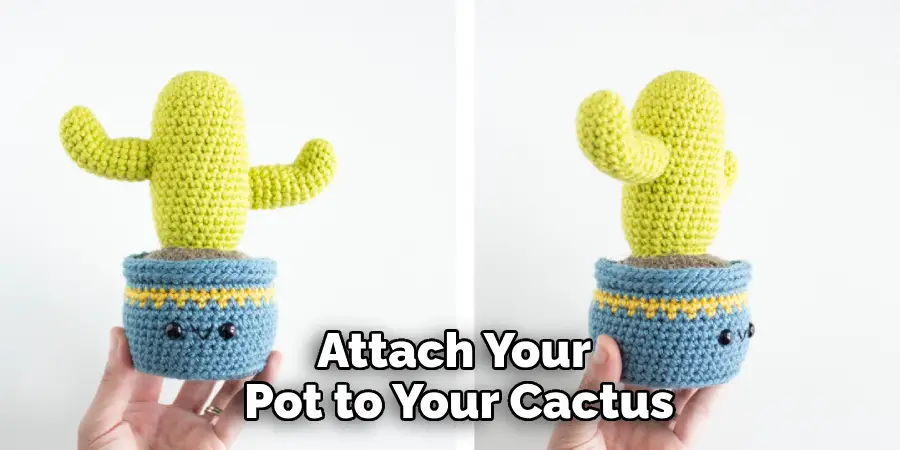
You want your cactus to look its best! It’s also important to note that if you added a separate base for your pot, now would be the time to attach it.
Step 11: Put Your Cactus in Its Home
Once you’ve finished all the details, it’s time to put your new handmade cactus in its home! Carefully insert your cactus into the pot and crochet around the two pieces to keep them together. But don’t worry if it doesn’t look perfect – handmade items often have a unique charm of their own that just can’t be replicated. And with that, your cactus is officially ready for display!
Step 12: Enjoy Your Cactus!
Congratulations – you’ve just made a beautiful handmade cactus for your home! Now all that’s left to do is find the perfect place to live and admire your creation. Always remember that making your own creations can be a great way to add a bit of personality and life to any room. So experiment with different colors, sizes, and shapes to make something unique that reflects your style!
Following these 11 steps on how to crochet a cactus will help you crochet a beautiful cactus that can bring life and style to any space! Crocheting your own decorations can be both rewarding and fun, so why not give it a try? With just a little bit of patience, you’ll be well on your way to creating a unique handmade piece for your home.
Additional Tips for Crochet Beginners
Crocheting can be a bit intimidating at first, so here are a few tips to help beginners who are just starting out:
- Start With the Basics – Practice Making Basic Stitches Like Single Crochet, Half Double Crochet, Double Crochet, and Slip Stitches.
- Use Stitch Markers – This Helps Keep Track of Your Progress and Makes It Easier to Count How Many Stitches You Have in Each Row.
- Take Your Time – Don’t Be Afraid to Stop if You Make a Mistake or if Something Isn’t Working Out the Way You Expect. Crocheting is a Hobby That Takes Practice, So Don’t Be Discouraged if It Isn’t Perfect the First Time.
- Don’t Forget to Have Fun! – Crochet is About Creativity and Expression, So Let Yourself Experiment and Explore Different Patterns and Ideas.
Frequently Asked Questions
Q: What Type of Yarn Should I Use for My Cactus?
A: You can use any type of yarn you like, depending on the look and texture you’re going for. However, we recommend using an acrylic or wool-blend yarn to ensure your cactus is durable and long-lasting.
Q: Can I Crochet a Bigger Cactus?
A: Absolutely! You can make your cactus as big or as small as you’d like – just remember to adjust the size of the pot accordingly. Additionally, you can use different crochet stitches to create interesting textures and patterns in your cactus. Have fun and be creative!
Q: What Are Stitch Markers and How Do I Use Them?
A: Stitch markers are small pieces of yarn or plastic that you can use to mark the beginning and end of a row. This helps keep track of your progress and makes it easier to count how many stitches you have in each row. To use them, just slip the marker through the last stitch of your row and then move it up to the first stitch as you progress.
Q: Are There Any Other Accessories I Can Use to Decorate My Cactus?
A: Yes! You can add some extra texture and character to your cactus by adding beads, buttons, or other small decorations. Have fun playing around with different colors and textures for a unique look. You can also use a contrasting color of yarn to whip stitch around the edge of your cactus for a neat and tidy finish.
Conclusion
Learning the basics of crocheting a cactus can be an enjoyable and exciting experience that anyone can try. With enough practice, creating your very own cactus of any style and size is possible. Even if you are a beginner, give it a shot – all you need is yarn, some hooks and a bit of patience and creativity.
And remember to forget perfection! Show off what you make to friends and family – they are sure to be impressed! Don’t be afraid to take on projects with complex designs or colors – start small and gradually work up your skill set as you go.
So go ahead, grab some yarn and some hooks, choose a pattern, and get started on your very own crochet-cacti masterpiece today! Thanks for reading this article on how to crochet a cactus.

