Indulge your creative cravings and embrace the delightful world of crochet by learning how to crochet ice cream! In this whimsical and imaginative art form, where yarn becomes your medium and a hook your tool, you can bring to life the sweetness of summer in the form of charming crocheted ice cream cones.
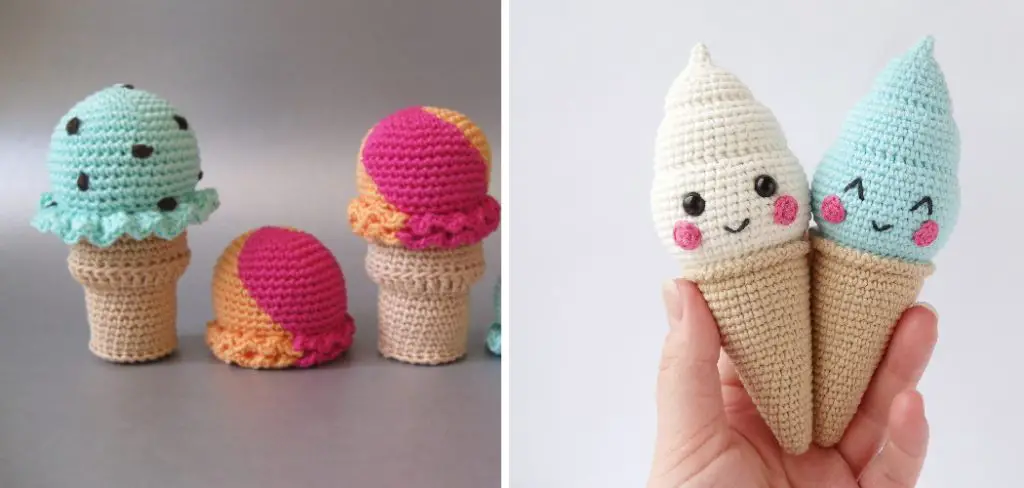
From the classic vanilla swirl to vibrant strawberry scoops and even quirky combinations, the possibilities are as limitless as your imagination. Whether you’re an experienced crocheter looking to add a whimsical twist to your repertoire or a beginner eager to embark on a fun and rewarding journey, crocheting ice cream cones offers a perfect blend of techniques and creativity.
Choosing the Right Yarn for Your Ice Cream Cone
When it comes to crocheting ice cream, choosing the right yarn is essential to achieve the desired effect. There are various types of yarn that you can consider for this project, such as cotton yarn, acrylic yarn, or even novelty yarn with a fuzzy texture. The choice of yarn will depend on the look and feel you want to achieve for your ice cream cone.
Factors to consider when choosing yarn include the weight of the yarn, the color options available, and the texture of the yarn. For a more realistic look, you may want to choose a yarn that has a slight sheen or shimmer to mimic the appearance of ice cream. Additionally, consider the durability of the yarn, especially if you plan to use your crocheted ice cream cone as a decoration or in other projects.
Basic Crochet Stitches for Ice Cream Cones
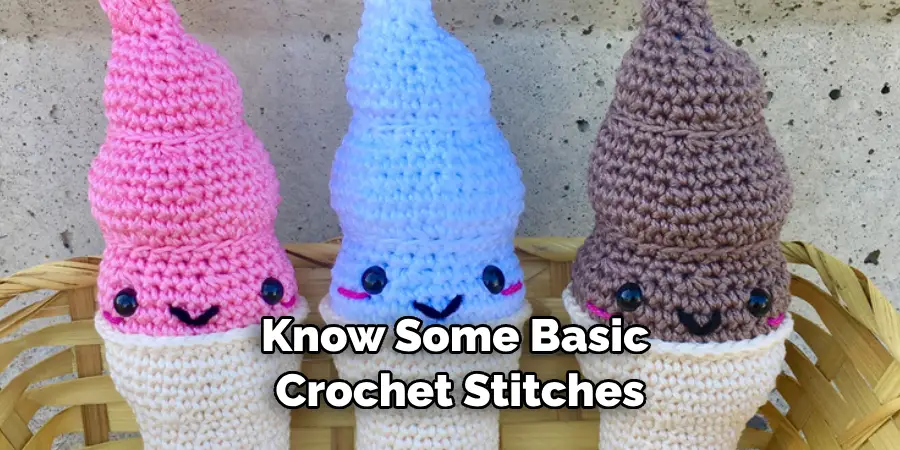
To create a crocheted ice cream cone, you will need to know some basic crochet stitches. The most commonly used stitches for this project are the single crochet stitch, double crochet stitch, and half double crochet stitch.
The single crochet stitch is the foundation stitch for many crochet projects. It creates a tight and dense fabric, which is perfect for creating the cone part of the ice cream. The double crochet stitch is taller and creates a looser fabric, making it ideal for creating the ice cream scoop.
The half double crochet stitch is a versatile stitch that falls between the single and double crochet stitches in height and density.To create the cone, start with a magic ring and work single crochet stitches in a spiral until you reach the desired length. For the ice cream scoop, start with a chain and work double crochet stitches in rows, increasing and decreasing as needed to shape the scoop.
10 Steps How to Crochet Ice Cream
Step 1: Gather Your Supplies
Before you dive into the world of crocheting ice cream, gather all the necessary supplies. You’ll need a selection of yarn in various colors to represent different ice cream flavors, a crochet hook suitable for the chosen yarn weight, a pair of scissors, a tapestry needle, and stuffing material. It’s essential to choose yarn that is soft and suitable for amigurumi projects to achieve the desired texture for your ice cream.
Step 2: Choose Your Flavors
Decide on the ice cream flavors you want to create. Classic vanilla, chocolate, strawberry, and mint chip are popular options, but feel free to get creative with unique combinations like blueberry lavender or caramel praline. Each flavor will be represented by a different color of yarn, so choose accordingly.
Step 3: Begin with the Cone
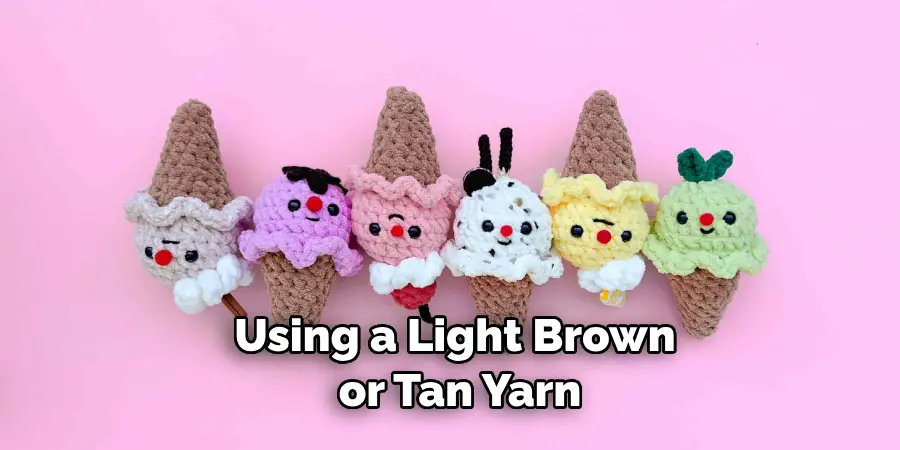
Start by crocheting the cone of your ice cream. Using a light brown or tan yarn, work in rounds to create a conical shape. Begin with a magic ring and increase gradually to achieve the desired size. Pay attention to the cone’s proportions, ensuring it’s wide enough at the base to balance the ice cream scoop.
Step 4: Craft the Ice Cream Scoop
Choose the yarn color that corresponds to the flavor of your ice cream scoop. Working in continuous rounds, crochet a circular shape that matches the size of your cone’s opening. Then, use gradual increases to create a convex shape, mimicking the appearance of a scoop. Once the scoop is the desired size, start decreasing stitches to flatten the top slightly.
Step 5: Incorporate Textures
To add a realistic touch to your crocheted ice cream, experiment with textures. For example, you can use popcorn stitches or front post stitches to create a bumpy texture reminiscent of nuts or chocolate chips. Incorporate these details as you crochet the ice cream scoop, keeping in mind the flavors you’re replicating.
Step 6: Attach the Scoop to the Cone
With both the cone and the ice cream scoop ready, it’s time to attach them. Place the scoop on top of the cone’s opening and use a tapestry needle to sew it in place. Make sure the attachment is secure, as this will be the focal point of your ice cream creation.
Step 7: Embellish Your Ice Cream
Enhance the visual appeal of your crocheted ice cream by adding embellishments like crocheted cherries, sprinkles, or a drizzle of yarn “chocolate syrup.” These small details contribute to the overall charm of your creation and allow you to personalize each ice cream scoop.
Step 8: Stuff Your Creation
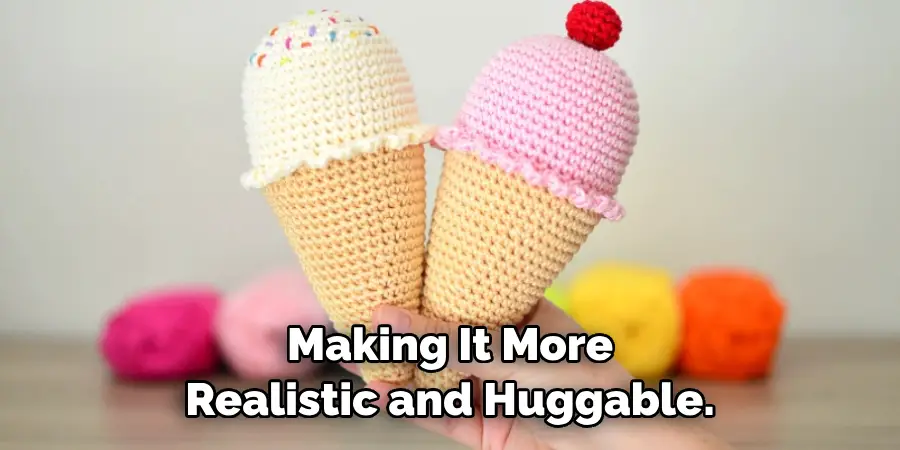
Before closing up the ice cream scoop, stuff it firmly with stuffing material to give it a plump and three-dimensional appearance. This step adds depth and dimension to your ice cream cone, making it more realistic and huggable.
Step 9: Complete the Cone
After stuffing the ice cream scoop, continue crocheting the cone to enclose the scoop fully. Work in rounds, gradually decreasing the stitches until the opening is closed securely. This step provides a finished and polished look to your ice cream cone.
Step 10: Enjoy!
Once you’ve securely fastened off the yarn, give your crocheted ice cream cone a final assessment. Admire all the details that went into creating this delightful treat and take pride in your work. Now it’s time to enjoy your crocheted ice cream cone, either alone or shared with someone special!
Adding Sprinkles and Toppings to Your Crocheted Ice Cream
To make your crocheted ice cream cone even more delightful, you can add sprinkles and other toppings. There are various types of toppings you can consider, such as beads, sequins, or even crocheted embellishments.
To attach sprinkles or beads to your crocheted ice cream, you can use a needle and thread or a crochet hook. Simply sew or crochet the toppings onto the ice cream scoop, making sure to secure them tightly. You can also use embroidery techniques to create different designs or patterns on the ice cream scoop.
Creating Different Flavors and Colors of Ice Cream
One of the fun aspects of crocheting ice cream is the ability to create different flavors and colors. To change the color of your yarn, you can simply switch to a different color yarn or use a technique called color changing. Color changing involves joining a new color yarn while working your crochet stitches to create a seamless transition.
To make your crocheted ice cream look realistic, consider using different shades of the same color to create depth and variation. For example, if you are making a chocolate ice cream cone, you can use different shades of brown yarn to create a more realistic effect.
Crocheting Waffle Cones and Bowls
To take your crocheted ice cream cones to the next level, you can also crochet waffle cones or bowls. To create a waffle cone, you can use a combination of single crochet stitches and chain stitches to create a textured pattern that resembles the ridges of a waffle cone.For a bowl, you can use a larger crochet hook and a combination of single crochet stitches and double crochet stitches to create a rounded shape.
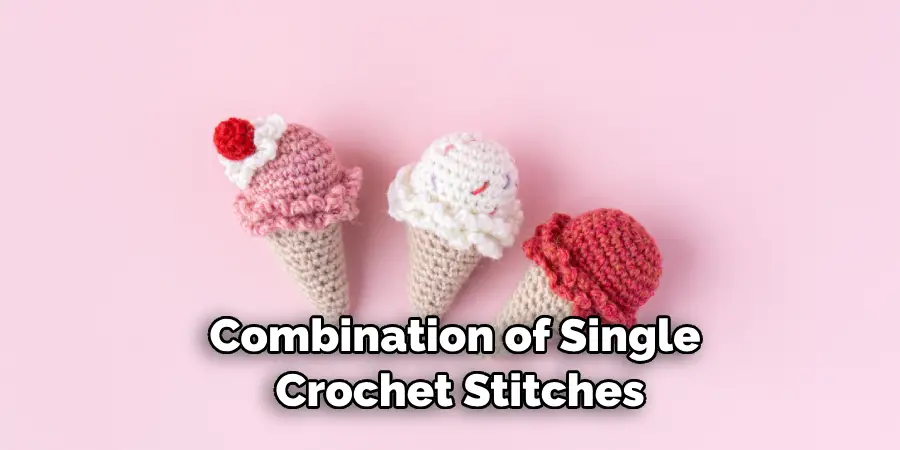
To make your crocheted waffle cones or bowls look realistic, consider using different shades of brown yarn to mimic the color variations in real waffle cones or bowls. You can also add texture by using different crochet stitches or techniques, such as front post or back post stitches.
Advanced Techniques for Crocheting Ice Cream
For those who are more experienced in crochet and want to challenge themselves, there are advanced techniques that can be used to create a more realistic and three-dimensional effect for crocheted ice cream.
One technique is creating a 3D effect by using different crochet stitches or techniques to add depth and dimension to the ice cream scoop. For example, you can use popcorn stitches or bobble stitches to create raised bumps or texture on the surface of the ice cream.
Another technique is adding texture to the ice cream scoop by using different yarns or crochet stitches. For example, you can use a fuzzy or textured yarn to create a more realistic texture for the ice cream. You can also experiment with different crochet stitches, such as the shell stitch or the puff stitch, to create different textures and patterns.
Conclusion
Overall, crocheting ice cream can be an enjoyable and unique task to undertake that results in something truly lovely. From the yarn choice to the color palette, it’s easy to tailor the look of your own personalized ice cream treat.
Whether you decide to make a few small scoops or one large one, they make for polaroid-worthy decorative accessories for your home.Furthermore, this activity can be great for teaching someone a new skill as well as spending time with a loved one who already knows how to crochet.
With so much versatility possible, crocheting ice cream has endless possibilities. So why not give it a try? Visit our website and sign up for our upcoming course on How to Crochet Ice Cream today and join us on an adventure into creating culinary art!


