
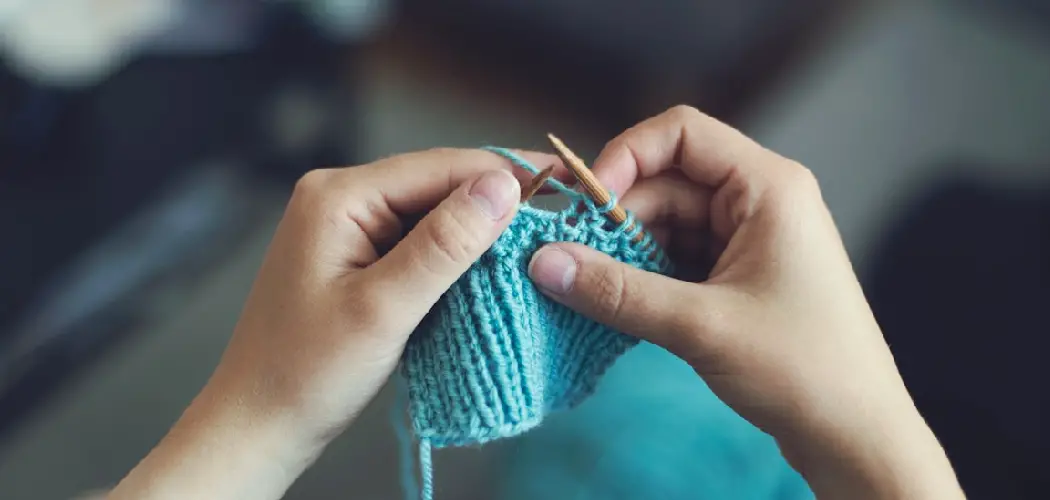
If you’re looking for a fun and easy project to learn a new skill, or if you just need some cozy arm warmers in your life, crocheting is the perfect hobby! Whether you’re an experienced crafter who wants something quick and unique to add to their collection of handmade items or a beginner who has never picked up a crochet hook before, this tutorial will help guide you through the steps of how to crochet arm warmers.

You’ll be surprised how accessible it is; with basic crochet stitches and minimal supplies needed, soon enough you’ll have beautiful homemade arm warmers that will keep your arms perfectly cozy all winter long!
Advantages and Disadvantages
Given below are some of the advantages and disadvantages of crocheting arm warmers:
Advantages:
- Quick and easy to make.
- Perfect for beginners who want a simple project to practice their skills on.
- Highly customizable; you can choose different colors, sizes and stitches to achieve your desired look.
- Lightweight and portable; they can easily be taken with you on the go.
- A great way to add a personal touch to your wardrobe and stay cozy all winter long!
Disadvantages:
- Time time-consuming, as each arm warmer can take several hours of work to complete.
- Can be tricky for newbies who are just learning how to crochet.
- Can get pricey if you need to purchase a lot of supplies or luxury yarns for the project.
What You’ll Need
Before you get started, here is a list of what you’ll need in order to create your arm warmers:
- Crochet Hook Size H/8 (5mm)
- Worsted Weight Yarn
- Yarn Needle
- Scissors
- Tape Measure
Once you have all your supplies ready, it’s time to begin!
11 Step-by-step Guidelines on How to Crochet Arm Warmers
Step 1: Measuring Your Arms

Make sure to measure from the shoulder to the wrist. This will help you determine what size arm warmers you’ll need and how much yarn you should buy. It’s better to err on the side of caution and buy extra yarn, just in case. But remember to keep track of how much you use for each arm warmer, so you don’t buy more than you need. It’s also important to measure your arms in multiple places, so you can make sure the arm warmers fit properly.
Step 2: Choosing Yarn
When selecting your yarn, it’s important to think about the type of material that will best suit your needs. You’ll want to choose a lightweight wool or acrylic yarn that is comfortable to wear against the skin.
It should also be able to withstand everyday wear and tear, as well as frequent washing. But don’t forget to consider color; choose a yarn that will match your wardrobe and make your arm warmers unique.
Step 3: Making a Slip Knot
Start by making a slip knot on your hook by creating a loop with the end of the yarn and then pulling it through itself. Make sure it’s tight, but not too tight. This will be the beginning of your arm warmers. It’s important to make sure you have the correct number of loops for the pattern you want to use. But don’t worry; if you make a mistake, it’s easy to undo and start again.

Step 4: Chain Stitches
Once you have your slip knot in place, it’s time to start making chain stitches. Loop the yarn over the hook and pull it through the slip knot. Continue doing this until you have reached the desired length of your arm warmer. This will be the base for your arm warmer. It’s important to make sure the stitches are all even and uniform in size, as this will determine how tight your arm warmers fit.
Step 5: Single Crochet Stitches
Now it’s time to start adding single crochet stitches. Start by inserting the hook through the second chain from the hook, then yarn over and pull up a loop. Yarn over again and pull through both loops on your hook. Continue this process until you reach the end of the row. This will create a nice even base for your arm warmers.
Step 6: Double Crochet Stitches
Once you have made your way to the end of the row, it’s time to start making double-crochet stitches. Start by yarn over and insert the hook into the next stitch. Yarn over again and pull up a loop, then yarn over once more and pull through two loops on your hook. Yarn over again and pull through the remaining two loops. Continue this until you reach the end of the row once more.
Step 7: Increasing
Once you have made your way to the end of the row, it’s time to add some increases to give your arm a warmer shape. To do this, add two stitches into one stitch instead of one. This will help the arm warmer expand as you add more rows and make it easier to fit over your arm. You can do this by making two single crochet stitches into the same stitch.
Step 8: Decreasing
When you have made your way to the end of a row, it’s time to start decreasing. To do this, you’ll skip one stitch and work your double crochet stitch into the next. This will help keep your arm warmers snug and comfortable. But be sure to keep track of the number of stitches you’re decreasing, as this will affect the size and shape of your arm warmers.

Step 9: Finishing Up
Once you have reached your desired length, it’s time to start finishing up your arm warmers. Start by cutting off any excess yarn and tie a knot in the last stitch. Then, use a yarn needle and thread to weave in any loose ends. You can use the same method to add decorative details, such as tassels or fringes.
Step 10: Sewing the Ends Together
Once your arm warmers are complete, it’s time to sew them together. Start by placing the two arm bands side-by-side with right sides facing each other. Then, start sewing from one end of the arm warmer to the other with a whip stitch. Make sure to backstitch at the beginning and end of your seam to secure it in place.
Step 11: Finishing Touches
The last step is to add any finishing touches you’d like, such as adding buttons or other decorations. You can alsohow to crochet arm warmers or thread to attach any appliques, ribbons or other embellishments. Once everything is secure and in place, you’re done! Your arm warmers are ready to be worn.
Following these steps on how to crochet arm warmers, you’ll be able to easily crochet your own arm warmers in no time! Whether you’re looking for something unique to add to your wardrobe or a beginner wanting to practice their skills, this tutorial will help get you started.
Frequently Asked Questions
Q: How Long Does It Take to Crochet Arm Warmers?
A: It typically takes about 2-4 hours to crochet a pair of arm warmers, depending on your skill level. It may take less time if you’re an experienced crocheter, or more time if you are just starting out.
Q: Do I Need Special Yarn for Crocheting Arm Warmers?
A: Not necessarily. You can use any type of yarn that you like, but it’s best to choose a lightweight wool or acrylic yarn that is comfortable to wear against the skin. It should also be able to withstand everyday wear and tear, as well as frequent washing.
Q: Can I Use Other Stitches for Arm Warmers?
A: Yes! If you’re looking for a more intricate design, you can always add other stitches such as half-double crochet, triple crochet, or even granny stitches. This will help create a unique look that is perfect for any occasion!

Q: Where Can I Buy Supplies for Crochet Arm Warmers?
A: You can purchase all the necessary supplies from most local craft stores or online retailers. It’s important to make sure that you have the right size hook and yarn for your project. You may also want to consider buying some extra yarn just in case you run out during the process.
Conclusion
Therefore, learning how to crochet arm warmers is fairly simple and something everyone should try to do. With a few different patterns and colors, the possibilities are endless! Now that you’ve read all about it, take some time this weekend to try it out for yourself – you’ll soon have arm warmers of your very own! Taking on new hobbies can be both exciting and rewarding, so why not give it a go?
If you have any questions or need help with this project, join us in our crafting community for helpful advice from trusty crafters who are always happy to lend an extra hand. Crafting together can make these satisfying projects even more enjoyable – so get ready for a fun weekend of crochet and unique armwarmers!