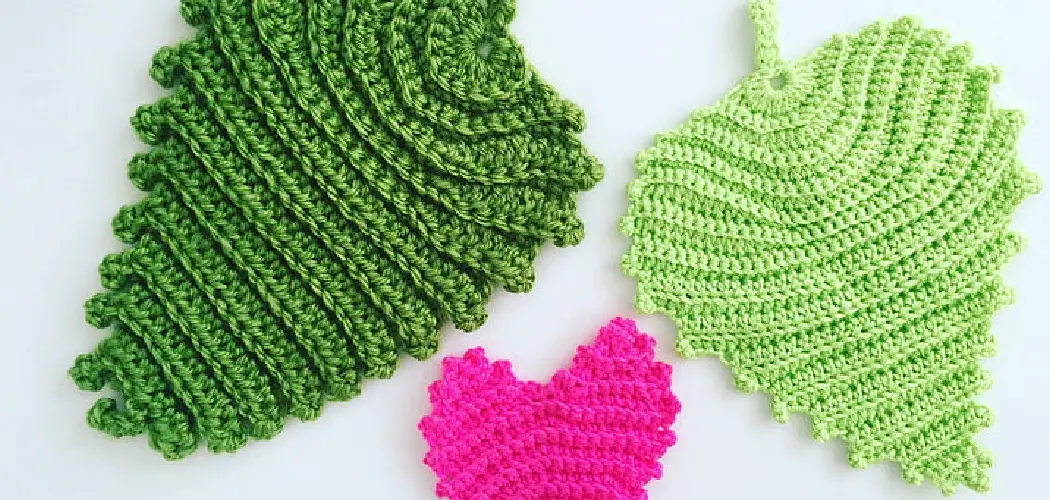
Delight in the art of crochet by bringing the vibrant hues and irresistible charm of a peach to life through yarn. Learning how to crochet a peach not only showcases your creativity but also offers a whimsical way to add a touch of nature’s sweetness to your crafting repertoire.
Whether you’re a crochet enthusiast seeking a new project or a beginner looking to explore the world of amigurumi, crocheting a peach is a delightful endeavor that combines skill and imagination.
In this article, we’ll guide you through the step-by-step process of creating a crocheted peach, from selecting the perfect yarn and mastering essential stitches to understanding shaping techniques that transform simple materials into realistic and adorable crocheted fruit. Join us on this journey to discover how the art of crochet can capture the essence of a peach in a way that’s both fun and truly remarkable.
The Project of Crocheting a Peach and Its Playful and Decorative Nature
Crocheting a peach is one of the most fun and creative projects you can undertake as an avid crafter. It’s a playful way to combine artistry with functionality. As a decorative piece, crocheted peaches are perfect for any area of your home—whether it be your living room or kitchen! With its soft texture and beautiful colors, crocheted peaches will surely bring joy to any room.
Yarn Choices Suitable for Mimicking the Colors and Texture of a Peach
If you’re looking to crochet a realistic peach, you will need the right colored yarn to give it that special touch. There are a variety of types of yarns out there, but for this project, we recommend wool or acrylic yarn as they provide better texture and hold up well when crocheting.
When choosing your shades of color for the peach, you want to go for a combination of orange and pink. This will provide the look of a ripe or unripe peach, depending on how much pink and orange you use. A good rule of thumb is to use more orange for a ripe peach and more pink for an unripe peach.
11 Steps How to Crochet a Peach
Step 1: Gather Your Materials
Before embarking on your crocheting adventure, gather the following materials:
Yarn Selection: Opt for yarn in shades of pink, peach, or even coral to capture the hues of a ripe peach. A soft, medium-weight yarn is recommended for a plump and lifelike texture.
Crochet Hook: Select a crochet hook size that matches the yarn weight you’ve chosen. The hook size will influence the size and tightness of your stitches.
Stuffing Material: Use polyester fiberfill or cotton stuffing to give your crocheted peach a rounded and realistic shape.
Tapestry Needle: This needle is essential for weaving in loose ends and sewing parts together.
Step 2: Choose the Peach Design
Decide whether you’d like to create a whole peach or a sliced one. This decision will guide the shaping and stitching process. To start, measure the circumference of your peach and make sure it is an even number.
Use a crochet hook to cast the number of stitches needed so that you can create the desired shape. For instance, if you are making a whole peach, create 6 single crochets in the first row and use an increase stitch for each next row until you have reached the desired size.
Step 3: Understand Basic Stitches
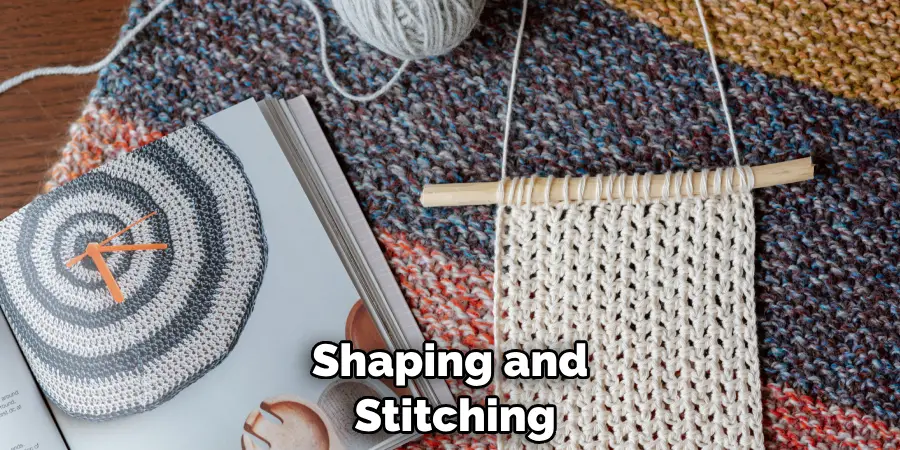
Familiarize yourself with basic crochet stitches, such as single crochet, double crochet, slip stitch, and magic circle. These stitches form the foundation of your crocheted peach. Single crochet and double crochet are the most commonly used stitches for crocheting.
Learning these stitches will help you create a strong, stable base for your project, so take the time to learn them before moving on to the more difficult ones. To practice these stitches, try making a few swatches and experimenting with different combinations of colors and textures. Once you feel comfortable with basic
Step 4: Crochet the Peach Base
Start by crocheting the base of your peach. Begin with a magic circle or a chain of stitches joined to form a ring. Work single crochet stitches into the ring to create a circular foundation.
Continue crocheting in rounds, increasing the number of stitches in each round until you have reached your desired size. If you want to add some texture to the peach base, try using a combination of front and back post crochet stitches for added dimension. Once you are satisfied with the size of your peach base, fasten off and weave in any loose ends.
Step 5: Create the Peach’s Shape
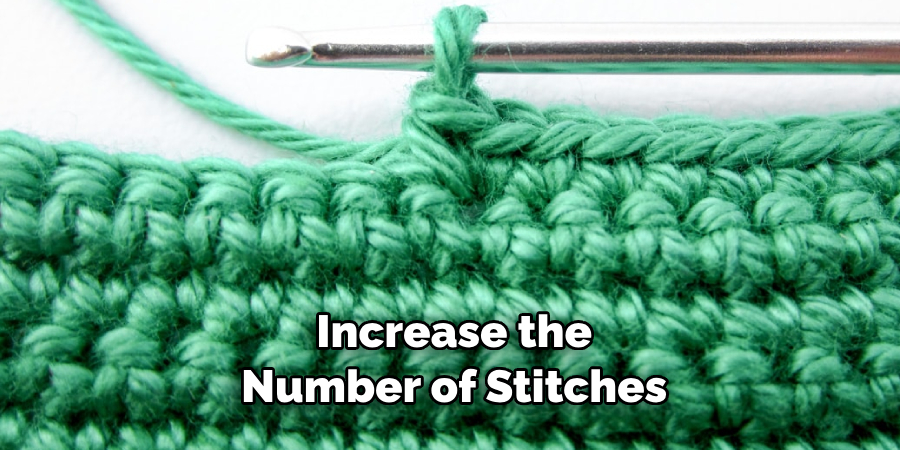
Shape your crocheted peach using increases and decreases. Begin with single crochet stitches and gradually increase the number of stitches in each round to achieve a round and plump shape. Start decreasing the number of stitches in each round to reduce the size until you achieve a tapered peach shape.
You may need to use a stitch marker or yarn needle to help keep track of your rounds and stitch counts. Once you have created your desired shape, fasten off with a slip stitch and weave in any loose ends. Now that your peach is complete, it’s time to admire your handiwork!
Step 6: Decorate Your Peach
Add a few decorative touches to make your peach look even more realistic. Embroider some lines on the surface of the peach to simulate the appearance of fuzzy peel or sew on a small button as a stem. You can also add a pompom for an extra special touch.
Step 6: Crochet the Peach Sides
Continue crocheting in rounds while maintaining the same stitch count to create the sides of the peach. This will give your fruit a realistic and three-dimensional appearance. You can switch to a contrast colour of yarn for the sides if desired. When you reach the bottom, cut off the yarn and tie it securely in a knot.
Step 7: Add Texture and Detail
Enhance the lifelike quality of your crocheted peach by incorporating texture and detail. Use different stitch patterns and techniques to replicate the subtle surface texture of a real peach. You can also add a leaf and stem with brown yarn to complete the look of your crocheted peach. Experiment with different colors, textures, and details until you’ve achieved the perfect replica!
Once you’re happy with how it looks, weave in any loose ends and secure your work. Now you have a beautiful, realistic-looking crocheted peach that is sure to bring joy and a unique touch of craftsmanship to your home!
Step 8: Shape the Peach’s Indentation
If crafting a whole peach, create an indentation at the top to mimic the stem area. Use decreases to shape the indentation, which adds to the authenticity of your creation. For example, if you have 12 stitches on your row, decrease four in the center of the row to create a peak. The other eight stitches will provide the sides of the indentation.
Step 9: Stuff and Shape the Peach
Stuff your crocheted peach with polyester fiberfill or cotton stuffing to give it a rounded and tactile feel. Adjust the amount of stuffing to achieve your desired level of plumpness.
Once stuffed, use your fingers to massage the peach and shape it. To make sure that you won’t lose any of your stuffing, pull tight on the yarn ends securely before weaving them in. Finally, give your crocheted peach a gentle hug – voila! You have created a beautiful and unique amigurumi object!
Step 10: Attach the Leaf
If you’re creating a whole peach, crochet a leaf using green yarn and attach it to the top of the indentation. You can use slip stitches or single crochet stitches to secure the leaf. To complete your design, you can crochet a few more leaves and attach them to the stem. This will give your peach a more natural look.
Step 11: Finishing Touches
Weave in any loose ends using a tapestry needle to achieve a polished appearance. If desired, lightly brush the surface of the peach with a soft brush to create a fuzzy texture reminiscent of a real peach’s skin.
If your peach is intended for a toy or decoration, consider adding a loop for hanging. To do this, slip stitch into the top of the peach and chain 8-10 stitches before slipping stitching again into the top of the peach. Tie off and trim any excess yarn.
Conclusion
It is truly rewarding to create a completely unique and personalized item with your own two hands. With a little bit of practice and patience, crocheting a peach can be an achievable goal for just about anyone.
Before you know it, you’ll be on your way to creating many more beautiful crochet projects. So grab some cotton yarn, select a nice crochet hook, and let your imagination take over.
You never know what wonderful creations you might come up with once you learn how to crochet a peach! From there, the possibilities are endless. Who knows? Maybe one day soon enough you’ll be able to look back on this blog post with pride as you admire one of your very own peaches! Good luck and have fun crafting!

