
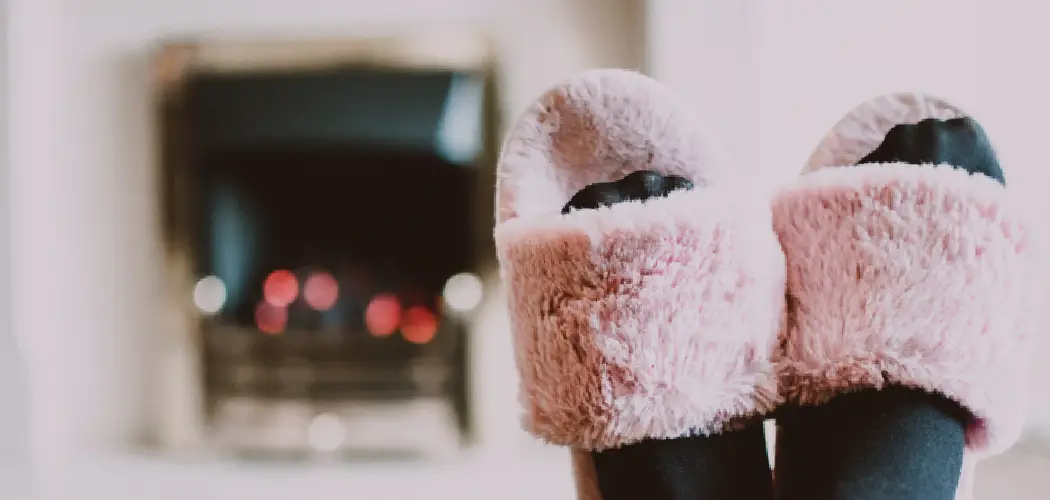
Do you want to learn how to make cozy slippers for any adult in your life? Making slip-ons for yourself, a family member or even a special gift can be an incredibly fulfilling experience.
Crocheting these slippers is surprisingly easy and can create the perfect footwear solution for those cold winter nights! In this blog post, we will provide step-by-step instructions on crocheting adult size slipper that not only looks cute but also keeps feet warm throughout the cooler temperatures of autumn and winter.

Furthermore, on how to crochet adult slippers, details about applying decorations such as appliqués or embroidery will also be given so you can add your own touch of creativity! So grab your hooks and yarns – it’s time to explore the possibilities of weaving fun comfort into crafting fashionable and functional adult-size slippers today!
Necessary Materials
Given below are some of the basic materials required for crocheting adult slippers:
- Crochet Hook (Size G/4mm)
- Worsted Weight Yarn
- Tapestry Needle
- Scissors
- Stitch Marker
- Measuring Tape
- Optional: Decorative Appliqués and/or Embroidery Threads
11 Step-by-step Guidelines on How to Crochet Adult Slippers
Step 1: Preparing the Yarn
For this project, you will need a full skein of worsted-weight yarn. Unravel your chosen yarn to find two ends, and pull out a generous length for use later on. It is best to avoid using the knot method, as this will cause extra bulk at the join point. But if you must, make sure to tie the yarn ends in an overhand knot and then weave in at least one inch of the tails to keep it secure.

Step 2: Measuring
Measuring is an essential step in the crocheting process – as you will need to make sure that your slippers have the correct size for the recipient. Measure their feet and use a measuring tape to gauge the length of their foot from heel to toe.
For this project, add 1” (2.5 cm) to the measurement in order to account for a comfortable fit. It is best to make the slippers slightly bigger than the foot, as they will stretch with wear. The width of the sole should be between 3” (7.5 cm) and 4” (10 cm).
Step 3: Creating the Foundation Chain & Loop
With your crochet hook and yarn, form a slip knot at the end of the length pulled from before. This will create a loop that you can use as your foundation chain. Make sure this is slightly loose enough to work with later.
Then chain the length as per the measurements taken from before. This will be the length of your sole. If you are making a pair of slippers, make sure to measure each foot separately.
Step 4: Working the Rows for the Sole
Begin by working single crochet stitches into the chain from before. Pay close attention to the number of single crochets per row and ensure that you have stayed within your measurements.
Chain one after each row and turn in your work. Continue for the length of the sole, making sure to insert a stitch marker at the end of each row. If using a lighter yarn, you may want to add an additional row or two for extra durability.
Step 5: Joining the Chain with a Slip Stitch
Once at the end of your slipper’s length, you need to join it with a slip stitch in order to make a round shape for the toe area. To do this, slip-stitch the two ends of the foundation chain together.
However, if you are making a pair of slippers for two different sizes, it is best to leave one end open and attach that later when joining both pairs together. If making a single pair, work the slip stitch and cut off the extra yarn. This is now the toe of your slipper.

Step 6: Making the Rounds
For your toe area, make six rounds of single crochet stitches. This will help give shape to the toe box and reinforce it with proper structure. Once you are done, fasten off and weave in all the ends from before. Although it’s not required, you can also add a few extra rows around the toe if needed. It also helps to make the crocheting look even and neat. This will be the top part of your slipper.
Step 7: Shaping the Heel
Next, you can start making rounds for your slipper’s heel. Begin making single crochets along one side of the toe box until you reach the middle back area. Make sure to make a stitch marker before this step so that you don’t lose count or go off track. It is also helpful to count the number of stitches as you go along. For a snug fit, make sure each round has an even number of stitches.
Step 8: Making the Heel Rounds
Once at the middle back area, you can now start making rounds for your heel. This should be three rounds of single crochet stitches on each side of the same stitch marker. Again, make sure that you properly count and monitor the number of stitches so that you don’t go off track.
But if you do, it’s easy to make adjustments and add more later. It’s also helpful to use a different color stitch marker for this step.
Step 9: Joining the Heel with a Slip Stitch
After finishing both sides of your heel, you can now join them together with a slip stitch in order to finish it off. Again, make sure that you properly count and monitor the number of stitches so that you don’t go off track. This will also help to create a round shape for the heel. Once this is done, you can now begin working on your slipper’s cuff area!

Step 10: Finishing Up the Slipper
Now that all pieces of the slipper are ready, you can start to join them together. To do this, make single crochets along both sides of the heel until you reach the toe area. This will help ensure a snug and comfy fit when your recipient wears them!
You can also use different stitch markers in order to keep track of where you are and make the necessary adjustments along the way. Once done, fasten off and weave in all ends.
Step 11: Adding Decorative Touches
Last but not least, you can now add a few decorative touches to your slipper! For example, you could sew on appliqués or embroidery details for extra flair. You can also use the same technique as before to make stripes of contrasting colors for a fun visual effect. When you’re done, fasten off and weave in all the ends.
And that’s it – you’re now ready to make your very own cozy slippers! All that’s left is for you to see if they fit properly and then show them off! With this guide on how to crochet adult slippers, we hope you have acquired a newfound skill that will last a lifetime. Happy crocheting!
Do You Need to Use Professionals?
If you find yourself feeling overwhelmed with the steps outlined in this guide, it might be a good idea to reach out to professionals for help. There are plenty of experienced individuals who can provide guidance on how to crochet adult slippers.
Sites like Etsy and Ravelry have vibrant communities full of crafters who are more than willing to share their expertise. With their help, you can create the perfect pair of crocheted slippers for yourself or as a gift!
You can also join local communities like fiber arts guilds and crochet meetup groups in order to receive hands-on instruction. These are great opportunities to learn from those who have years of experience and get advice on the best techniques for making slippers. With the right tools and guidance, you can turn your passion for crocheting into a creative outlet that will last for years to come!
Frequently Asked Questions:
Q: What Type of Yarn Should I Use for This Project?
A: The best yarn to use for this project would be worsted-weight as it is the most suitable and will provide a good shape and structure. However, you can also choose other types of yarn depending on the look and texture you want your slippers to have.
Q: What If I Don’t Have a Crochet Hook?
A: If you don’t have a crochet hook, you can use a knitting needle of the appropriate size instead. Make sure that it is slightly smaller than the recommended size for crocheting adult slippers so that it can fit into the stitches properly.
Q: Is It Possible to Make Slippers in Different Sizes?
A: Yes, you can make slippers in different sizes by simply adjusting the length of your foundation chain and the number of rounds accordingly. You can also use a larger or smaller crochet hook depending on how loose or tight you want them to be. With a bit of creativity, you can even customize your slippers for an extra special touch!

Q: What Appliqués and/or Embroidery Threads Can I Use?
A: You can choose to use any type of appliqué or embroidery thread that you like. For example, you could go for a floral design if your recipient likes nature-inspired elements, or pick an animal pattern if they are an animal lover! The options are endless – just make sure that you use a needle and thread of the appropriate size.
Conclusion
Crocheting adult slippers is a great way to show your support to friends and family. Don’t forget that every effort counts and the end results are worth the hard work. Have fun creating colorful patterns and embellishments for a truly unique look. Whether you’re crocheting for yourself or as a gift, this project provides you with an opportunity to nurture your creativity. So why not get started?
Get inspired by getting to know various types of yarns and learn new tricks to help bring your crochet project alive. Thanks for reading this article on how to crochet adult slippers.