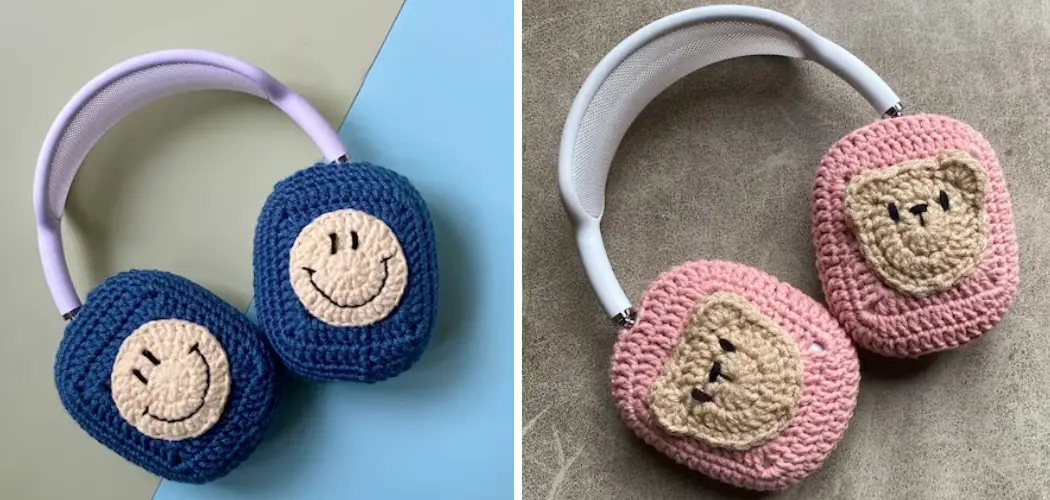
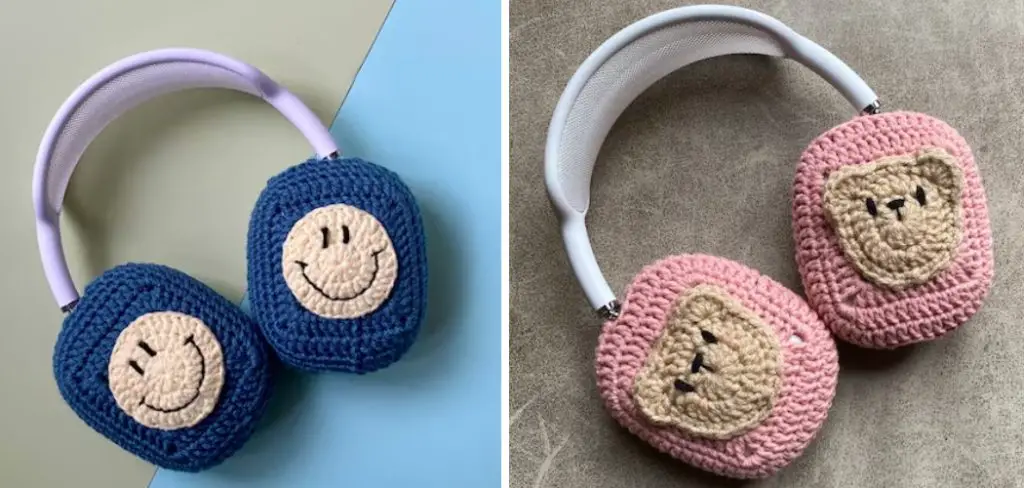
Are you looking for a fun and unique way to show off your flair? Look no further than crocheting headphone covers! Whether it be on the school bus, during your daily commute, or while running errands, customized headphones are perfect for adding some personality to any day.
With just a few materials and tools, it’s easy to get started on this simple project that’ll have you feeling stylish wherever you go in no time at all. Read on to learn more about how to crochet headphone covers and make the most of every journey!
Necessary Materials
Below is a list of materials you’ll need for this project:
- Crochet Yarn
- A Crochet Hook
- Scissors
- Tapestry Needle
- Headphones
11 Step-by-step Guides on How to Crochet Headphone Covers
Step 1: Measure Your Headphones
Before you start crocheting, you need to make sure your headphone covers will fit properly. Measure the width and length of your headphones, and record these measurements so you’ll have them handy while crocheting. It’s better to err on the side of caution and make your headphone covers slightly bigger than needed, as you can always trim any excess yarn afterward.
You should also consider whether you’ll be leaving any of the buttons on the side of your headphones uncovered. It’s a good idea to leave these exposed so you can still adjust the volume and other settings.
Step 2: Choose Your Yarn
Now it’s time to pick out some yarn for your project! Cotton and acrylic yarns are best for crochet projects, but if you want to make a unique design you can use any type of yarn. Make sure you pick colors that match your headphones, as this will give the finished product an extra special touch.
It also helps to make sure your yarn is labeled as ‘washable’, as this will help keep your headphone covers looking fresh! This is especially important if you plan on using your headphones frequently.
Step 3: Choose Your Hook Size
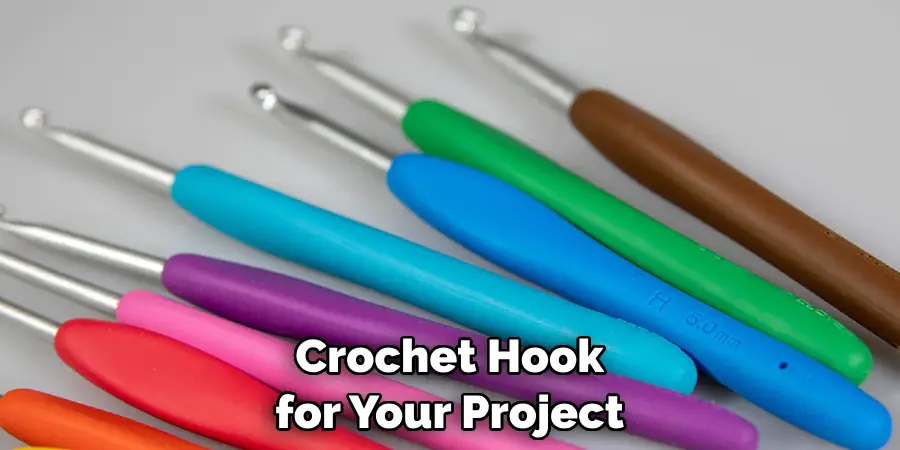
Next, it’s time to select the right size crochet hook for your project. The best way to do this is to look at the label on your yarn and find out which size hook is recommended for that particular type of yarn. If you’re not sure, don’t worry – you can always experiment with different sizes until you find the right one. But be careful – using too large of a hook can make your headphone covers look bulky and unattractive.
Step 4: Start Your Chain
Once you have everything ready, it’s time to start crocheting! Begin by making a chain that is the same length as your headphones. For most standard-size headphones, you’ll need around 30-35 stitches in your chain. Adjust this number as needed for larger or smaller headphones.
It’s important to make sure your chain is the same length as your headphones, as this will ensure that your headphone covers fit properly. This is especially important if you’re making a pair of covers for two different people.
Step 5: Start Crocheting
Now that you have your chain ready, it’s time to start crocheting the sides of your headphone covers. Begin by making single crochet stitches along the chain until you reach the end. When you get to the end, turn your work and make one more row of single crochet stitches in each stitch across.
It’s important to make sure that the number of stitches in each row is consistent – this will ensure a neat finish. When you reach the end of your second row, chain one stitch and turn your work again. It’s important to keep your rows even – counting the number of stitches is a good way to make sure you don’t miss any.
Step 6: Increase or Decrease as Necessary
Depending on the size of your headphones, you may need to increase or decrease the number of stitches in each row. To make a larger opening for the headphone cable, increase by two stitches in every other row until you reach the desired width.
If you want a smaller opening, simply decrease two stitches in each row instead. This will help you achieve a snug fit. This is also the time to add any buttons or other embellishments if desired.
Step 7: Finish the Sides
Continue crocheting until your work is long enough to cover the entire length of your headphones. Don’t forget to make sure that you have an even number of rows so that both sides will match. When you reach the desired length, fasten off and weave in the ends.
But before you move on to the next step, check that your headphone covers fit properly. If needed, make any adjustments before moving on. It’s better to fix any mistakes now than later on!
Step 8: Make a Circle Stitch
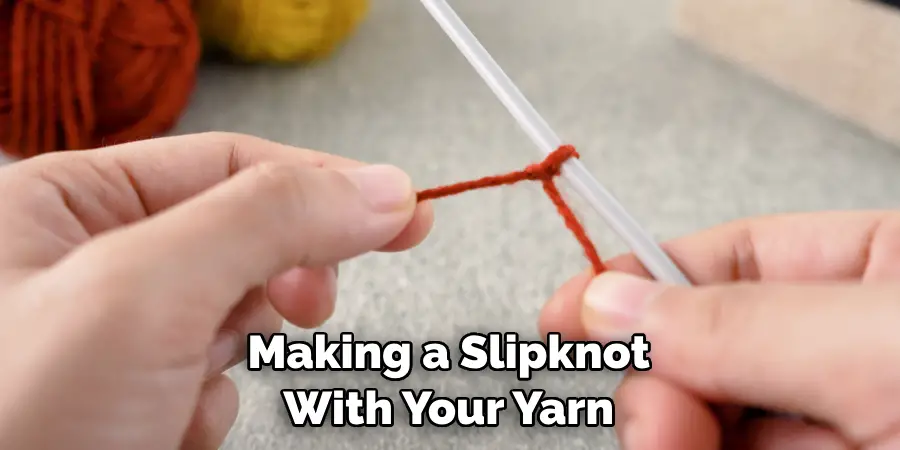
To make the circle that will go around your headphones, start by making a slipknot with your yarn and placing it on your crochet hook. Make one chain stitch, and then work ten single crochet stitches into the same stitch. Join your circle by connecting the last stitch to the first with a slip stitch, and fasten off.
You should now have a small circle with eleven stitches. It’s important to make sure that the circle is tight and even, as this will help ensure that your headphone covers fit snugly.
Step 9: Attach the Circle
Now it’s time to attach the circle you just made to your headphone covers. Place your circle around one side of your headphones and sew it in place with a tapestry needle. Once you have finished sewing, weave in any remaining yarn ends and trim off any excess yarn.
However, make sure not to cut too close – a bit of extra yarn will help ensure that your covers fit properly. It’s also a good idea to check the other side of your headphones before moving on to the next step. It’s better to fix any mistakes now than later on!
Step 10: Attach the Other Side
Repeat steps 8 and 9 on the other side of your headphones. Make sure that both sides are the same length and that they match up perfectly before you sew them together. Otherwise, your headphone covers will look uneven and won’t fit properly.
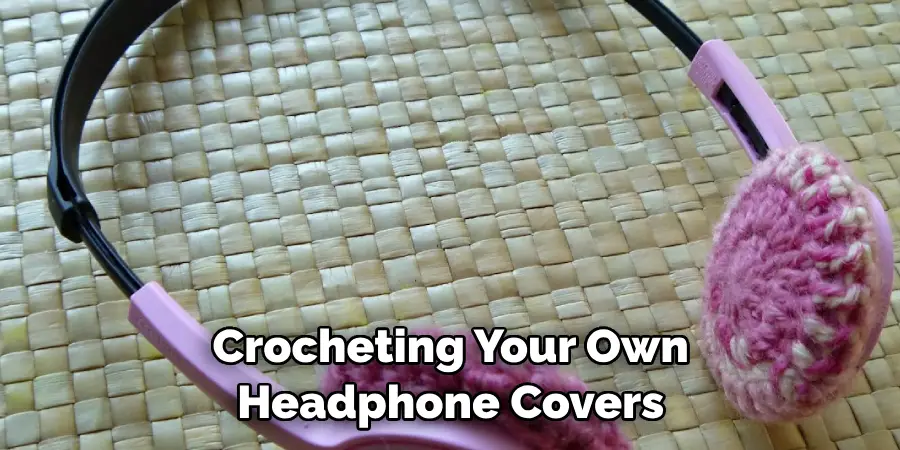
Once you have finished attaching the other side, weave in any remaining yarn ends and trim off any excess yarn. Then your headphones are ready to use! It’s time to show off your handiwork – happy crocheting!
Step 11: Show Off Your Headphone Covers!
Now all that’s left to do is show off your finished project! Whether you’re using your headphones to listen to music, podcasts, or audiobooks, this fun and creative crochet project will make sure that you can express yourself anywhere.
It’s also a great way to add some personality to your headphones and make sure that you always stand out from the crowd. So go ahead, show off your new headphone covers and enjoy your new look!
Following these steps on how to crochet headphone covers, you will have created the perfect pair of headphone covers that are sure to make you stand out from the crowd. Have fun and remember to be creative!
Tips for Customizing Your Headphone Covers
- Add a Few Rows of Single Crochet Stitches Around the Edges for an Extra Decorative Touch.
- Make Two Different Headphone Covers So You Can Switch Up Your Style Whenever You Want.
- Try Working With Differently Colored Yarns to Create a Unique Pattern.
- Experiment With Different Textures and Materials, Like Ribbon or Felt Flower Appliques!
- For Extra Protection, Use Two Strands of Yarn Instead of One.
With these tips, you can be sure that your headphone covers will always stand out in a crowd! So put on your headphones and start crocheting – you’ll have a unique and stylish set of headphone covers before you know it. Happy crafting!
Frequently Asked Questions
Q: What Type of Yarn Should I Use for Crocheting Headphone Covers?
A: Cotton and acrylic yarns work best for this project, but you can also experiment with different types of yarn to create a unique design. Make sure to choose colors that match your headphones!

Q: What Size Crochet Hook Should I Use?
A: The best way to determine the right size crochet hook for your project is to look at the label on your yarn and find out which size hook is recommended for that particular type of yarn. If you’re not sure, don’t worry – you can always experiment with different sizes until you find the right one.
Q: How Do I Make Sure My Headphone Covers Fit Properly?
A: Before starting your project, it’s important to make sure that your headphone covers will fit properly. Measure the width and length of your headphones, and record these measurements so you’ll have them handy while crocheting. It’s better to err on the side of caution and make your headphone covers slightly bigger than needed, as you can always trim any excess yarn afterward.
Q: How Can I Add a Decorative Touch to My Headphone Covers?
A: There are lots of ways to add a unique touch to your headphone covers. For example, you can add a few rows of single crochet stitches around the edges for an extra decorative touch. Alternatively, you can try working with differently colored yarns to create a pattern or use ribbon or felt flower appliques for an added dimension.
Conclusion
Ultimately, crocheting your own headphone covers requires some patience and the correct supplies. You first need to print out a pattern and select your yarn. Then choose either a single crochet or double crochet stitch for the foundation chain.
From there, adjust the number of rounds so that the cover fits your headphones comfortably. If you’ve followed all of this advice on how to crochet headphone covers, it’s finally time to show off your new creations!
Don’t forget to take pictures of your projects and post them on social media to share with your friends! If you are aiming to start off in the world of crocheting, this is a great beginner-level project that builds confidence and provides a fulfilling experience.
So grab some supplies, get comfortable with a good pair of headphones on, and get ready to start handcrafting your very own DIY headphone covers!

