
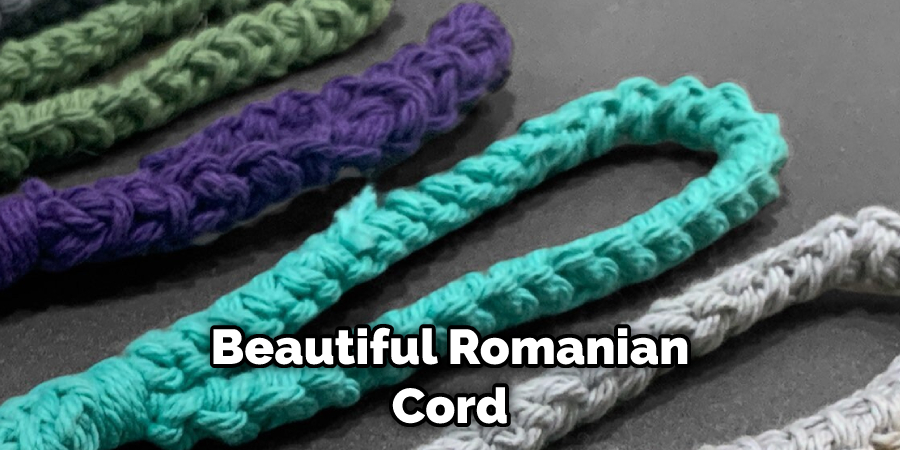
Have you ever seen a beautiful piece of Romanian cord? It’s gorgeous, with its intricate detailing and vibrant colors making it one of the most eye-catching forms of decorative embellishment. If you’ve wanted to learn how to crochet a Romanian cord but weren’t sure where to start, this post is for you! Art!

The Romanian Cord is perfect for doing just that! With its textured pattern and appealing look, the Romanian Cord can be used in various imaginative ways. Whether you’re looking to add visual interest to your clothing or soft furnishings by crocheting colorful cords and fringes or give an old pair of jeans new life with some dangly trims – this simple but effective technique will have you creating one-of-a-kind projects in no time!
In this blog post, we’ll walk you through each step involved in crocheting a gorgeous Romanian Cord.
What Will You Need?
In order to create a Romanian Cord, you will need the following items:
- Crochet Hook
- Yarn of your choice
- Scissors
Once you have gathered these supplies, let’s get started!
10 Easy Steps on How to Crochet a Romanian Cord
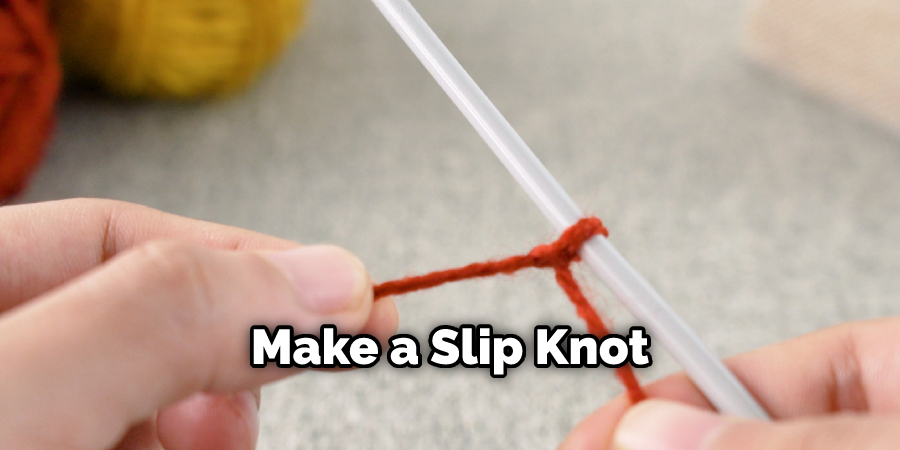
Step 1: Make a Slip Knot
Make a slip knot at one end of the yarn. Be sure to leave enough slack to maneuver the crochet hook around it easily. Don’t worry if it’s a bit lose. You can always adjust it later.
Step 2: Make Chain Stitches
Make several chain stitches, depending on how long you want the cord to be. If you want a longer Romanian Cord, make more chain stitches. Oftentimes, 10-15 chain stitches is enough.
Step 3: Insert Crochet Hook into Chain Stitch
Insert your crochet hook through the second chain stitch from the hook, and then draw up a loop of yarn. This loop should now be on your hook. Another way to do this is to insert your crochet hook through the chain stitch and draw a loop of yarn up through it.
Step 4: Yarn Over
Yarn over (yo) once and pull through both loops on the hook. You should have one loop remaining on the hook. Repeat this same process for each of the subsequent chains you made in step 2.
Step 5: Make More Chain Stitches
Once you’ve reached the end of your previous chains, make more chain stitches for how long you’d like your cord. Again, 10-15 chain stitches are usually enough. If need be, you can adjust the length of the Romanian cord at this point.
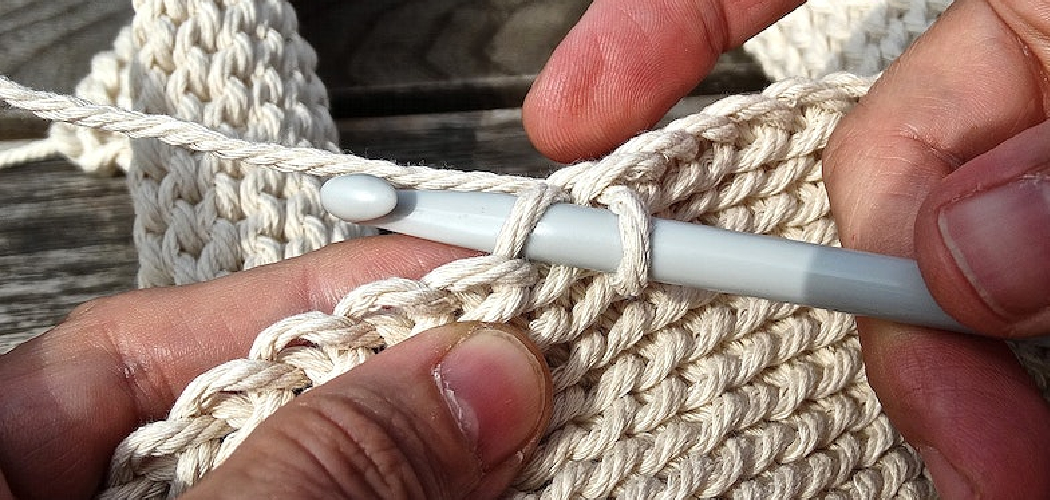
Step 6: Insert Hook Under Stitches
Insert your crochet hook under the next two stitches, yarn over, and draw up a loop of yarn. You should now have three loops on your hook. Be careful not to tug too hard, or the loops will come off your hook.
Step 7: Yarn Over
Yarn over once and pull through all three loops on the hook (yo, pull through 3). You should now have one loop remaining on the hook. This is how you create a knot stitch to start the Romanian Cord pattern. Repeat steps 5-7 until you reach the end of your chains. Keep repeating this process until you’ve reached your desired length for your Romanian Cord.
Step 8: Make a Slip Knot
Make a slip knot at the end of the Romanian Cord using the same method you used from step 1. This will secure your work and keep it together. Trim any excess yarn to make sure that your cord is neat and tidy.
Step 9. Add Embellishments (Optional)
At this point, you can add embellishments to your cord, such as beads or charms. This is a great way to make it look even more unique and special! Don’t forget to secure any embellishments with a few extra stitches.
Step 10: Tie Off
Once you’ve finished adding any embellishments, tie off the Romanian Cord with a knot. Trim any excess yarn, and your crocheted Romanian Cord is complete! Ensure that all the stitches are secure and snug – you don’t want them to unravel.
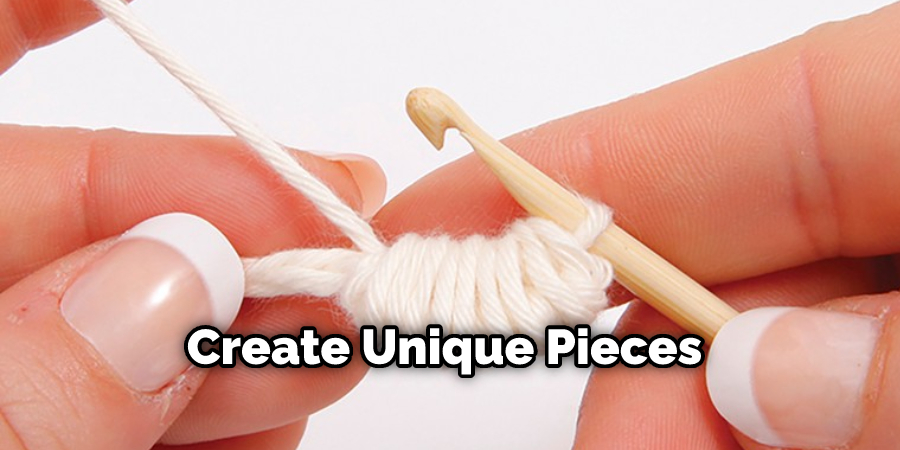
And there you have it – how to crochet a beautiful and intricate Romanian Cord that’s sure to draw plenty of compliments! With just a few supplies and some basic knowledge of how to crochet, you can create unique pieces that will add beauty and style to your home décor or fashion wardrobe. So grab your supplies and get started!
5 Additional Tips and Tricks
- When making a Romanian cord, it is important to use a crochet hook that is the same size as the yarn you’re using. This will ensure an even tension and better results overall.
- When crocheting your cord, keep track of how many stitches you’re making in each row and how many stitches remain on each side. This will help make sure your cord remains nice and symmetrical.
- Before starting your project, measure how long you want your finished cord to be so that you know how much yarn you need to purchase beforehand.
- If desired, add color or texture to your cord by changing up the types of yarns used while crocheting it or adding beads or other decorative items.
- Keep practicing your Romanian cord skills! Don’t worry if it doesn’t come out how you want the first time.
With a bit of patience and practice, you can achieve great results in no time.
5 Things You Should Avoid
- Don’t pull too tight when making the slip knot. Doing this can cause tension on the cord, leading to a distorted shape.
- Don’t crochet too tightly. If you’re working on a larger cord, keeping the tension evenly distributed can become difficult.
- Avoid using a hook that is too large for the yarn weight you are working with. This will result in a slack stitch, which could make your cord look less attractive.
- Don’t skip stitches when crocheting the Romanian Cord pattern – this will create gaps and holes in the finished product.
- Do not use yarns of different weights for one project, as this can affect how your Romanian cord looks. Stick to one type of yarn throughout your project for the best results!
With these tips in mind, you’ll be able to create beautiful Romanian cords with ease! Happy crocheting!
What is the Difference Between Yarn and Cord?
Yarn is a type of material made from fibers, such as wool or cotton, which can be spun into a continuous thread. It is often used in knitting and crocheting projects to make garments and other items.
Conversely, a cord is usually constructed by braiding three strands of yarn together to form a thicker cord. This type of material has many uses, including for clothing, jewelry making, and even hanging curtains! Romanian Cord is an intricate pattern that involves crocheting with multiple strands of yarn to create a unique look. This type of cord is perfect for adding texture and interest to any project!
With these tips and information about how to crochet a Romanian Cord, you can start creating your own beautiful, unique pieces today!
5 Different Styles of Romanian Cord
- Single-Stranded Romanian Cord: This style of the cord is made with a single strand of yarn and is perfect for smaller projects or as an accent piece.
- Double-Stranded Romanian Cord: This cord is created by crocheting two strands of yarn together, resulting in a thicker and more durable cord that can be used for larger projects.
- Climbing Leaf Pattern: Using the same base pattern as the double-stranded Romanian cord, this style features a unique leaf pattern that gives it extra dimension and shape.
- Triple-Stranded Romanian Cord: For increased strength and durability, three strands of yarn are crocheted together to form a triple-stranded cord. This style is great for more intricate projects!
- Basket-Weave Pattern: This type of cord features a unique basket-weave pattern that gives it a textured, woven look. It is perfect for adding extra interest to any project!
So what are you waiting for? With these five different styles of Romanian Cord, you can start creating beautiful cords in no time!

Conclusion
Crafting a Romanian cord is an enjoyable and fairly straightforward jewelry-making experience that anyone can do at home. Although it requires patience and skill, the result is striking enough to make an effort worthwhile. It’s a great way to get creative and have fun with DIY jewelry crafting. Plus, you don’t need a ton of materials or tools for this craft either, so there’s no steep learning curve involved in taking up crochet for making a Romanian cord.
So why not give it a try? Chances are, you’ll be pleased with the end product and proud of your skills! Whether you enjoy crochet more than expected or just try something new for once, either way, creating your own Romanian cords promises to be a rewarding journey.
Hopefully, the article on how to crochet a Romanian cord has given you a better understanding on how to get started. With these tips and tricks, you’re already well on your way to making beautiful cord pieces!