
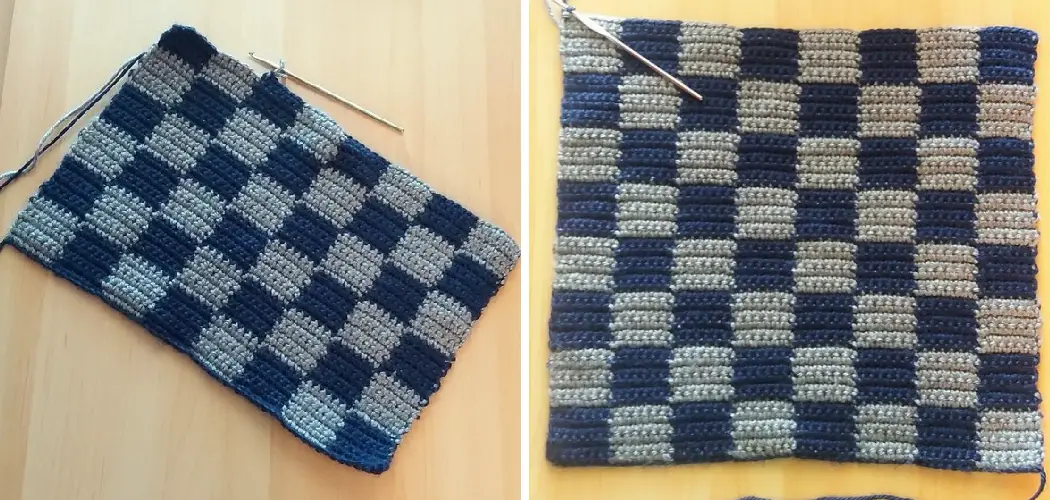
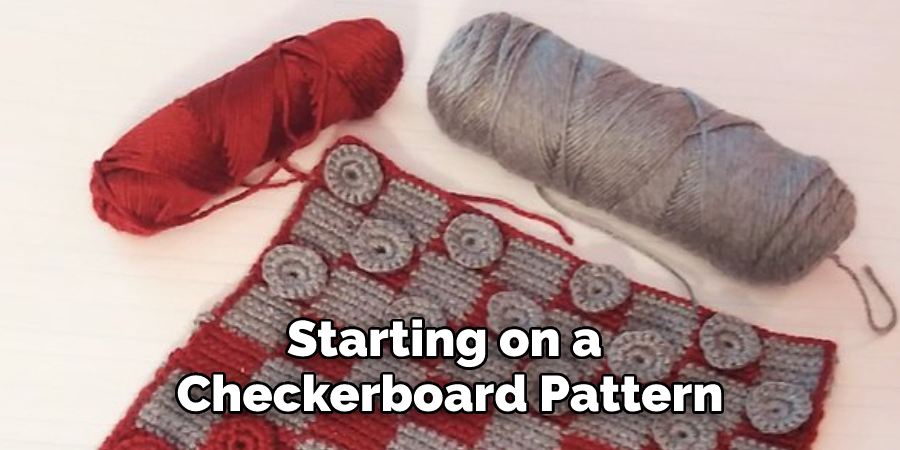
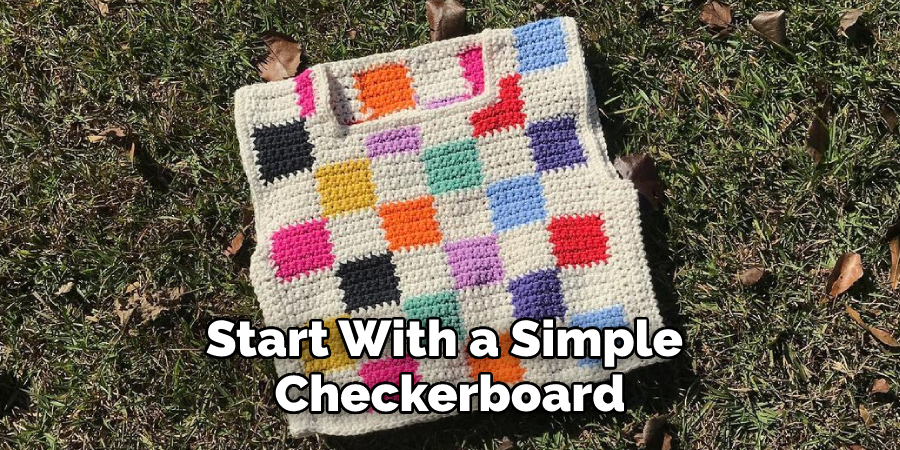
Checkerboard crocheting provides a beautiful and intricate pattern that can be used for many types of projects. This type of crochet work is a great way to add texture, dimension, and color to your project without excessive complexity. Checkerboard crochet takes its name from the simple repeating pattern, creating an alternating checkerboard effect. Along with the checkerboard pattern, crocheters can create other two-toned designs with some practice.

One of the great advantages of learning how to crochet a checkerboard is that it is an easy pattern to master. The basic stitches used in this type of crochet are chain and single crochet, which makes it accessible even for absolute beginners. You can quickly learn how to create beautiful checkerboard patterns with just a few simple steps. In this blog post, You will learn in detail how to crochet checkerboard.
Step-by-Step Processes for How to Crochet Checkerboard
Step 1: Inspect the Type and Size
Before you start, check the type and size of crochet hook you need for your project. If possible, use a smaller hook to have better control over the stitches. You will need yarn or thread of various colors, scissors, and a tapestry needle.
Step 2: Make a Chain of Squares
Start by making a chain with six single crochet stitches. Then make four more chains so that there are five chains in total. Each chain should have six stitches. This will form the base for the checkerboard pattern. To create the checkerboard pattern, make single crochet across each chain. Create two rows of single crochet stitches on each chain and ensure they have a similar length.
Step 3: Make Another Set of Chains
After making two rows on each chain, make another set of chains with six single crochet stitches. Make four more chains so that there are five chains in total. Each chain should have six stitches. Continue creating two rows of single crochet stitches on each chain and ensure they are the same length as before. This will form the checkerboard pattern.
Step 4: Create the Third Set of Chains
Create another set of five chains with six single crochet stitches each. This will create a new set of squares that will form the checkerboard pattern. Make two rows of single crochet stitches on each chain and ensure they are the same length as before.
Step 5: Create the Final Set of Chains
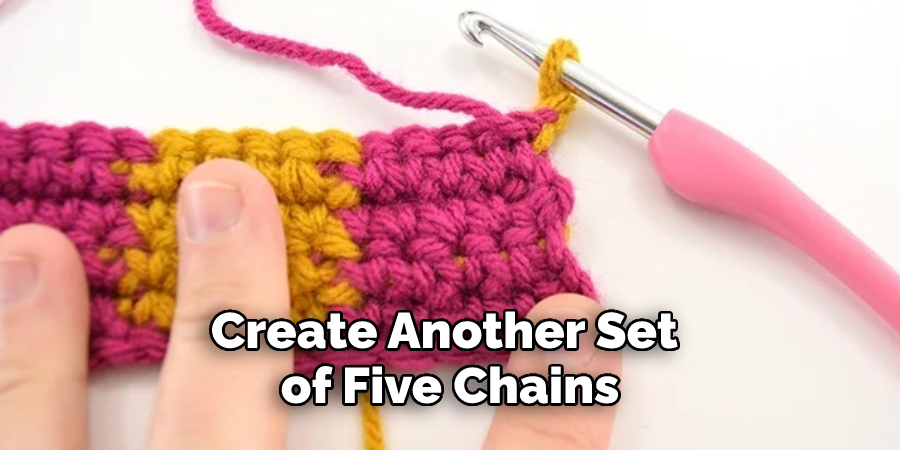
Create another set of five chains with six single crochet stitches each. This will form the last set of squares in your checkerboard pattern. Make two rows of single crochet stitches on each chain and ensure they are the same length as before. This will complete the checkerboard pattern.
Step 6: Fasten Off
Once you have completed the checkerboard pattern, fasten off your work by cutting the yarn and pulling the yarn through the last stitch with a tapestry needle. With these steps, you can easily create a beautiful checkerboard pattern in crochet. Once you become familiar with this technique, you can use it to create even more intricate designs.
Tips for How to Crochet Checkerboard
- Choose a medium-weight, non-stretchy yarn to create a nice tight checkerboard pattern. Avoid using bulky or super-bulky yarns, as they will make it difficult to keep your stitches even.
- Make sure that you keep your tension even throughout the entire project. Unevenly pulled stitches can cause a checkerboard pattern to become distorted and messy.
- Placing stitch markers in between each round of stitches will help you keep track of rounds and make it easier to identify mistakes if they occur.
- Don’t be afraid to take breaks while crocheting a checkerboard. Crafting can be tiring, and giving yourself a few moments to rest your hands and clear your mind is important.
- Many crochet hooks have sharp points, so wearing protective eyewear is important when working with them. This would help to reduce the risk of eye injury if a hook or yarn were to fly into your eyes.
- Before starting on a checkerboard pattern, it’s important to understand the basics of crocheting, such as single crochet, half-double crochet, and double crochet. This will help to ensure that your checkerboard turns out nice and even.
By following these tips, you’ll be able to create beautiful checkerboards easily. Whether for a blanket or other project, this valuable skill will come in handy.
How Long Does It Take Crochet a Checkerboard?
The amount of time it takes to crochet a checkerboard will depend on the size of the project and your skill level. A smaller checkerboard can be completed in less than an hour, while larger checkerboards may take several hours or even days. For beginners, it’s best to start with a simple checkerboard that only takes basic crochet stitches. As you become more experienced, you can try larger or more complex designs. Whichever project you choose, remember to take your time and enjoy the process – it’s a great way to relax and create something beautiful.
How Do You Determine the Size of Your Finished Checkerboard?
When you are planning to make a checkerboard, you need to determine the size of your finished project. The size depends on the materials and design chosen by the crocheter. You will generally use a larger hook than what is recommended for working with that particular yarn. This helps create large squares of even size.
You can also adjust the size of the squares by using different row counts (like eight rows for a larger square and six rows for a smaller one). You can also adjust the number of stitches in each row depending on how large or small you want your checkerboard to be.
The size of each individual square will ultimately determine how big your finished project is. This means that you need to consider the size of your squares when deciding the size of your checkerboard.
For example, if you want to make a four-square by four-square checkerboard, each square needs to be 4×4 inches in size. If you decide on a larger square (like 6×6 inches), then your finished checkerboard will also be bigger (6×6 squares).
What Kind of Yarn is Best for Crocheting a Checkerboard?
When it comes to crocheting a checkerboard, the yarn you choose can make a big difference. Generally speaking, any type of fiber (such as cotton, wool, or acrylic) that is strong and doesn’t stretch too easily works well for making a checkerboard pattern. You’ll also want to select colors and weights of yarn that will look good together.
Choose two contrasting colors that are not too similar: a bright blue and a muted green or a light pink and a dark purple. Depending on the size of the checkerboard you want to make, choose an appropriate yarn weight; heavier yarns work best for larger projects, while finer yarns work best for smaller projects.
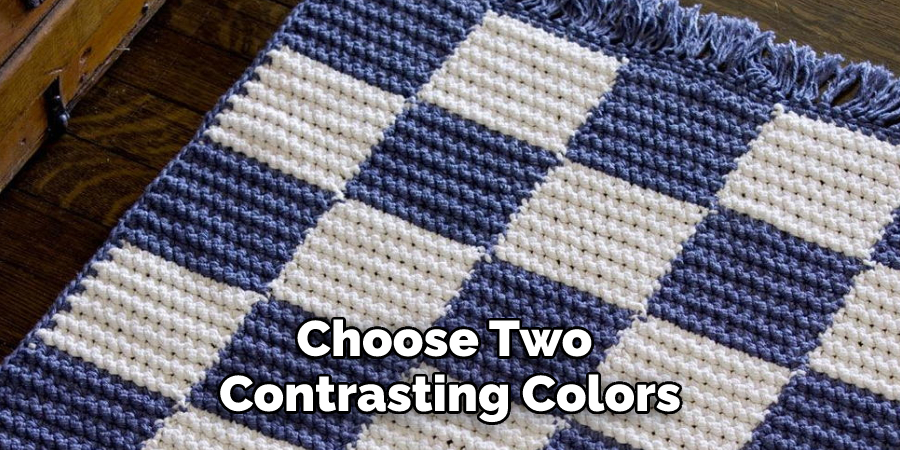
Select the same brand and type of yarn for each color to ensure that your checkerboard pattern is even and consistent.
How Can You Make Sure Your Checkerboard Looks Professional?
To ensure that your Crocheting Checkerboard project looks professional, it is important to use the same size of stitches for every row and maintain an even tension. Make sure that you get into a steady rhythm with each stitch so that all the stitches are uniform and look neat. When changing colors, be sure to finish the stitch before changing colors to prevent any gaps in your pattern. Learn how to make a slip knot and begin each row with it for an even look.
Finally, take a few minutes between rows to check your work, ensuring that all stitches are in the same direction and that there are no missed or extra stitches. With careful attention to these details, you can create a Crocheted Checkerboard project that looks professional and perfect.
How Do You Maintain the Checkerboard After It’s Finished?
- Once your checkerboard is finished, you should lay it out flat and use a steam iron to press the fabric lightly. This will help set all the stitches, so they hold their shape for many years to come. Always move the iron slowly and lightly over the fabric, keeping it at least half an inch away from the crocheted sections.
- To keep the checkerboard looking its best for years to come, you should periodically spot-clean any areas that become soiled or stained. You can do this by dabbing a damp cloth with some mild detergent over the affected area and then rinsing it off with a clean cloth and cold water.
- Once the checkerboard is dry, you should brush it with a soft bristle brush to keep any stray strands of yarn from becoming tangled or snagged. This will also help prevent the fabric from pilling and fading over time.
- Finally, store your checkerboard in a cool, dry place when it is not in use. Avoid exposing the checkerboard to direct sunlight or extreme temperatures, as this can cause the fabric to fade and degrade over time.
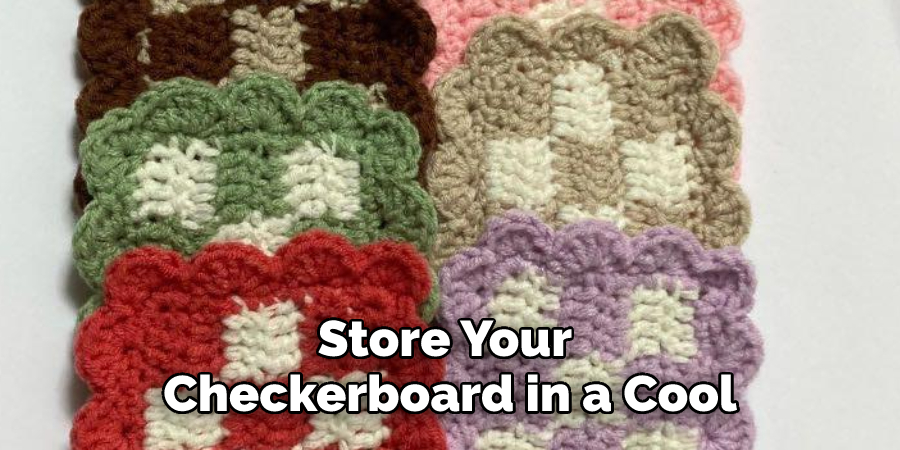
Following these steps will help ensure that your checkerboard remains looking its best for years to come.
Conclusion
One disadvantage of crocheting the checkerboard is the time it takes. Crochet patterns are often tedious and require a lot of concentration, so crocheting a checkerboard can be an especially lengthy task.
Additionally, the pattern requires multiple colors of yarn, so you will have to purchase or use up your scrap yarn stash. This can add to the project’s cost and make it harder to complete when you don’t have all the colors necessary.
In conclusion, crocheting a checkerboard is an easy and fun craft activity. It only requires basic crochet skills and knowledge of the single crochet stitch. It can be customized to any size, color combination, or pattern that you desire. I hope this article has been beneficial for learning how to crochet checkerboard. Make Sure the precautionary measures are followed chronologically.
You Can Check It Out to Crochet a Circle Coaster