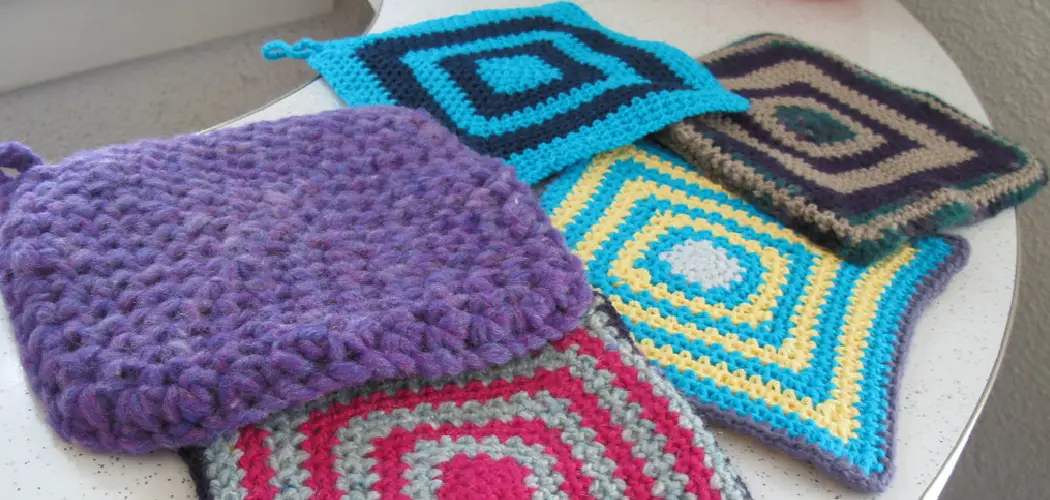
Are you looking to add a bit of coziness and style to your kitchen? If so, then why not learn how to crochet a hotpad for yourself? Crocheting can be a fun and creative pursuit that will help you create beautiful works of art through the use of colorful yarns, hooks, and imagination. And crocheting is easily accessible – all it takes is some basic supplies and knowledge to master this craft.
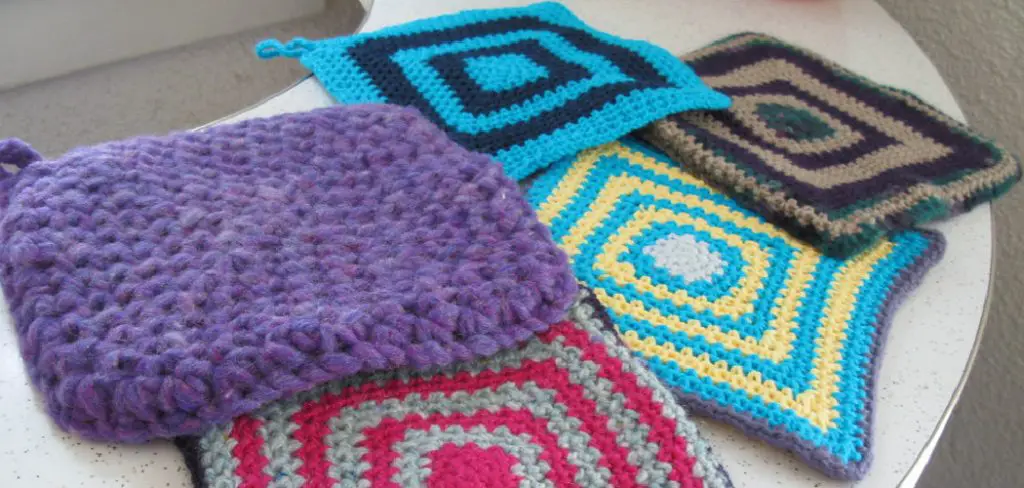
Here, we’ll walk you through the process step-by-step so that anyone from novice crafters to experienced makers can successfully make their own stunning hot pad in no time. So grab your materials, pull up a chair, put on your favorite tunes – let’s get started creating!
Supplies You Will Need to Crochet a Hotpad
- Yarn (in your preferred color)
- Crochet hook (4mm or 4.5mm recommended)
- Scissors
- Tape measure
- Tapestry needle
- Hotpad lining material (such as cotton fabric)
Step-by-Step Guidelines on How to Crochet a Hotpad
Step 1: Measure and Cut the Yarn
To get started, measure out about 90 feet (or 27 meters) of yarn. This should be enough for a hot pad that is around 6” in diameter and ¼” thick – but if you are looking to make a larger or thicker hot pad, then adjust your measurements accordingly. Once the yarn has been measured, cut it with scissors and tie the ends together. Use a tape measure to ensure that the yarn is measured correctly.
Step 2: Chain stitch
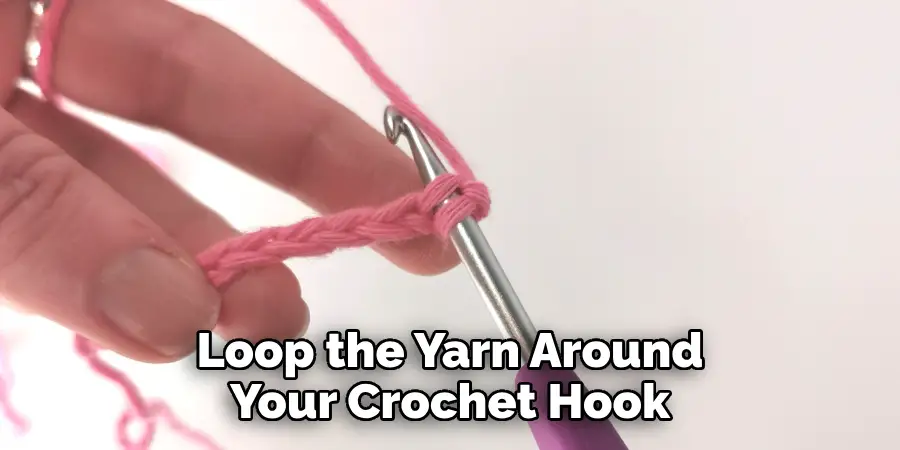
Next, loop the yarn around your crochet hook and pull it through the finger loop. This is called a slip knot. Then chain stitch to form a row of loops by repeatedly making another slip knot in each loop from the previous row. Keep going until you’ve reached the desired size – or around 20 loops for a 6” diameter hotpad. This will form the base of your hotpad.
Step 3: Single Crochet
Now, begin single crocheting by inserting your crochet hook into the second loop from the hook. Then yarn over (YO) and pull through, followed by YO again and pulling it through both loops. Do this until you reach the end of the row.
In order to add a different color to your hotpad, simply insert your hook in the last stitch and switch colors by pulling through with the new yarn. Continue single crochet for several rows until the desired thickness is achieved.
Step 4: Attach Hotpad Lining
Once you have reached the desired size and thickness for your hot pad, turn it inside out and cut a piece of fabric that will fit around the edges. Place this piece onto one side of the hot pad and stitch it in place using your tapestry needle.
Then flip the hot pad back to its original position with the right sides facing out, and secure the lining on both sides. While attaching the lining, be sure to leave a small gap on one side so that you can flip the hot pad back in again.
Step 5: Finishing Touches
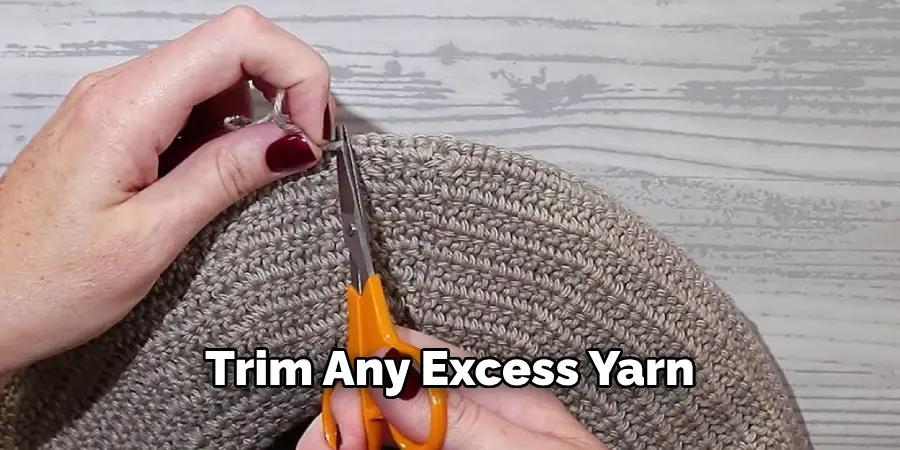
Finally, weave in all the loose ends and trim any excess yarn. And that’s it! You have now successfully crocheted your very own hot pad – just add some colorful tassels or other trims to complete the look and you’re all set to go. Enjoy!
These are the basics for how to crochet a hot pad. With a bit of practice, you’ll be able to make more intricate designs and patterns such as floral or geometric shapes.
Don’t forget that crocheting can be a great form of self-care too – this calming craft has been known to reduce anxiety and stress while increasing focus and creativity! So why not give it a try today and see what you can create? Happy crocheting!
Additional Tips and Tricks to Crochet a Hotpad
- Make sure to use the correct type of yarn when creating your hotpad. Cotton or acrylic yarn is best for this type of project since it provides a good level of absorbency and is durable.
- When making the loops for your hotpad, make sure to pull them tight enough so that they don’t unravel when you turn the project over.
- Use a larger hook than what is recommended on the yarn label to create a more open weave in your project. This will allow for better air circulation and ensure that your hot pad is comfortable to use.
- Experiment with different stitch patterns to create a unique look. Half-double crochet, single crochet, and even popcorn stitches can all be used to add texture and interest to your project.
- If you want your hotpad to last longer, consider using a heavy-duty yarn or even wool for the project. This will ensure that your hot pad will be able to withstand wear and tear better than lighter-weight yarns.
- When you’ve finished crocheting, don’t forget to block your project so that it has a neat and even shape. Blocking is easy to do and can really enhance the look of your hotpad.
- If you want to add a decorative touch, consider using a contrasting color yarn to edge the hotpad stitch by stitch. This will give your project an extra special look and make it even more unique.
- Finally, remember that practice makes perfect! The more often you crochet hot pads, the better you’ll get at making them, and the more creative you can be with your designs. So, don’t be discouraged if your first few attempts don’t turn out exactly how you want them to; just keep practicing and you’ll eventually get it right.
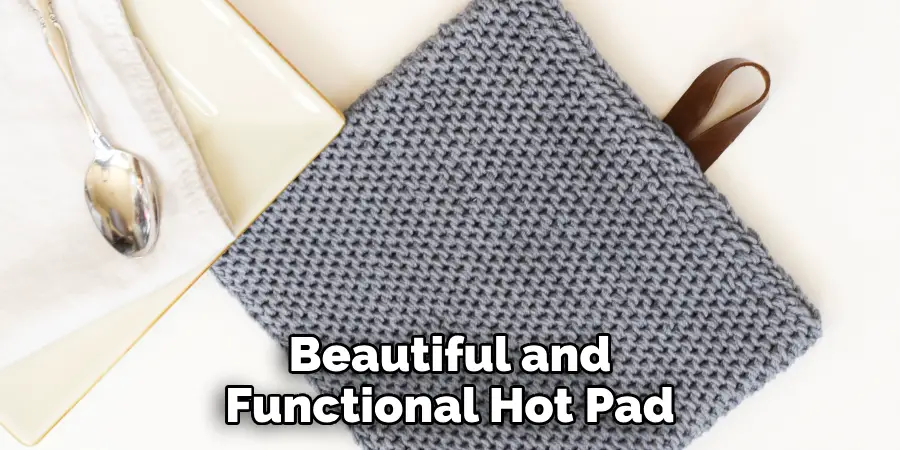
Following these tips and tricks will help you create a beautiful and functional hot pad for your home. Crocheting can be a lot of fun, so don’t forget to enjoy the process and have fun with it!
Things You Should Consider to Crochet a Hotpad
- Choose your materials. You’ll need yarn and a hook for this project. Select a yarn type that is appropriate to the size of the project and will stand up to regular use. Cotton and wool are both popular options for crocheting hot pads.
- Determine the size of your hotpad before you begin. This will help you plan how much yarn and other materials to purchase. The typical size for a crochet hot pad is 8 inches (20 cm) across, but measurements can be adjusted as needed for specific projects.
- Create a simple pattern or use an existing one that is suitable for crocheting a hot pad. This will provide you with an easy-to-follow guide for crocheting the hot pad and make it easier to create uniform stitches throughout the project.
- Start crocheting! Begin at one corner of the pattern and use your chosen stitch to work across each row until you reach the end of the pattern. If following a specific pattern, be sure to check the instructions for any special techniques or stitches that may be needed.
- Once the crochet hot pad is complete, weave in any loose ends and trim them as necessary. If desired, you can add embellishments such as buttons, beads, ribbons, etc., to give your project a unique look.
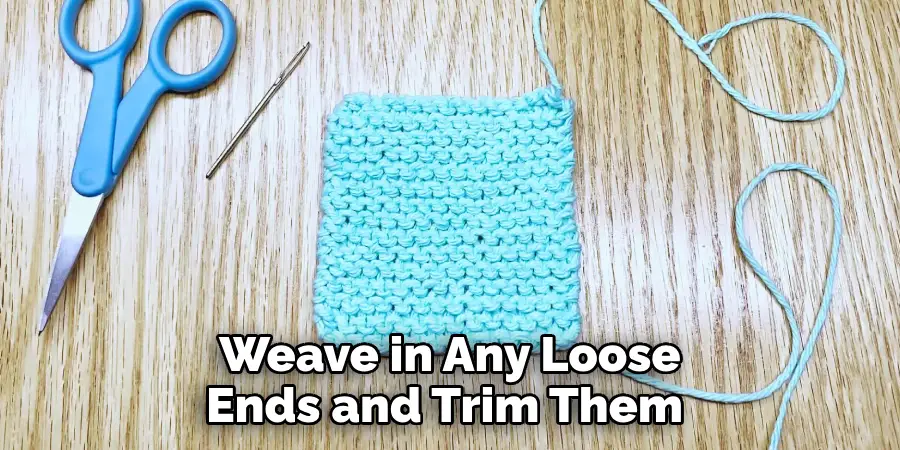
Following these considerations, you’ll be able to successfully crochet a hot pad that will make an attractive and practical addition to any home. With the right materials and some patience, you can create a one-of-a-kind hot pad that is sure to add warmth and beauty to your kitchen or dining room.
Tips for Caring for Your Crochet Hotpad
- Hand wash your hot pad with warm water and mild soap to keep it looking its best.
- Avoid using any harsh or abrasive cleaning materials on the hotpad as they could damage the yarn fibers.
- Hang the hotpad out of direct sunlight, in order to prevent fading or discoloration of the fabric due to prolonged sun exposure.
- After washing, lay the hot pad flat on a clean surface to dry. Do not wring or twist the hotpad as this can distort its shape permanently.
- To maintain its shape and softness, you may want to lightly steam or iron it when needed. Make sure to use a low heat setting and avoid pressing too hard on the fabric.
- Store the hot pad in a cool, dry place away from direct sunlight when not in use. This will help keep it looking its best for many years to come!
Following these tips, your crochet hot pad will look as good as new for years to come. With proper care and maintenance, you can enjoy its warmth and beauty in your home for many years to come!
Precautions Need to Follow for Crocheting a Hotpad
- Always read the instructions on all yarn and hook packaging before getting started. This will help ensure that you have the right materials for your project and that they are the appropriate size for the pattern.
- Check your hook size at regular intervals throughout a project to make sure it is still suitable for the yarn being used. If it has become too small, switch to a larger-sized hook.
- Always take precautions when working with sharp hooks and needles to avoid any potential injuries or accidents.
- Keep loose yarn away from pets and young children as they can be a choking hazard.
- Crochet your hot pad in a well-ventilated space as the fibers may cause irritation if inhaled.
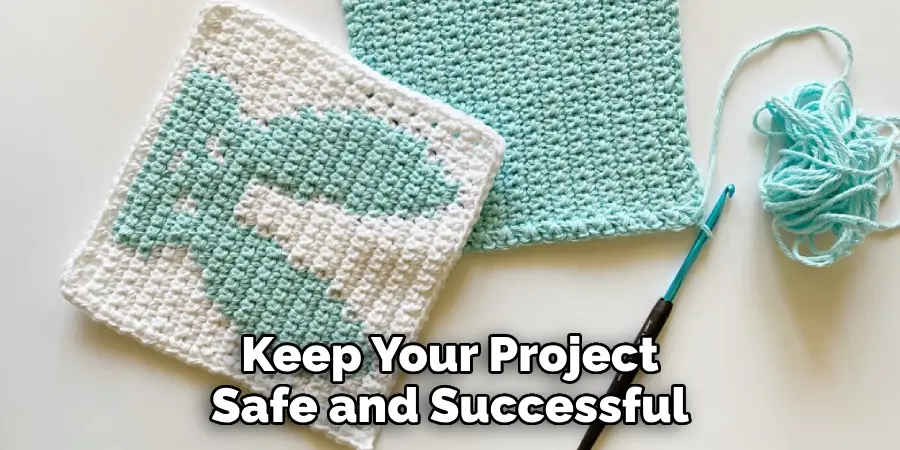
Following these precautions, while crocheting a hotpad will help keep your project safe and successful. By taking the right safety measures, you can have the peace of mind that comes with an enjoyable and worry-free crafting experience!
Common Challenges When Crocheting a Hotpad
- Difficulty making even stitches – If you find it difficult to make uniform stitches, it may help to practice a few rounds of the pattern before beginning the project. This will help you become more familiar with the stitch and ensure that all your stitches are even and consistent throughout.
- Yarn snagging – This can happen if the yarn is not wound properly or if there are knots in the strands. Always check your yarn before beginning a project and make sure it is free of knots or tangles.
- Difficulty understanding the pattern – If you’re having trouble following a specific pattern, try looking up tutorials online or seek out help from experienced crocheters in your area.
By being aware of these common challenges when crocheting a hot pad, you can be prepared for any potential roadblocks you may encounter while working on your project. With the right resources and a bit of patience, you can successfully complete your crochet hotpad!
Frequently Asked Questions
Are There Any Special Considerations I Need to Keep in Mind While Crocheting a Hot Pad?
Yes, when crocheting a hot pad, it is important to make sure that your yarn is not too thin or too thick. Thin yarn can result in your hot pad being too frail and easy to tear, while thick yarn may cause the stitches to be too tight.
Additionally, it is important to make sure that the edges of your hot pad are even and flat – use a blocking board if you find that your product is not lying flat. Finally, for an extra decorative touch, consider adding a pompom border or tassels!
What Are Different Finishing Techniques I Can Use?
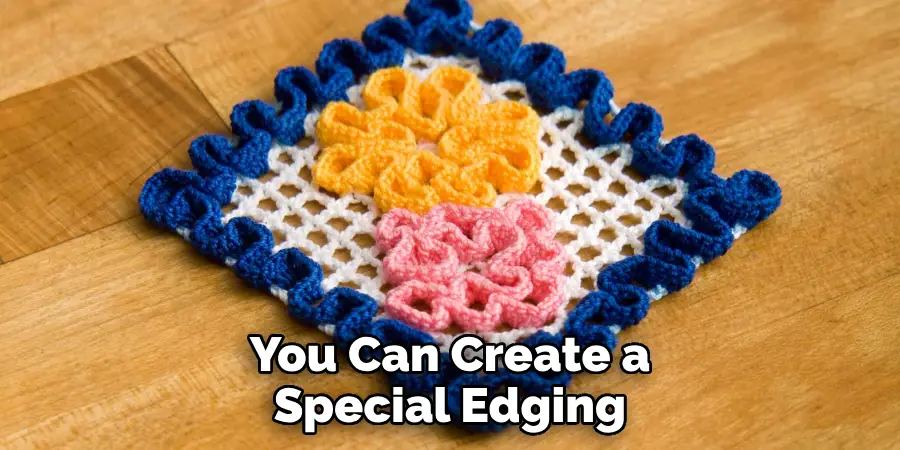
There are a variety of finishing techniques you can use to complete your hot pad. You can create a special edging by using single crochet stitches, picot or crab stitch, shell stitch, and reverse single crochet. Alternatively, if you’re looking for an easy way to finish your project without fussing with extra techniques, simply fasten off the yarn on the outer rounds of your hot pad and weave in the ends.
What Kinds of Yarn Should I Use for My Hot Pad?
When choosing yarn to crochet a hot pad, you should look for a medium-weight option such as a 4-ply (worsted) weight yarn. This type of yarn will provide enough warmth without being too bulky or heavy.
Additionally, you will want to make sure that the yarn is washable – look for options that are wool-free and can be machine-washed. Cotton, acrylic, or bamboo yarns are great choices for hot pads!
Conclusion
All in all, knowing how to crochet a hotpad is a great skill to have! Follow the steps in this guide and you can easily make your own beautiful hot pad. From choosing the right yarn to adding decorative finishing touches, you will be able to create a useful and stylish product that is perfect for keeping your surfaces safe from heat.
With some practice and creativity, you’ll soon become an expert at crocheting hot pads!

