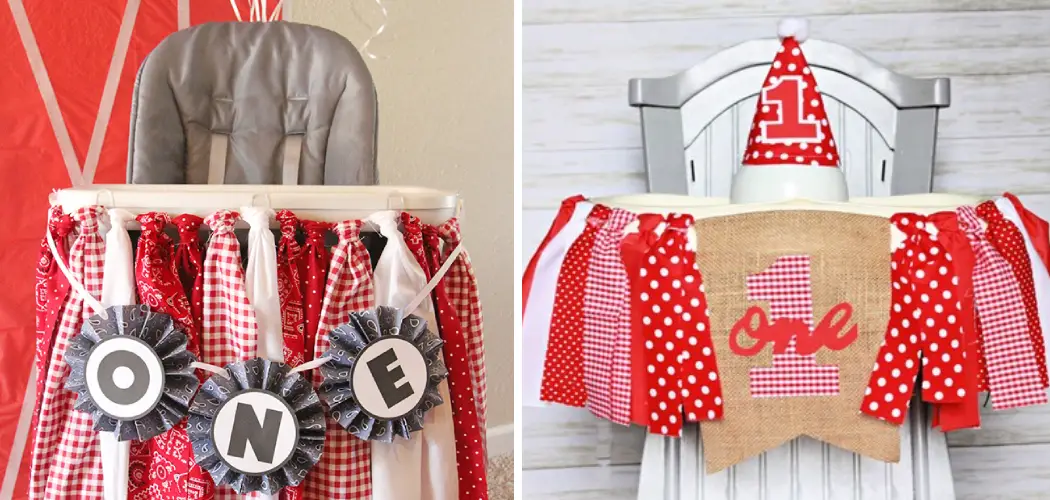
Are you looking to add a special touch to your little one’s high chair? A DIY high chair banner is perfect for any celebratory occasion or milestone! Not only do they look stunning in photographs, but they are straightforward to create.
Whether you’re looking to make your high chair banner for a baby shower, birthday party, or first-holiday celebration — here will walk you through the steps on how to make a high chair banner. Just take a look!
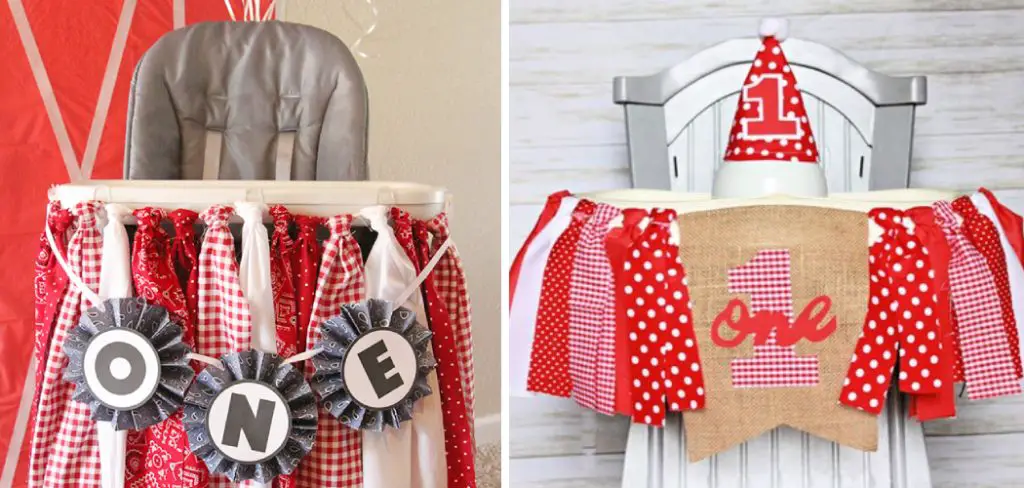
In this blog post, we will guide you through all the steps necessary for making your high chair banner so that creating artful decor can be effortless and enjoyable. So grab some supplies and join us on an exciting craft adventure!
What Will You Need?
Before getting started, you’ll need to gather the following supplies:
- Fabric scissors
- Ribbon (in your choice of colors)
- Pen or marker (for tracing letters)
- Iron on letters or fabric paints and stencils (if desired for customization)
- Sewing Machine (if desired for extra security)
- Iron
- Fabric of your choice (for banner background)
- Cardboard, thin foam board, or batting (as a stabilizer for fabric)
Once you have your supplies ready, it’s time to get crafting!
10 Easy Steps on How to Make a High Chair Banner
Step 1: Preparing Your Fabric
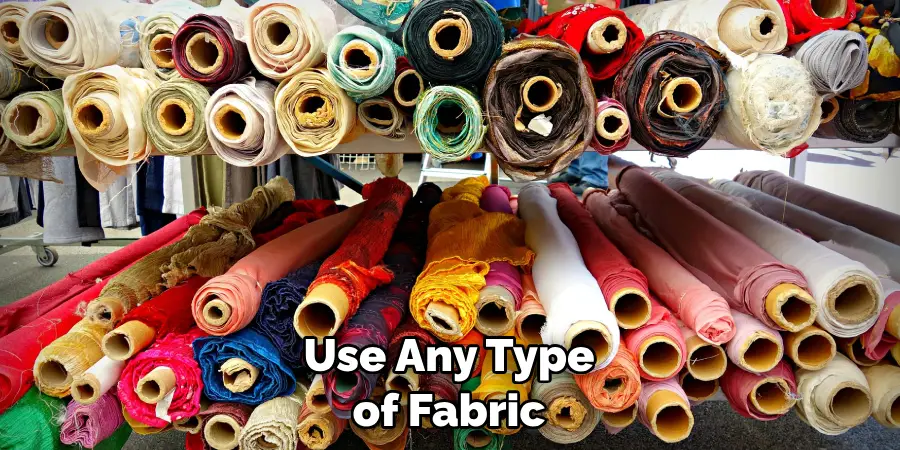
The first step is to prepare the fabric. For this project, you can use any type of fabric you desire. We suggest choosing a fabric that matches the theme of your party or event.
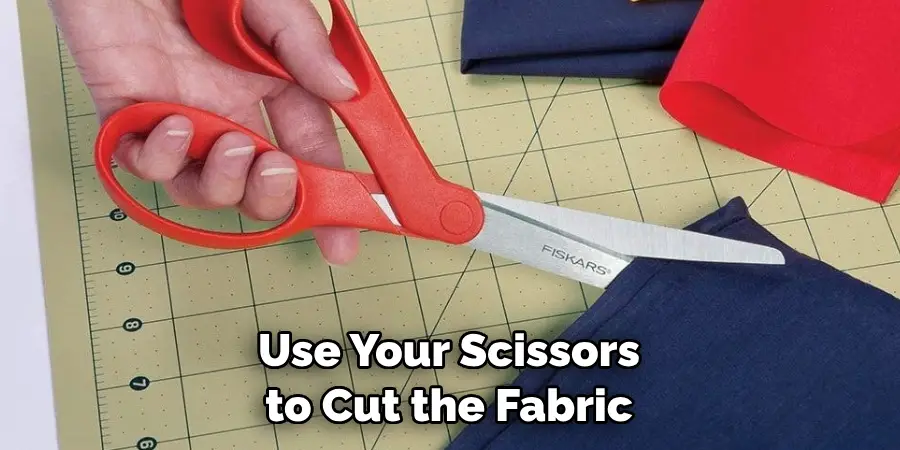
Once you’ve selected your desired fabric, use your scissors to cut the fabric into smaller pieces (using one piece per banner). We recommend cutting each piece into triangles for a more uniform look.
Step 2: Preparing Your Stabilizer
After cutting the fabric pieces, you’ll need to prepare a stabilizer. This stabilizer helps keep the banner in place and prevents it from bunching up during use.
You can use cardboard, thin foam board, or batting as a stabilizer — simply cut each piece to fit the size of your fabric triangle.
Step 3: Preparing Your Letters
You can choose to either print or iron on the letters for your banner. If you are using an iron-on process, make sure to read and follow the instructions for your specific product carefully.
If printing your own letters, use a pen or marker to trace them onto the fabric. Make sure that the lettering is uniform throughout each piece of fabric.
Step 4: Preparing Your Ribbon
Now it’s time to prepare the ribbon! Cut your ribbon into desired lengths — for this project, you’ll need two pieces per banner. To ensure a uniform look, measure out each piece and cut accordingly.
Step 5: Assembling the Banner
The assembly process begins with placing the stabilizer at the back of your fabric triangle. If you are using a sewing machine, stitch the stabilizer onto the fabric. For those who prefer not to sew, you can use fabric glue to secure the stabilizer.
Next, place your prepared ribbon along the top edge of the fabric triangle, leaving equal lengths of ribbon on each side for easy hanging. Secure the ribbon to the fabric either by sewing along the top edge or using fabric glue. Repeat this process for each banner piece.
Step 6: Adding the Letters
The next step involves adding the letters to your banner pieces. If you’re using iron-on letters, arrange them on the fabric pieces and iron them on according to the package instructions. If you’ve traced letters onto the fabric, you can fill them in with paint and allow them to dry completely. Remember to keep the letters consistent across each banner piece.
Step 7: Assembling the Banner
Now, you’re ready to assemble your banner. Start from one end of the ribbon and attach each banner piece by tying it to the ribbon at equal intervals. Make sure to leave enough room at the ends for hanging. Once all the banner pieces are tied, your high chair banner is ready to be hung and displayed!
Step 8: Hanging Your Banner
Finally, hang your high chair banner to the high chair by tying the ends of the ribbon to the sides of the chair. Adjust the banner as needed to ensure it’s displayed beautifully. Now, step back and admire your handmade high chair banner!
Step 9: Final Touches
With your high chair banner now hung, take a moment to look at it from different angles, making any necessary adjustments to ensure the best appearance. You can add extra decorations such as balloons, streamers, or fringes around the high chair for added festivity. Remember, the goal is to make the high chair stand out for your celebration. Now, you’re all set to enjoy the party!
Step 10: Appreciate Your Work and Capture the Moment
After following all these steps, you have successfully created a beautiful high chair banner that will surely add a special charm to your celebration. But don’t just stop there! Now is the time to capture this moment. Remember to take plenty of pictures of your little one with the banner.
These photos will serve as cherished memories that you and your loved ones can revisit for years. Your DIY high chair banner isn’t just a decoration, it’s a testament to your creativity and love. So, give yourself a pat on the back for a well-done job!
By following the steps outlined above, making a high chair banner for your special occasion can be an enjoyable experience. Don’t forget to experiment with colors, fabrics, and patterns until you create a unique banner to impress everyone. Have fun and get creative as you make this one-of-a-kind piece of decor!
5 Additional Tips and Tricks
- Make sure to use materials that are safe for a baby or toddler. Choose fabrics and decorations that are free from loose strings, buttons, or beads.
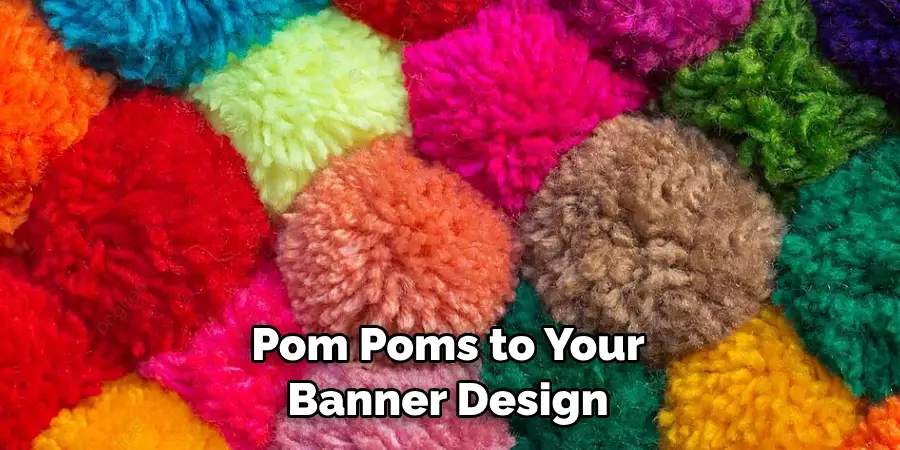
- Add small details such as rhinestones, grommets, or pom-poms to your banner design to make the banner extra special.
- If you’re using a large piece of fabric for your banner, consider adding interfacing to provide extra support and durability.
- When securing the banner to the high chair, attach it with ribbon or ties that are soft enough not to be dangerous for the baby but strong enough to stay in place.
- When you’re finished, hang your high chair banner up and admire your handiwork! With a bit of creativity and hard work, you can make a beautiful banner that will be treasured for years to come.
That’s it! Now you know how to make a high chair banner. Your high chair banner will be the perfect accessory for any special occasion if done correctly.
5 Things You Should Avoid
- Do not use sharp objects, like pins or needles, in the creation process that could potentially harm the child. Always ensure safety first while making your high chair banner.
- Avoid using heavy materials for the banner, as it increases the likelihood of it falling off the high chair.
- Steer clear of using toxic paints or dyes while decorating the banner. These could be harmful if the child comes into contact with them.
- Do not tie the banner too tightly to the high chair. A tight attachment could become a choking hazard if the child becomes entangled.
- Finally, only create a banner that is short enough for the high chair. It should not interfere with the child’s movement or cause discomfort during their mealtime.
Avoiding these five tips will make your high chair banner a safe and stunning addition to any special occasion. You can create a unique and beautiful piece for your little one’s special day with the right materials and decorations.
How to Make a Tutu for a High Chair?
If you want to add a bit of extra sparkle and color to your high chair, consider making a tulle tutu skirt! This is a great way to make the high chair look extra special for any occasion.
Here’s how to create a tutu skirt for your little one’s high chair:
- Start by measuring the circumference of the high chair seat.
- Cut long strips of tulle to match that measurement, plus a few extra inches for knotting and overlap.
- Tie each strip of tulle around the high chair seat and secure it with a double knot.
- Continue until you’ve covered the entire circumference with rows of knotted tulle.
- Add a bit of ribbon or lace around the edges for decoration, and you’ve got yourself a tutu!
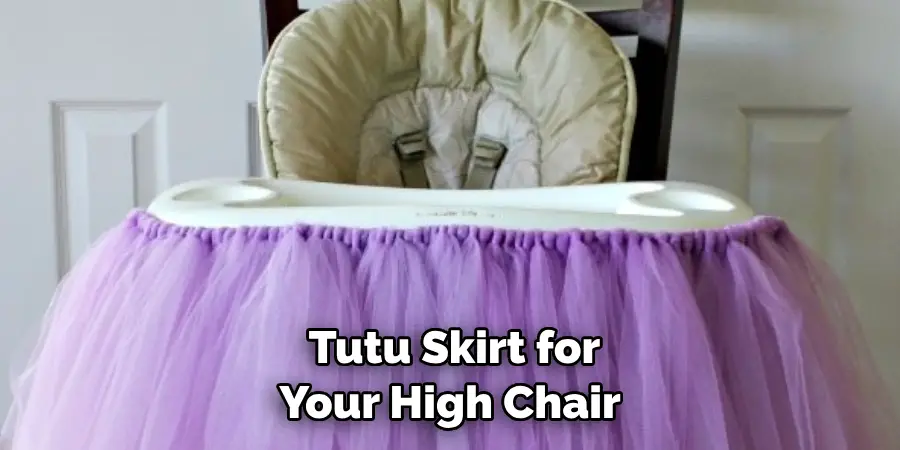
With these steps, you can easily create a unique and beautiful tutu skirt for your high chair. It is sure to be the perfect accessory for any special occasion. Just remember to use materials that are safe for your little one.
Conclusion
It is easy to make a high chair banner for your little one! With the tips provided here, you are well on your way to creating a beautiful and special addition to your birthday celebration. Once it’s finished, snap some pictures of the birthday boy or girl in their high chair featuring the handmade banner – they’ll love seeing how much effort you put into their special day!
Remember other decorations too, like flowers, latex balloons, and colorful tablecloths that match the theme for more festive touches. It’s time to get creative and have fun crafting something your child will cherish forever.
Hopefully, the article on how to make a high chair banner has been helpful, and you now have the skills to create a unique and meaningful decoration for your little one. Good luck!

