
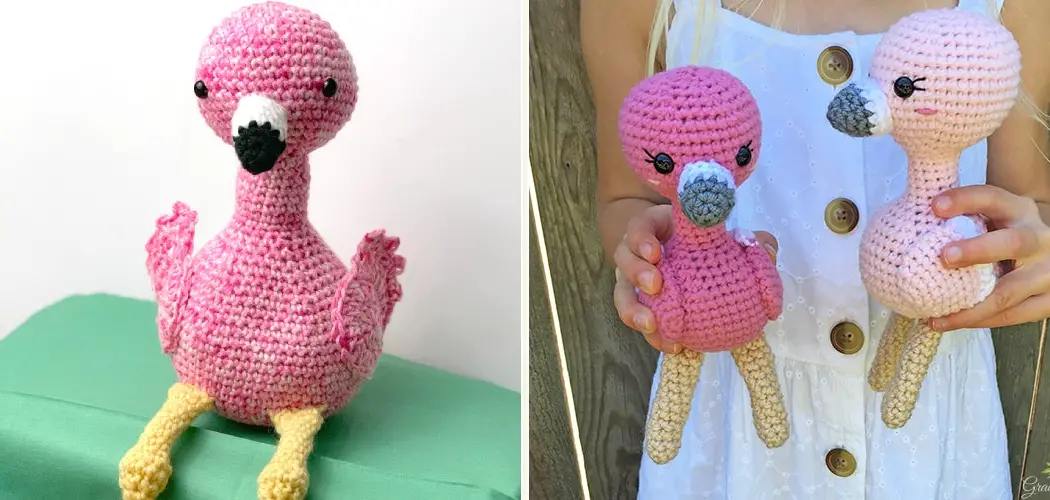
Are you looking for a fun, creative project that can easily be learned and mastered? Then why not try your hand at crocheting a flamingo? This unique craft is an exciting way to get creative while also producing something whimsical and delightful. Crocheting a flamingo will challenge novices but offer up rewarding results that are sure to turn heads, adding bursts of cute color around your home or garden. In this blog post, we’ll walk through the process from start to finish so you, too, can learn how to crochet a flamingo. So grab your knitting needles, and let’s get crafting together!

Is It Hard to Make Crochet Animals?
Crochet animals can range from simple shapes to complex 3D designs. It all depends on the skill of the crocheter and how detailed they want the animal project to be. For example, making a basic shape like a flamingo requires fewer stitches than creating a 3D amigurumi pattern. However, with practice and patience, anyone can create beautiful crochet animals.
To get started, it’s beneficial to learn the basic stitches used in crocheting. These include chain stitch, single crochet, double crochet, and slip stitch. With these fundamental stitches mastered, even a novice crocheter can begin to make simple shapes like the flamingo described in this tutorial.
Beyond these basic stitches, experienced crocheters may want to use additional techniques, such as shaping and decreasing, to create more complex designs. Animal shapes also require changing colors and joining pieces together, so some experience in those areas can help make the project easier.
While it might seem like a daunting task at first, with the right supplies and a lot of practice, anyone can make realistic-looking crochet animals.
So if you’re ready to crochet a flamingo, read on for the full tutorial! With some patience and a few rounds of trial and error, even a beginner crocheter can create this adorable project.
10 Methods How to Crochet a Flamingo
1. Choose the Right Type of Yarn.
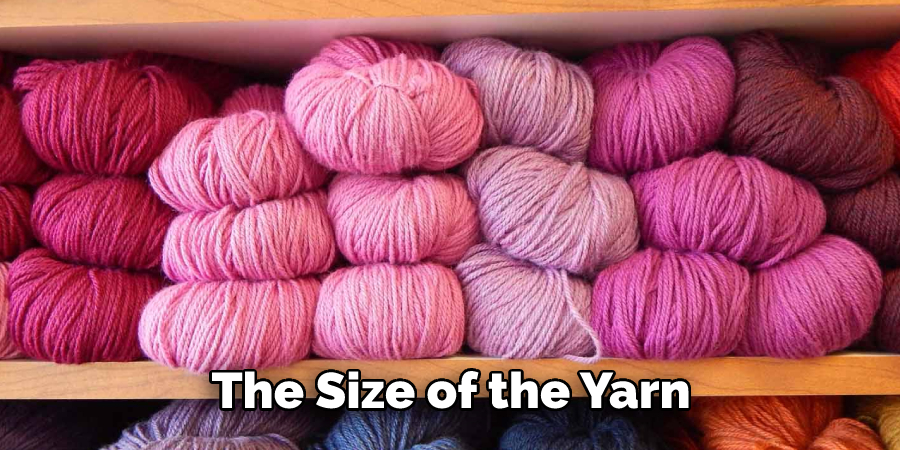
The best type of yarn to use for a crochet flamingo is the worsted-weight yarn. This type of yarn is not too thick or too thin, and it will work well for the body and legs of the flamingo. You can also choose to use cotton or acrylic yarn, depending on what type of texture you want the flamingo to have.
2. Decide on the Size of the Flamingo.
The size of the flamingo will depend on the size of the yarn you use and the size of the hook you use. A good rule of thumb is to use a hook that is one size smaller than the recommended hook size for the yarn. This will result in a tighter stitch and a firmer fabric.
For example, if the work calls for a size H (5.00mm) crochet hook, use a G (4.50mm) instead. If you want a larger flamingo, use a heavier yarn and a larger hook. Be sure to adjust all the measurements accordingly.
3. Make a Slip Knot and Chain 30 Stitches.
Once you have chosen your yarn and hook, you can start to crochet the body of the flamingo. To do this, make a slip knot and then chain 30 stitches. These 30 stitches will form the basis of the body and neck of the flamingo.
When you have finished, do not turn in your work. If you need help making a slip knot, you can refer to the helpful diagrams included in this guide. However, if you’re already familiar with the basics of crochet, this step should be easy for you.
4. Single Crochet in Each Stitch across.
Once you have reached the end of the chain, single crochet in each stitch across, this will create a long, rectangular piece that forms the body of the flamingo. To single crochet, insert the hook in the second loop from the hook and yarn over, and pull a loop through.
Yarn over again and draw it through both the loops on the hook. You will now have a single crochet stitch. Continue with this stitch until you reach the end of your row, which should be the same number of stitches you began with.
5. Crochet Two Legs.
To make the legs of the flamingo, crochet two separate pieces that are each 10 stitches long and 5 stitches wide. These pieces will be sewn onto either side of the body later on. To create each individual piece, start by making a slip knot.
Then make ten single crochet stitches. After that, chain one stitch and turn the work. Now single crochet five more stitches. Chain one stitch and turn the work again. Repeat the same set of steps for a total of five rows.
6. Crochet Two Wings.
To make the wings of the flamingo, crochet two separate pieces that are each 8 stitches long and 4 stitches wide. These pieces will be sewn onto either side of the body later on as well.
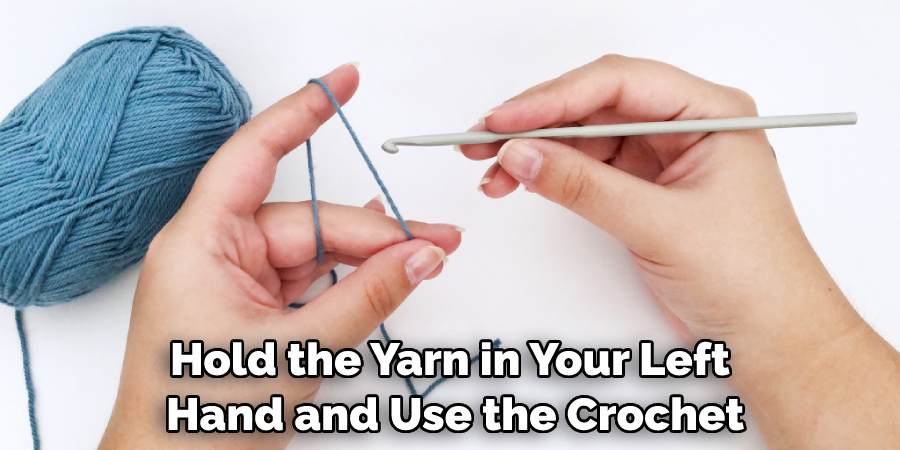
If you want to make the wings a different color, use a new strand of yarn for each wing. To crochet the pieces, hold the yarn in your left hand and use the crochet hook in your right. Chain 8 stitches, then single crochet four stitches across the chain. After two rows, cut the yarn and secure it.
Repeat the same steps to make a second wing of the same size.
7 Sew on All of the Pieces.
Once you have crocheted all of the pieces, it is time to sew them all together to form the finished product. Start by sewing on the legs, followed by the wings, and finally, sew along both sides of the body to close it up completely. Make sure to secure each piece firmly with the thread.
Once all of the pieces are sewn on, you will need to make the flamingo’s beak. To do this, take a piece of yellow yarn and make two stitches coming out from the middle of the flamingo’s head. Leave enough room in between each stitch to form a V-shape. Secure it at the top with extra thread so that it doesn’t come undone.
8 Embellish as Desired.
Once you have sewn all of the pieces together, you can embellish your flamingo as desired with things like buttons, sequins, or anything else you can think of! Try to make your flamingo as unique and special as possible.
You can also use embroidery floss to add a bit of texture and color or use felt pieces to make feathers for the body. Finally, you can even give your flamingo a beak and eyes with some small beads! Have fun with this step and get creative – the more unique your flamingo looks, the better!
Once you’ve finished embellishing, your crochet flamingo is ready to show off and enjoy! Place it in a spot of honor or give it as a thoughtful gift to someone special. Have fun with this project and let your creativity take flight!
9 Add Stuffing if Desired.
If you would like your flamingo to be plush and soft, you can add stuffing to it before sewing it up completely. Simply stuff it with fiberfill or any other type of stuffing material until it is as plump as you desire. Once the flamingo is stuffed, sew up the remaining opening to finish your project.
If you don’t want to stuff your flamingo, you can skip this step and move on to the next one. Although the flamingo will still look great without stuffing, it won’t be as soft and cuddly.
10 Enjoy Your New Crochet Flamingo!
Once you have finished crocheting and assembling your new flamingo friend, simply sit back and enjoy! Although it may have taken some time and effort, you will be left with a beautiful, unique piece that can be used to decorate your home or as an ornamental gift. Your new crochet flamingo will be sure to bring a smile to anyone’s face. Congratulations on completing your project!
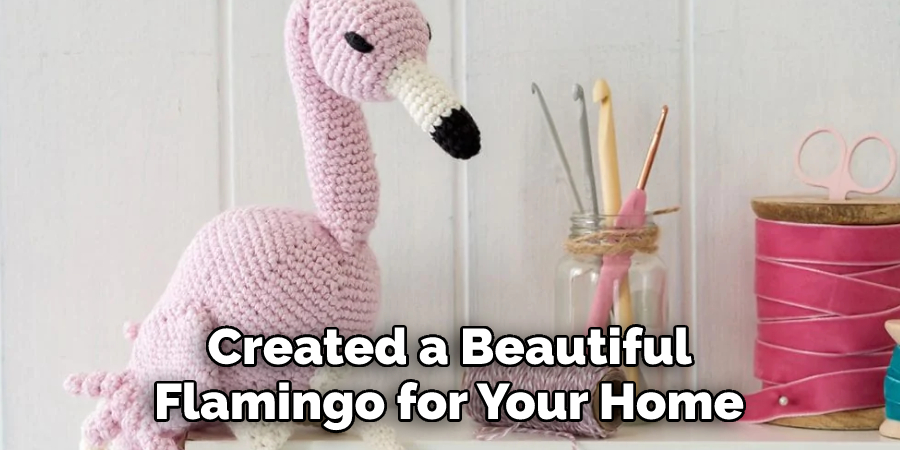
By following these steps, you have created a beautiful flamingo for your home or one to give as a gift. If you plan to leave it outside, make sure the yarn is weather-resistant, and all stitching is secure. To hang up your new crochet flamingo, create a loop at the top of its head with some extra yarn and attach it to a hook or nail. Now you can have your own flamingo that’s sure to be the envy of all your friends!
Conclusion
Now that you know how to crochet a flamingo, there’s no limit to the number of these adorable creatures you can make! Their long legs and neck make them perfect for perching on bookshelves, windowsills, or anywhere else in your home that could use a little bit of flamingo flair. So grab your hooks and some pink yarn, and get ready to add some crocheted cuteness to your world!
You Can Check It Out too Crochet a Voodoo Doll