

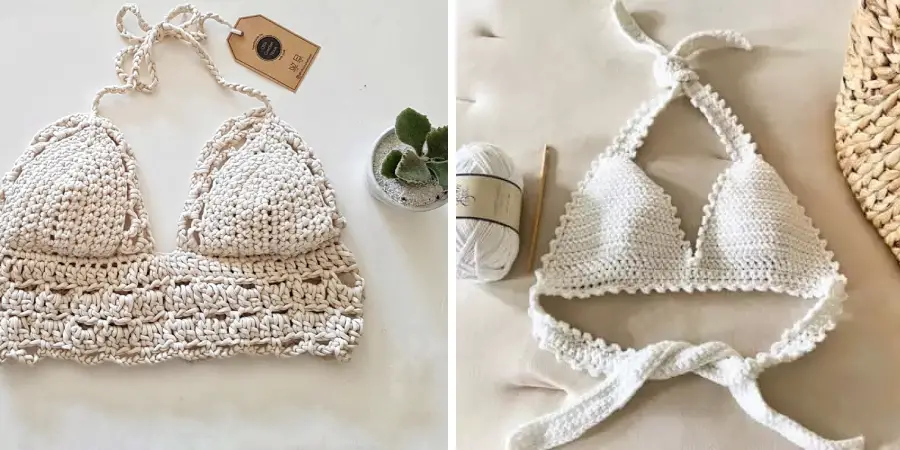
Do you ever wish for the perfect garment that can support your curves without being too restrictive? What if I told you that there’s a way to craft tailor-made bralettes with just a few tools and the power of crochet? Not only are crocheted bralettes stylish, but they also provide maximum comfort without sacrificing any of the support offered by traditional bras! In this post, we’ll be exploring how to crochet bralette so you can enjoy your newfound fashion freedom.
How much yarn does it take to crochet a Bralette?
The amount of yarn needed to crochet a bralette depends on the size of the bralette you are making. Generally speaking, for an adult-sized bralette, between one and two skeins of DK-weight yarn, should be sufficient. If you’re looking to make something a bit smaller or larger than average, keep in mind that you may need more or less yarn.
When in doubt, buy an extra skein, so you don’t run out. Once you have all the supplies and yarn ready to go, it’s time to get started on your bralette! Additionally, having some stitch markers or safety pins on hand is a good idea to help keep track of your stitches and rounds.
What Is the Hardest Thing to Crochet?
Crocheting can be a tricky craft to learn, but once you’ve mastered the basics and explored some different stitches, you might find that certain projects seem more difficult than others.
When it comes to crocheting, the difficulty of any given project will depend on the complexity of the pattern and the level of finishing details involved. However, there are some items in particular that many experienced crafters find challenging to make—like bralettes!
Bralettes are typically constructed with delicate lace patterns, which involve intricate stitching techniques that require extra attention to detail. Not only must your stitches be accurate, but they also have to look aesthetically pleasing.
The edges of the bralette need to be finished carefully so that they look neat and uniform. This can be difficult to achieve with crocheting since the stitches are often smaller and need more precision. Additionally, bralettes should have a comfortable fit to be wearable, so this requires careful monitoring of gauge and stitch counts.
All in all, it’s safe to say that bralettes are among the most difficult things to crochet. However, with enough practice and patience, you can create beautiful bralettes that you’ll be proud to wear! With the right techniques and materials, there’s no limit to what you can make. So grab your hooks and get crocheting!
10 Methods How to Crochet Bralette
1. Materials
To crochet a bralette, you will need yarn, a crochet hook, and a tapestry needle. You will also need scissors and measuring tape. Make sure to choose a yarn that is lightweight and breathable.
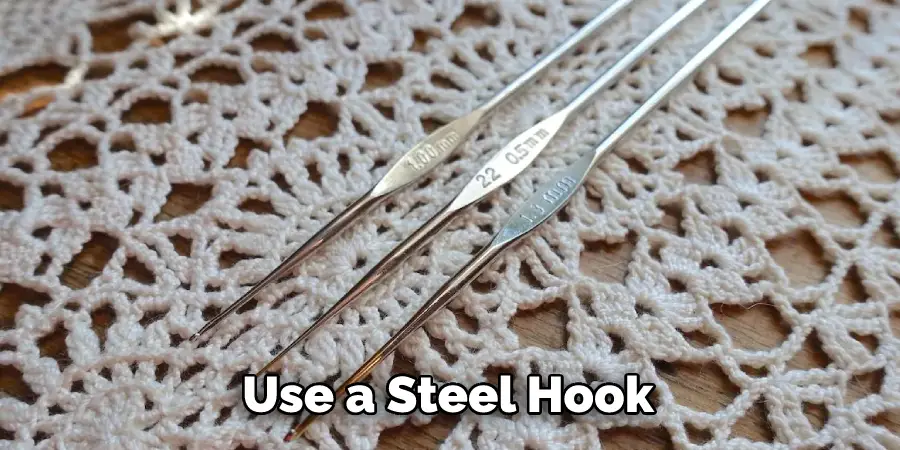
If you are unsure of the best yarn to use, look for a yarn that is specially designed for lingerie. Although you can use any type of crochet hook, it’s recommended to use a steel hook as they provide more accurate sizing. You will also need a tapestry needle to weave in any loose ends.
2. Choose Your Yarn
The type of yarn you choose will determine the final look of your bralette. If you want a light and airy bralette, choose a cotton or linen yarn. If you want a more substantial bralette, choose a wool or acrylic yarn.
You can also combine different types of yarn to create a unique look. Different textures and colors will also add to your bralette’s final look, so don’t be afraid to experiment. If you’re unsure of what yarn to use, ask the clerk at your local craft store for advice.
3. Choose Your Crochet Hook
The size of your crochet hook will also affect the final look of your bralette. If you want a loose and open fabric, use a larger crochet hook. If you want a tight and dense fabric, use a smaller crochet hook. You can experiment with different hook sizes to find the size that best suits your needs. While there’s no one-size-fits-all answer, a good size to start with is a 4.5 mm (US 7) crochet hook.
4. Measure Yourself
Before you start crocheting, you will need to take some measurements. Measure around your chest at the fullest part, and then measure from your shoulder to your waist. These two measurements will help you determine the size of your bralette. If you’re crocheting for someone else, you can ask them to take their own measurements. Try to be as accurate as possible so that the bralette fits correctly.
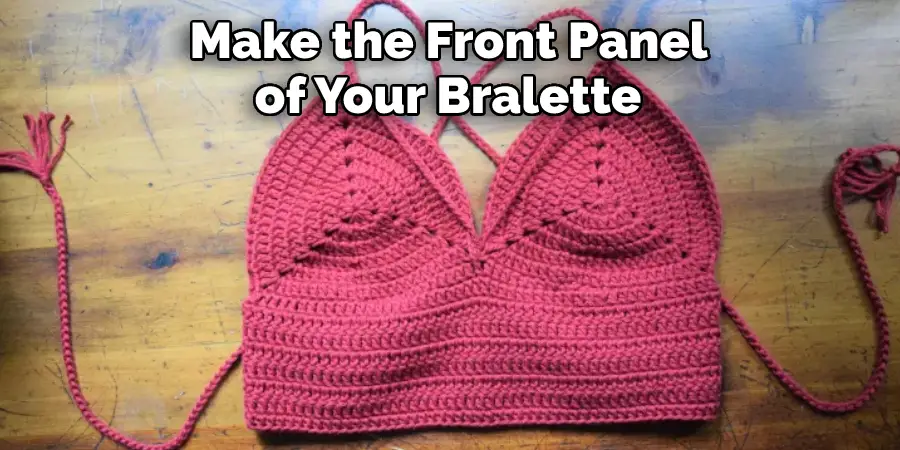
5. Make the Front Panel
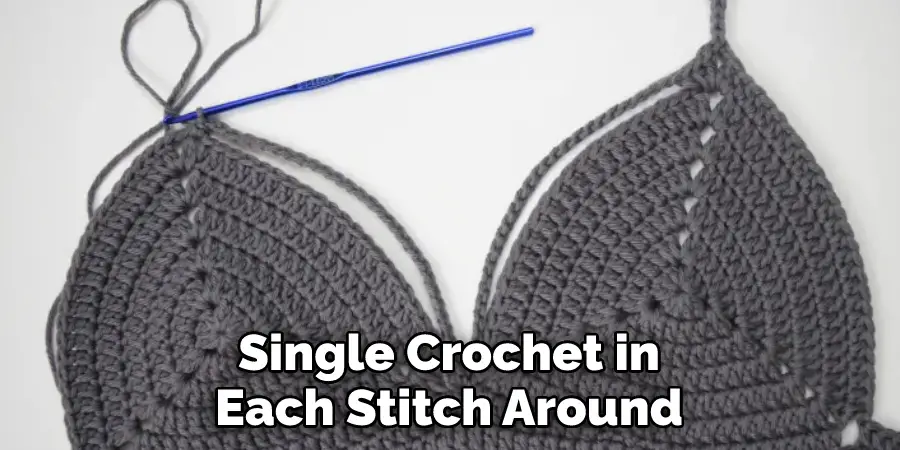
To make the front panel of your bralette, start by crocheting a foundation chain that is the same length as your chest measurement. Then, single crochet in each stitch across the foundation chain until you have reached the desired width.
To make the straps, single crochet along both sides of the front panel until they are the desired length. Secure the straps by crocheting a couple of rows of single crochet, and then fasten off the yarn.
6. Make the Back Panel
To make the back panel of your bralette, start by crocheting a foundation chain that is the same length as your chest measurement. Then, double crochet in each stitch across the foundation chain until you have reached the desired width. To make the straps, double crochet along both sides of the back panel until they are the desired length.
Finally, connect the back panel and straps together by crocheting around the edges of both. Make sure to leave enough space between the two pieces so that you can adjust the straps accordingly. Finish off by weaving in all loose ends.
7. Join the Front and Back Panels
Once you have made both the front and back panels, it’s time to join them together. To do this, line up both panels so that their edges are aligned and single crochet them together along their edges. If you want a more secure join, you can use slip stitches instead. Once the two panels are joined, you’re finished with the main part of the bralette!
8 . Make the Band
To make the band of your bralette, start by crocheting a foundation chain that is long enough to go around your chest (this will be slightly longer than your chest measurement).
Then, single crochet in each stitch around until you have reached the desired width. To calculate the desired width, measure around your chest, divide that number by 3, and add 1 inch for ease. This will be the width of your band. When you reach the desired width, slip stitch to the beginning chain and fasten off.
9. Join the Band for the Rest of the Bralette
Once you have finished crocheting the band, it’s time to join it with the rest of your bralette. Line up both pieces so that their edges are aligned, and single crochet them together along their edges. Be sure to leave an opening for the straps! Additionally, you can use a contrasting color to make the join look more aesthetically pleasing.
Once you have crocheted along the edges, fasten off your work. However, if you are adding straps or other embellishments, do so before fastening off work.
10. Finishing Touches
Once you have joined all of the pieces together, it’s time to add some finishing touches to your bralette. If desired, you can add decorative edging along the top and bottom edges using single crochets or half double crochets. Additionally, you can add decorative ties to the front and back panels using a tapestry needle.
Although plain ties look nice, you can also add a few beads or buttons to give the bralette a unique and stylish flare. Lastly, be sure to weave in any loose ends with a tapestry needle. After you’ve finished all of these steps, your bralette is complete and ready to be worn! Enjoy your new handmade garment and show it off with pride.
Congratulations! You have now completed your crochet bralette. It’s time to enjoy wearing your new creation! With this tutorial, you can confidently learn how to crochet a beautiful and stylish bralette that fits just right! Go ahead and show off your finished project for all to admire. Happy crocheting!
What to Crochet as a Gift?
If you’re looking for a special and meaningful handmade gift, why not consider crocheting a bralette? Crocheted bralettes are beautiful and unique pieces of clothing that can be gifted for any special occasion.
The best thing about crocheting a bralette as a gift is that it can be tailored to the recipient’s style, color preferences, or size. Whether you’re gifting a friend, family member, or significant other, adding a personalized touch to the bralette is sure to make a lasting impression.
Conclusion
In conclusion, with this guide, you should now be well on your way to crocheting a beautiful and unique bralette that will have all of your friends asking where you got it. With practice, you’ll become a pro at crochet in no time.
Thanks for reading, and happy crocheting! We hope this guide on how to crochet bralettewas helpful. Please share it with your friends on social media if you find it useful. And be sure to check back here soon for more informative guides like this one.
You Can Check It Out to Crochet Gnomes