
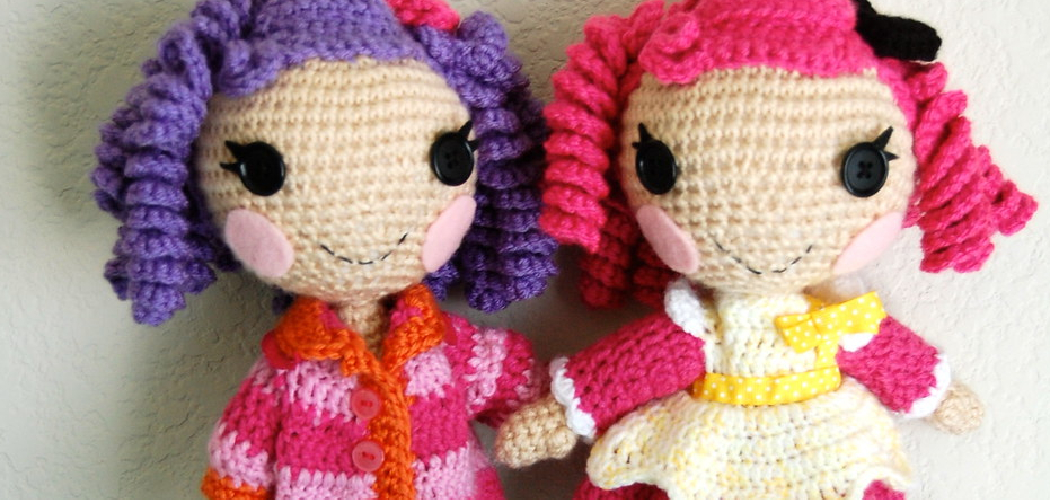
Are you looking for a new and creative hobby that will not only keep your hands busy but also lead to rewarding results? You must know how to crochet a doll for beginners. If so, then learning how to crochet a doll is the perfect way to dive into the world of crafting.

Suitable even for beginners, these dolls can be personalized with unique colors and designs, making them each an individual work of art that is completely customizable. In this blog post, we’ll show you everything you need to know about crocheting dolls.
From choosing the right materials and tools for the task to constructing each piece of your beautiful creation! So grab a cup of coffee or tea and get ready – let’s start crocheting!
Tools You Will Need
Before you can begin crocheting your doll, you’ll need to make sure that you have the right tools for the job. To start with, you will need
- A crochet hook of any size – though it is recommended that beginners opt for thinner hooks so they can learn how to hold and use them more easily.
- You will also need some yarn or thread, preferably in a color of your choice that will be used as the main material for crocheting the doll.
- Additionally, it may also be helpful to have a pair of scissors, tape measure and/or ruler, stuffing (optional), and any other notions you think might make the process easier.
6 Steps Guide on How to Crochet a Doll for Beginners
Now that you have gathered everything you need, let’s get started. Follow these 6 steps guide to learn how to crochet a doll:
1. Make the Head of the Doll
Use your chosen yarn and hook size to create a round ball shape with the desired number of stitches depending on how big or small you want your doll’s head to be.
Creating the head of your doll is an important first step for beginner crocheters. Start by using the yarn and hook size of your choice to make a round ball the size of your desired doll head. Depending on what size you’d like the head to be, choose how many stitches you will need and begin working!
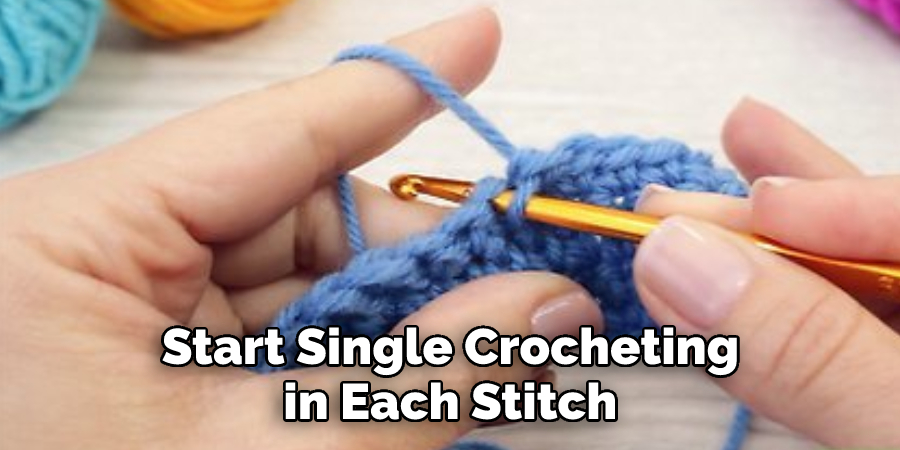
A helpful tip is to create extra stitches when starting out since it’s much easier to pull stitches than add, as this can cause lumps or wrinkled fabric. Once you have determined the foundation of the ball, start single crocheting in each stitch until you get your desired shape and size. With a bit of patience and some practice, your first crochet doll will surely be a success!
2. Create the Body of Your Doll
Make sure that you use the same number of stitches throughout so that all parts are consistent in size.
Crocheting a cylinder shape is an essential part of creating the body of your doll. To ensure that all parts are consistent in size, it’s a good idea to use the same yarn and hook size as you used for the head and make sure you use the same number of stitches throughout.
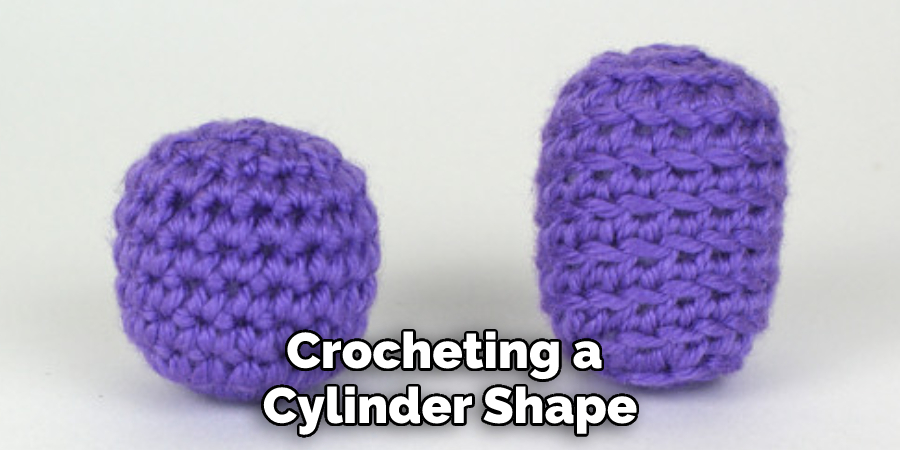
Doing so will ensure that the finished doll is uniform throughout, looking spectacular when completed! With a bit of careful crocheting, soon you’ll have your very own handmade crochet doll to be proud of.
3. Crocheting Two Sticks
Make sure you are working your stitches evenly so that the arms turn out even. Crocheting arms for a doll is an essential part of creating your masterpiece. The first step to making the arms is to use the same yarn, hook size, and tension as before. It is important to ensure that you are working your stitches evenly while crocheting to make sure the arms match each other in size.
Once you have finished crocheting, draw the yarn through all loops on the hook then fasten it off and cut with scissors. This will secure your work so it doesn’t unravel in time. With these steps, you have created two perfect stick arms for your crochet doll!
4. Make a Pair of Legs
To make the legs for your crochet doll, you’ll need to use the same technique as you used for the arms, which is single crochet. To ensure that your doll’s legs are close in size and length to the arms, start by crocheting three chains or four depending on how wide you want the opening to be. When constructing the leg, remember to keep counting each row of stitches.
This will help you keep track of where you are at in your project and ensure that both legs remain even. You should also shape your leg around a wooden dowel or knitting needle so that it keeps its shape when taking it off of it afterward. Once you have reached your desired length, knot off and begin stitching up together with a yarn needle. Happy crocheting!
5. Assemble Your Doll
Putting together a doll may sound intimidating, but assembling your pieces is a lot simpler than you’d think! Start by lining up all the parts of the doll and connecting them with a sturdy yarn. Make sure to tie a knot at each end for extra reinforcement. Next, take a tapestry needle and use it to sew the pieces securely together.
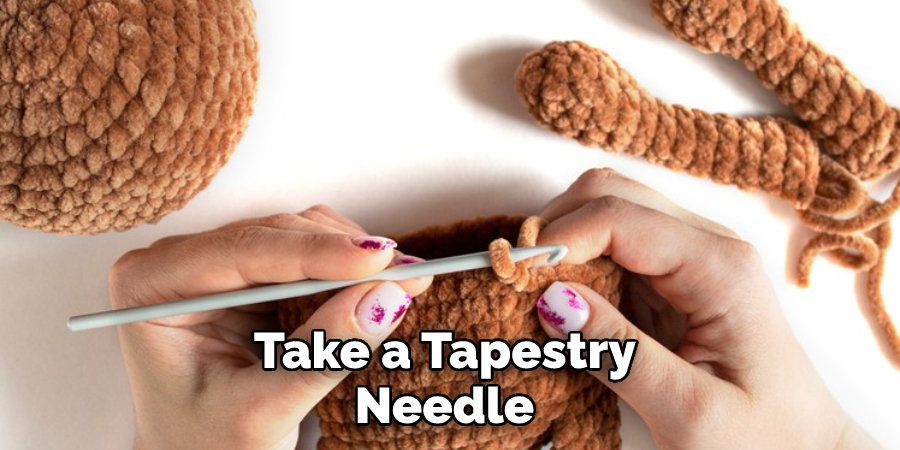
There is no specific technique that is required; however, experience in crochet stitches is helpful. For example, if you know how to do a mattress stitch, then you can use this skill to close off openings and keep the shape of your doll intact. Once everything is connected in place, it’s time to enjoy your hard work!
6. Customize It With Any Details
Once you’re finished with the basic assembly of your doll, the customizing can begin! You can give it detailed eyes and lovely hair, dress it up in beautiful clothes, and put its finishing touches on with jewelry and accessories.
When setting up all these pieces, be sure to get a good amount of stuffing into each part to make your doll sturdy and hold its form better. With all the intricate details you can add to your crocheted doll, it’ll turn out to look perfect before you know it.
And you’re done! Congratulations, you have just created your very own crochet doll. As you can see, this craft is a great way to learn new skills and create something unique that will last forever. Whether it’s for yourself or as a gift for someone special – we hope you enjoy every step of the process. Happy crocheting!
Tips to Crochet a Doll for Beginners
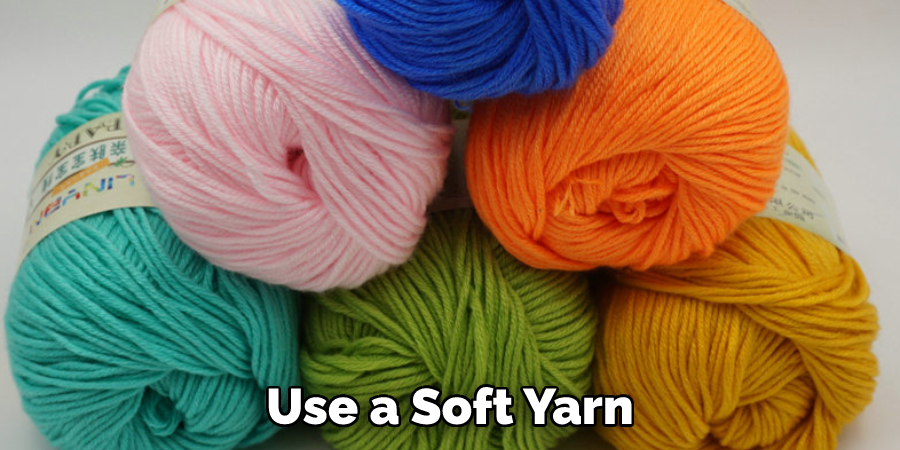
- Choose the Right Yarn. When crocheting a doll, you want to use a soft yarn that is comfortable for your child to play with. Acrylic yarn is a good option as it is inexpensive and comes in a variety of colors.
- Choose the Right Hook Size. The hook size you use will depend on the thickness of the yarn you are using. A good rule of thumb is to use a hook that is one size smaller than the recommended hook size for the yarn.
- Make a Slip Knot. To make a slip knot, start by making a loop with the yarn and then inserting your hook into the loop. Next, pull the yarn through the loop and tighten it to secure it.
- Chain Stitch. To create a chain stitch, start by making a slip knot on your hook. Then, insert your hook into the loop and pull up a loop of yarn. Next, yo (yarn over) and pull through both loops on your hook. Repeat this process until you have reached the desired length.
- Single Crochet Stitch. To create a single crochet stitch, start by inserting your hook into the next chain stitch and then yo (yarn over). Next, pull up a loop of yarn and then yo and pull through both loops on your hook.
- Half Double Crochet Stitch. To create a half-double crochet stitch, start with yo (yarn over) and then insert your hook into the next chain stitch. Next, yo again and pull up a loop of yarn before pulling through all three loops on your hook.
- Double Crochet Stitch. To create a double crochet stitch, start by yo (yarn over) twice before inserting your hook into the next chain stitch. Next, yo again and pull up a loop of yarn before pulling through two loops, yo again, and then pulling through the remaining two loops.
- Create the Doll’s Body. To create the doll’s body, start by crocheting a magic ring. Then, single crochet six times into the ring before pulling it tight. Next, double-crochet twice into every single crochet from the previous round. In the next round, single crochet once in each double crochet from the previous round until you reach the desired length for the body. Finish off by leaving a long tail for sewing
- Assemble Doll Parts. Once you have crocheted all of the doll parts, it is time to assemble them! Start by stuffing each part with fiberfill before sewing them together with matching thread or yarn.
How to Spruce Up Your Crochet Dolls with Unique Details?
When it comes to crocheting dolls, the details can make all the difference. Whether you follow a pre-made pattern or design your own, consider adding unique touches such as bows, ribbons, ruffles, and buttons to liven up the overall look of your creations.
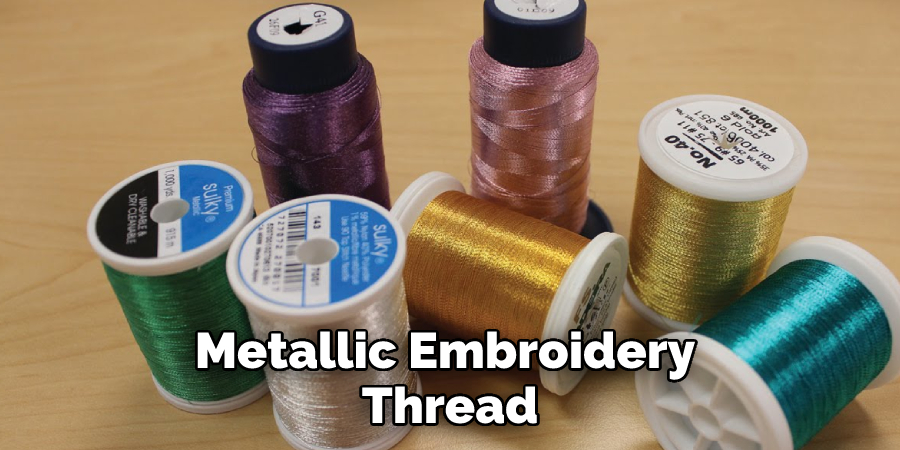
Try different materials like fabric paint, metallic embroidery thread, or even pieces of scrap fabric for added texture. An extra layer of love and attention is sure to bring any doll to life! With just a little bit of effort, your next crochet doll could be an absolute showstopper.
Conclusion
Now that you know the basics of crocheting a doll, it’s time to get started on your project. You should carefully determine how to crochet a doll for beginners.
Gather your supplies, choose a pattern, and start crocheting. Don’t be afraid to experiment with different techniques and stitches to create a one-of-a-kind doll that is truly your creation. Have fun and happy crocheting!
You Can Check It Out to Crochet Stitch and Scrump