Are you looking for a simple and affordable project to get started with crochet? If so, crocheting a dish towel is an excellent place to begin! A dish towel provides a great way to practice your stitch work while learning how to create an attractive home decor piece. Plus, it only requires basic crochet supplies and can be completed in less than an hour – no matter your experience level.
Whether you are a beginner or just looking for a quick refresher course, this guide provides all the information you need to crochet a dish towel successfully.
In this blog post, we’ll walk you through all the steps needed on how to crochet a dish towel for beginners. So let’s get started!
What Will You Need?
- Crochet hook (size G)
- Worsted weight yarn
- Scissors
- Tapestry needle for weaving in ends
Once you have all the necessary supplies, you can begin by following the pattern below:
8 Easy Steps on How to Crochet a Dish Towel for Beginners
Step 1: Create a Slipknot
The first step in crocheting a dish towel is creating a slipknot. To do this, hold the end of the yarn in your hand and wrap the yarn around your fingers to form a loop. Then, pull the end of the yarn through the loop. Insert your crochet hook into the loop and pull the yarn to tighten the slipknot around the hook. This forms the base from where you will start your crochet stitches.
Step 2: Make a Chain
The next step is to make a chain of stitches. To do this, yarn over (wrap the yarn over your crochet hook from back to front) and then pull the loop through the slipknot. Repeat this process until you have a chain of 40 stitches. This will be the width of your dish towel. Remember, the chain should not be too tight or too loose, but should allow the hook to move easily through the stitches.
Step 3: Start the First Row
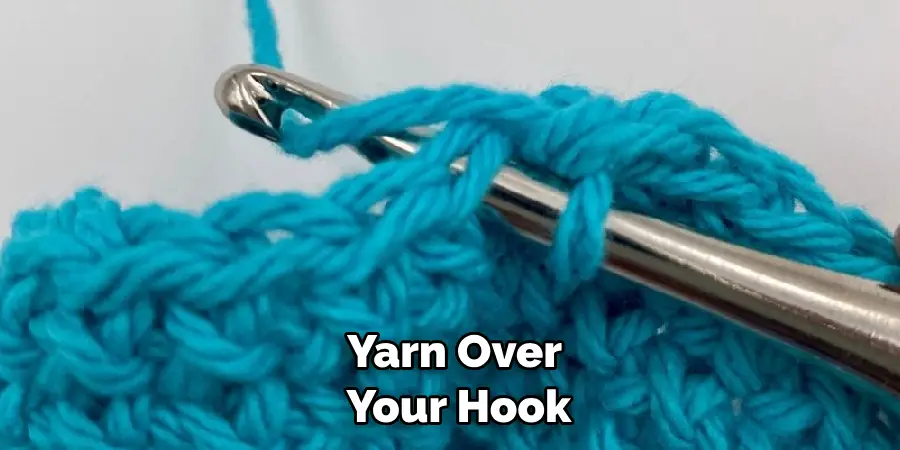
To begin the first row of your crochet dish towel, you need to make a double crochet stitch into the fourth chain from your hook. To do this, yarn over your hook, insert the hook into the fourth chain, yarn over again, and pull through. You should now have three loops on your hook.
Yarn over again, pull through the first two loops, yarn over once more, and pull through the remaining two loops. You have now completed one double crochet stitch. Continue this process across the entire chain. At the end of the row, you should have 38 double crochet stitches. This completes your first row.
Step 4: Start the Second Row
You will continue with the double crochet stitch for the second row but with a slight variation. First, turn your work around to be ready to crochet in the other direction. Then, chain three stitches – your first double crochet stitch of the second row.
Now, skip the first stitch of the previous row (since your chain 3 is acting as the first stitch) and make a double crochet stitch in the next stitch and each stitch until the end of the row. Remember, each row should have 38 double crochet stitches. This completes your second row.
Step 5: Repeat for Subsequent Rows
For the next rows, you will be repeating the process we used for the second row. Remember to start each row with a chain of three stitches, which will act as your first double crochet stitch. Skip the first stitch of the previous row, then make a double crochet stitch in each of the remaining stitches across the row.
Ensure each row has a total of 38 double crochet stitches. Continue this process until you have a total of 20 rows. This should give you a square dish towel. If you prefer a rectangular shape, add more rows until you achieve your desired length.
Step 6: Finish Your Dish Towel
After you’ve completed your desired number of rows, it’s time to finish off your dish towel. To do this, cut the yarn, leaving a tail of about six inches. Now, yarn over your hook and pull it through the loop on your hook. Keep pulling until the tail of the yarn is entirely through, and the loop is secured. This is called a ‘fasten off’.
Now, grab your tapestry needle and thread the tail of the yarn through it. Weave the needle in and out of the stitches of your last row to hide the tail. Once the tail is completely woven in, cut off any excess yarn.
Step 7: Add a Hanging Loop
You can add a hanging loop to your dish towel if you’d like. To do this, choose the corner where you want the loop to be. Insert your hook into the stitch at the corner, yarn over, and pull the loop through. Then, chain 20.
After making 20 chains, slip the stitch into the corner stitch where you started. This will create a loop. Now, cut the yarn, leaving a six-inch tail. Yarn over your hook pull it through the loop on your hook, and keep pulling until the tail of the yarn is entirely through and the loop is secured (‘fasten off’).
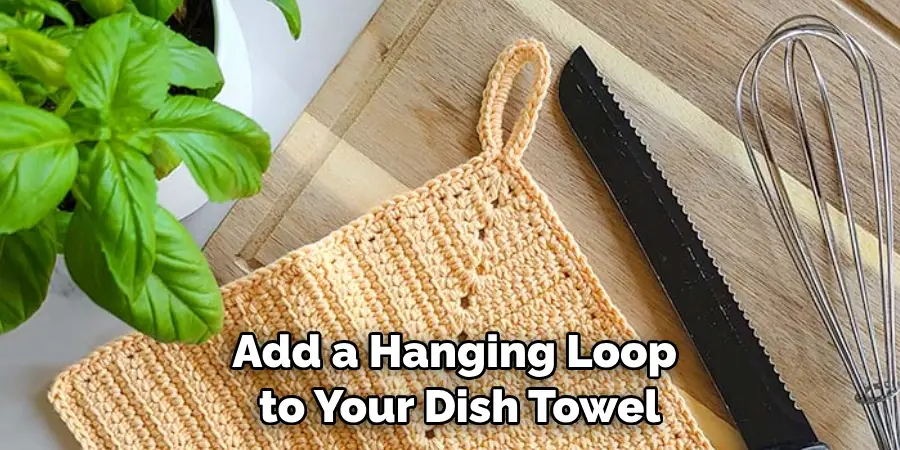
Just as before, grab your tapestry needle and thread the tail of the yarn through it. Weave the needle in and out of the stitches of your loop to hide the tail. Once the tail is completely woven in, cut off any excess yarn. Now, your dish towel has a convenient loop for hanging!
Step 8: Enjoy Your Handmade Dish Towel
Congratulations! You have successfully crocheted a dish towel. Not only is this a versatile and practical addition to your kitchen, but it’s also a testament to your handiwork and creativity. Remember, you can always experiment with different colors or types of yarn to give your dish towels a unique touch. Practice makes perfect, so don’t worry if your first few attempts need to look more right. Keep crocheting, and you’ll soon be creating beautiful dish towels with ease!
Following these easy steps, you can start creating your own crochet dish towels. Whether you’re giving them as gifts or keeping them for yourself, these homemade dish towels will surely be a hit!
5 Additional Tips and Tricks
- Start with Simple Patterns: As a beginner, starting your crocheting journey with simple patterns is advisable. A dish towel is perfect for this as it is typically square or rectangular, allowing you to practice and perfect your stitches without dealing with complex shapes or designs.
- Loops and Chains: Before you start, it’s important to understand the basic stitches of crochet. Loops and chains will be your foundation for creating all other shapes in crocheting a dish towel.
- Use the Right Yarn: Use the right yarn for your project! Be sure to check the label on the yarn when buying to make sure that the yarn is suitable for crocheting a dish towel.
- Count Your Stitches: When crocheting, it’s important to keep track of how many stitches you have made and where they are placed. This will help you ensure accuracy when making your pattern and design for the dish towel.
- Experiment with Different Patterns and Designs: As you become more confident with your crocheting technique, challenge yourself to try different patterns and designs. This will help you hone your skills and create beautiful dish towels that are unique and personalized.
With these tips and tricks, you can make your own dish towel in no time! Just remember to practice patience and take your time to perfect the stitches.
6 Things You Should Avoid
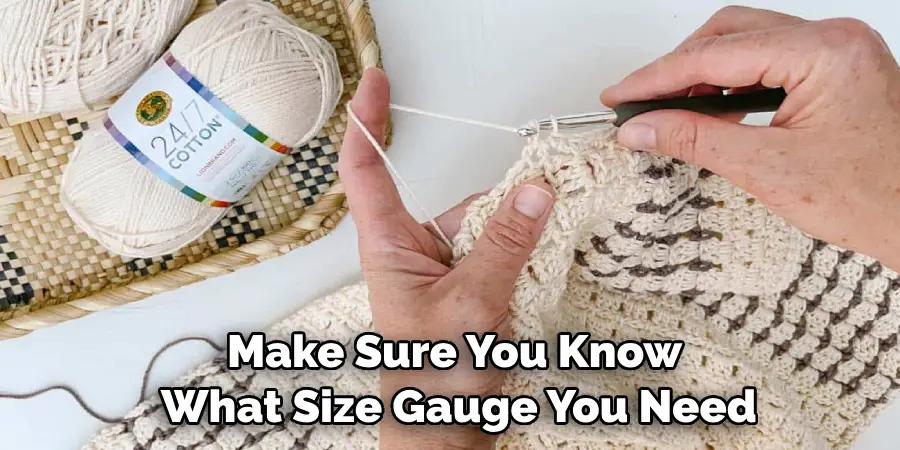
- Don’t Skip Gauge: Gauge refers to the size of your loops and chains. Make sure you know what size gauge you need before starting your project, as this will determine how big or small your stitches will be.
- Don’t Pull Too Tight: This is a common mistake beginners make. When crocheting, it is important not to pull too tight, as this can distort the pattern and shape of your dish towel.
- Don’t Skip Counting: As mentioned earlier, keeping track of how many stitches you have made and where they are placed to maintain accuracy when making your pattern is important.
- Don’t Use Too Many Colors: When crocheting a dish towel, it is important not to use too many colors. Stick to a single color or shades of the same color and avoid mixing multiple colors in one project.
- Don’t Rush Yourself: Crocheting takes time and practice. It’s easy to get frustrated if you make mistakes, so remember that crocheting is a skill that takes patience and dedication to achieve.
- Don’t Give Up: If you make a mistake, don’t give up. It’s important to practice and keep trying until your dish towel turns out exactly how you want it.
Remember these things, and you can easily create beautiful, unique dish towels! With time and practice, you’ll be an expert crocheter in no time.
5 Different Design Ideas
- Striped Design: Start with a simple striped design for your first dish towel. Choose two or three complementary colors and crochet horizontal rows of each color. This creates a clean and classic look which is perfect for beginners.
- Checkered Pattern: Once comfortable with stripes, you can level up to a checkered pattern. This involves crocheting squares of alternating colors. It may require more focus, but it is a beautifully textured and visually appealing dish towel.
- Fringed Edges: Add a stylish touch to your dish towel by incorporating fringed edges. After completing the main body of the towel, you can crochet long chains at the ends of your towel and trim them to create a fringe.
- Single Stitch Design: If you want a minimalist design, you can opt for a single stitch pattern throughout the towel. Repeating the same stitch across each row creates a uniform and elegant texture.
- Floral Motif: For those who are more advanced and want to challenge themselves, incorporating a floral motif into the design can add a beautiful, intricate detail to your dish towel. This involves crocheting small flowers and attaching them to your towel for a unique and personal touch.
These are just a few ideas to get you started. With some creativity and imagination, the possibilities are endless when it comes to designing your dish towel!
What is the Best Crochet Stitch for a Dish Towel?
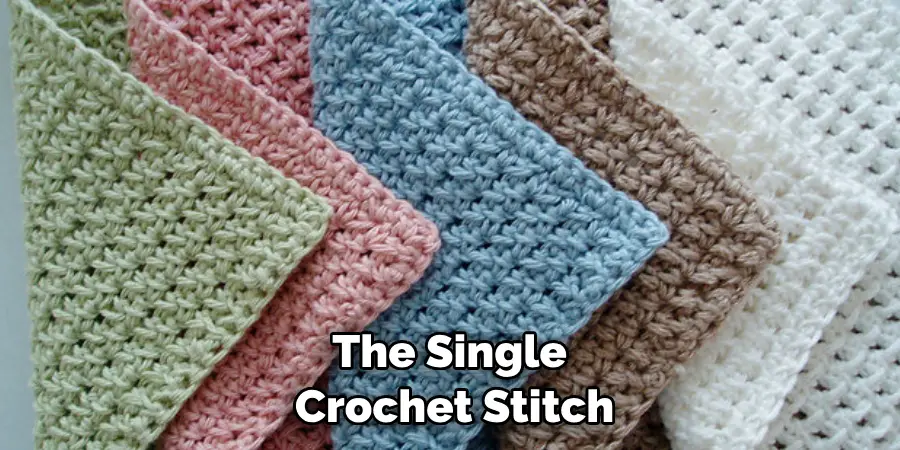
The best crochet stitch for a dish towel is the single crochet stitch. This simple, basic stitch creates a tight and even texture, making it perfect for creating absorbent towels or kitchen cloths. It also produces a sturdy fabric that will last through many washes and uses. However, if you’re feeling adventurous, you can always try other stitches such as the half double crochet, double crochet, or even treble crochet to create a different texture and effect. Ultimately it all comes down to personal preference, so have fun experimenting!
Additionally, after choosing your desired stitch, practice it a few times on a swatch of yarn or fabric before starting on your dish towel. This will allow you to perfect the technique and adjust if necessary, creating the best result for your project.
Conclusion
Crocheting a dish towel is a wonderful way to express your creativity, enhance your skills as a crocheter, and add something handmade to your home. It is an easy project with the right supplies and expert tips. Beginners can benefit from this meaningful craft and create something beautiful while having fun!
Ensure you are confident in your Welsh Rare Bit Stitch before attempting this pattern so you don’t become frustrated and give up quickly. Remember that repetition helps you get into the groove of the pattern. Once you’ve mastered it, challenge yourself by making more designs or colors. Get creative and make something unique that you love!
Hopefully, the article on how to crochet a dish towel for beginners has helped you understand the basics of crocheting a dish towel. If you’re inspired to start your project, just remember to have fun and enjoy the process! Good luck, and happy crocheting!

