

Crocheting a pickle can be a fun and creative way to add something unique to any craft project. Whether you’re looking for an original gift idea or just want something silly to add to your home decor, crocheting a pickle is the perfect solution.
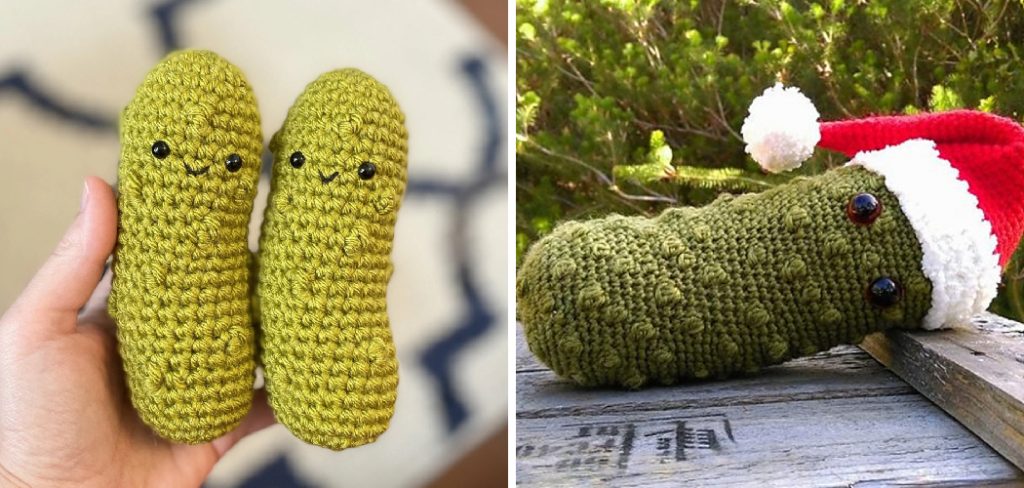
Not only are they adorable and sure to bring some humor to any space, but they can be made in just a few easy steps. With some basic supplies and knowledge of how to crochet, you can quickly create your own pickle to give as a gift or keep for yourself.
One of the main advantages of crocheting a pickle is that it can be done with very few supplies and no special tools or skills. All that you need is yarn, a crochet hook, scissors, and a few basic stitches.
You can also use any type of yarn, from cotton to acrylic to wool and beyond. As long as the yarn is not too thick, it should work for crocheting a pickle. In this blog post, You will learn in detail how to crochet a pickle.
Step-by-Step Processes for How to Crochet a Pickle
Step 1: Inspect the Yarn
Before you begin your crochet project, ensure the yarn is free of knots. If it’s tangled or knotted, unravel it and straighten it out so that you can use it easily. Measure out a length of yarn that is six times longer than what you need to crochet. Thread the yarn onto your crochet hook and make a slip knot at one end of the yarn.
Step 2: Make a Chain Stitch
Once you’ve made the slip knot, hold the yarn with your left hand and make a chain stitch. To do this, guide the crochet hook through the loop in your slip knot and pull it back up through the loop again. This will make one single chain stitch – adding more chain stitches will give you the length you need for your pickle.
Step 3: Make a Single Crochet Stitch
Once you’ve made enough chain stitches to create the shape of your pickle, switch to a single crochet stitch. To do this, skip the first two loops on your chain stitch and insert the hook through the third loop.
Yarn over, pull the yarn back through the loop, then yarn over again, and draw it through both loops on your hook. Make single crochet stitches all the way up your chain stitch until you have completed a full row of single crochet stitches.
Step 4: Connect the Chain Stitch to Form Your Pickle
Now that you’ve made a full row of single crochet stitches, it’s time to connect them together. To do this, fold your chain stitch in half and join the ends together with slip stitches. Insert the hook through both loops on the end of your single crochet stitch, yarn over, and pull the yarn back through both loops. Make sure the chain stitch is tight and secure before moving on to the next step.

Step 5: Make a Second Row of Single Crochet Stitches
You’ll need to make a second row of single crochet stitches to make your pickle. To do this, insert the hook through both loops on the end of your chain stitch and make single crochet stitches all the way up your chain stitch, just like you did for the first row. When you reach the end, join the last two single crochet stitches together with a slip stitch.
Step 6: Make a Puff Stitch
Now that you’ve made two rows of single crochet stitches, you can start making the puff stitch to give your pickle a more realistic shape. To do this, yarn over and insert the hook through both loops on the end of your single crochet stitch. Yarn over again and draw it through all three loops on the hook. Make sure that you’re pulling tight as you make these stitches so that your pickle is firm and secure.
Step 7: Fasten Off
Once you’ve made all the puff stitches, it’s time to fasten off your work. Cut the yarn at a length of 6 inches and pull it through the last loop on your crochet hook. Pull tight to secure the stitch, and then you’re finished. You can now turn your pickle into a keychain, necklace, or even a plush toy.
Tips for How to Crochet a Pickle
- Choose a soft, lightweight yarn as the pickle will be quite small and require many stitches per row.
- Use sharp scissors to cut the yarn, as thick yarn can fray easily when it is handled too much.
- When sewing up the sides of your crochet pickle, use an invisible stitch- this will help to keep the pickle looking neat and uniform.
- Make sure your crochet hook is the right size for you; if it is too small, your stitches may be too tight, which could cause your pickle to unravel.
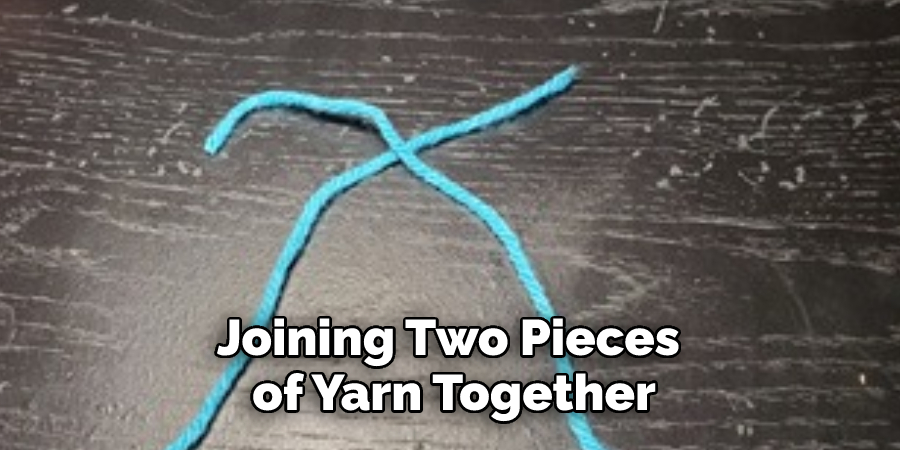
- When joining two pieces of yarn together, take great care not to tangle the yarn.
- When attaching a new piece of yarn to the crochet pickle, use locking stitches to ensure that it stays in place.
- Keep your work neat and tidy by not crocheting too tightly; this will help your pickle look its best.
- Finally, when you’re finished with your crochet pickle, make sure to knot the tail of the yarn securely so that it doesn’t come undone.
With these tips, you’ll be able to crochet a pickle safely.
Are There Any Special Techniques Used When Crocheting a Pickle?
Yes. When crocheting a pickle, it is important to use tighter stitches and smaller hooks than would normally be used for other types of crochet. This will help the pickle keep its shape and give it a more realistic look. It also helps create the bumps on the surface that make the pickle look more like a real one.
Additionally, stuffing the pickle with fiberfill or other stuffing material can help give it a more realistic feel. Finally, it is important to work in the round, meaning that the crocheter creates an entire circle instead of individual pieces that are then sewn together. This helps create a smooth texture on the pickle’s surface.
How Can You Customize Your Crocheted Pickle?
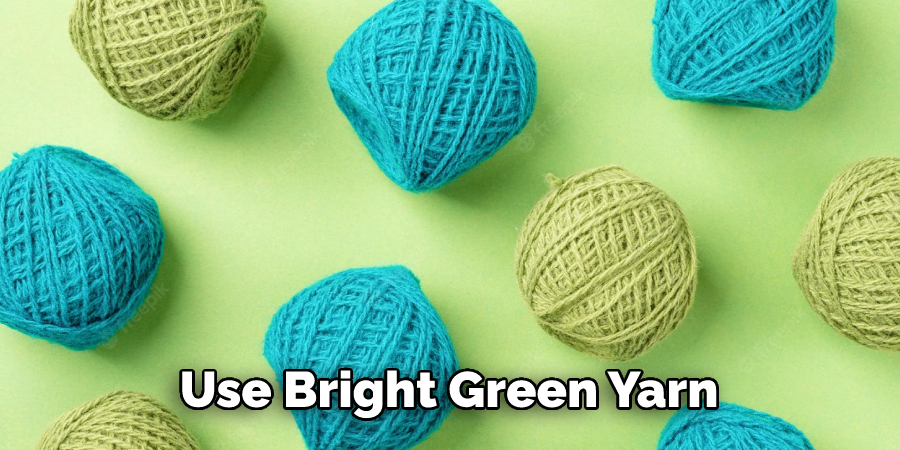
Once you have mastered crocheting a pickle, there are many ways to customize it and make it your own. First, try changing up the colors used in your pattern. For example, you could use bright green yarn for a traditional dill pickle look or opt for more subtle hues like yellow or gray for a more unique take on the classic shape.
You can also experiment with different textures and materials to give your crocheted pickle character. Try using fuzzy yarn or glitter thread for a fun, whimsical look. Finally, you can also try adding embellishments like buttons or sequins to your crocheted pickle. These can make it stand out even more and add a personalized touch to your creation.
How Do You Make Your Crocheted Pickle Durable and Long-lasting?
To ensure your crocheted pickle is durable and long lasting, a few considerations should be taken into account. First, it’s important to use the right yarn for your project.
Choosing acrylic yarn will help ensure that the finished product is both lightweight and durable. It’s also important to ensure that your crocheted pickle is stuffed with quality stuffing material. This will give the finished product a more realistic look and ensure the shape lasts longer.
Once you’ve completed crocheting your pickle, it’s important to secure any loose ends to prevent them from unraveling. You can do this by using a yarn needle or a crochet hook to weave in the ends tightly. This will make sure that your pickle’s shape is maintained over time.
How Do You Store Your Crocheted Pickle When It’s Finished?
Once you’ve crocheted your pickle, it’s important to store it properly. Ideally, you should keep the pickle in a cool, dry place, away from direct sunlight and moisture.
If stored properly, your crochet pickle can last for years! If you plan on displaying the pickle as a decoration or toy, consider putting it in a place where it won’t be handled too much. This will help keep your crochet pickle looking its best and ensure that it will last many years.
You may also want to consider sealing your crochet pickle in an airtight container with silica gel or another desiccant material to protect against moisture damage. If storing your pickle in a container, make sure to check it every few months to ensure the desiccant material is still effective.
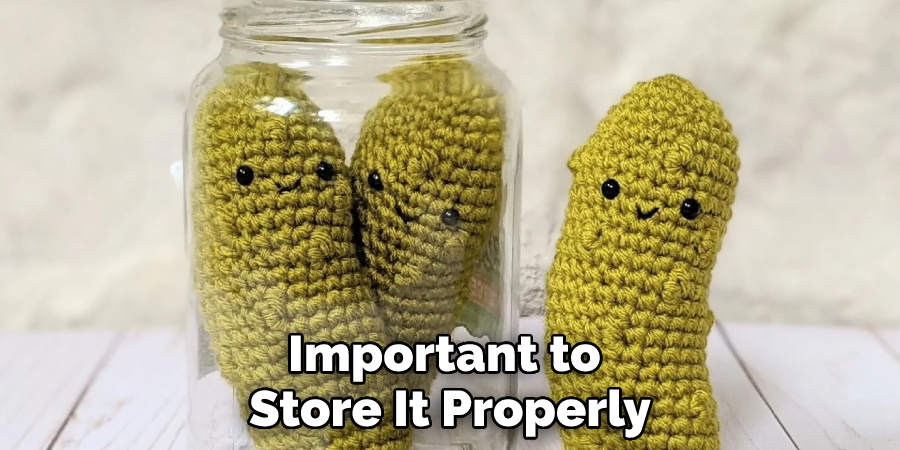
Finally, never store your crochet pickle in an area with extreme temperatures or humidity levels. Doing so can damage the fibers and ruin your hard work! When storing your crochet pickle, always remember that prevention is better than cure.
Conclusion
In conclusion, learning how to crochet a pickle is a fun and rewarding experience. Not only does it create an adorable little creature, but it can also be used for various crafting projects or just enjoyed on its own as a decorative item.
With the simple steps outlined here, anyone can start crocheting their own pickle in no time! All you need is some yarn, a crochet hook, and your imagination. I hope reading this post has helped you learn to crochet a pickle. Make sure the safety precautions are carried out in the order listed.
You Can Check It Out to Make Marigolds Out of Paper