
Are you a crafty person who loves making cozy projects? Do you want to add explorative crochet stitches to your repertoire, like crocheting a cylinder? Well, look no further! Whether it’s just for fun or a creative gift idea, this step-by-step guide will walk you through everything from materials needed and finding the correct gauge to how to weave in ends.

With this comprehensive tutorial on how to crochet a cylinder, there’s nothing stopping you from getting creative with yarn and bringing your project ideas into reality.
Advantages and Disadvantages:
Given below are some of the advantages and disadvantages that come with learning how to crochet a cylinder:
Advantages:
- It Allows You to Explore Different Textures and Patterns.
- It is an Affordable Way to Create Handmade Goods.
- You Can Get Creative With Color Combinations.
- These Sturdy Cylinders Are Great for Making Hats, Sweaters, Scarves, and Other Accessories.
Disadvantages:
- It is a Time-consuming Activity That Requires Patience and Practice.
- If You Are Using Too Large or Too Small of a Hook for the Gauge, Your Finished Product Will Not Be Right.
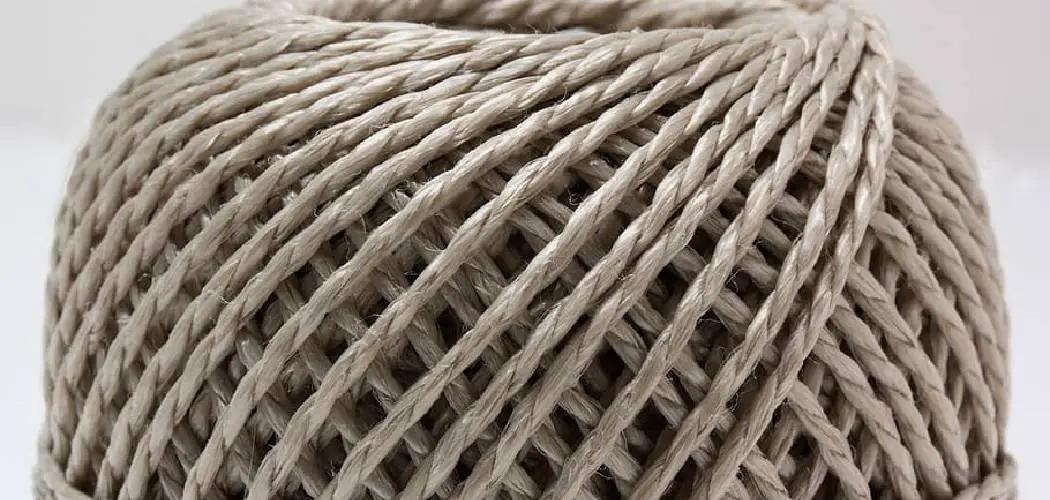
Necessary Materials
Given below is a list of materials you’ll need before starting any project:
- Crochet Hook (Size Depends on the Yarn Used)
- Yarn
- Scissors
- Tapestry Needle or Another Blunt Needle
- Optional: Stitch Markers
10 Step-by-step Guides on How to Crochet a Cylinder
Step 1: Get the Right Gauge
Measure your yarn and crochet hook to make sure they are compatible with each other. This is an important step because it will determine how well the stitches hold together and how big or small your project will be in the end. It is recommended you use the same hook size as the yarn’s label advises. This will help to achieve an even tension throughout the project.

Step 2: Chain Stitches
Now that you have chosen your materials and colors, begin to make a chain stitch with your crochet hook and yarn. Start by making a slip knot, then create a series of loops on the hook until you reach the desired length for your cylinder. However, make sure you add a few extra stitches to accommodate the size of your cylinder. This is also a great time to add stitch markers.
Step 3: Join the Chain Stitches
Join the chain stitches by making a slip stitch into the first chain stitch made in Step 2. This will form a circular loop, which is important for crocheting in rounds and creating a cylinder shape when all other steps are complete. But keep in mind that the slip stitch should not be too tight as it will create a dent in your cylinder.
Step 4: Single Crochet Stitches
Continue to make single crochet stitches around the circle from Step 3, making sure to keep each stitch tight but not too tight. Once you have gone all the way around, join with a slip stitch in the initial chain stitch from Step 2.
You can also use this step to add color if desired. This will create a nicely shaped cylinder. It is important to note that you can also use other crochet stitches such as half double, double or treble crochet for this step.
Step 5: Increase Crochets
On the next round of crocheting, increase your single crochet stitches by making two into the same space. This will create a larger circumference and make the cylinder taller. Continue to do this until you reach your desired height.
You can also use this step to add even more color if desired. It is important to keep the tension even with these increases as well. This will ensure that your cylinder is of even density throughout and looks professional.

Step 6: Decrease Crochets
Once you have reached the desired height, you can begin to decrease your single crochet stitches. To do this, simply skip a single crochet stitch and continue crocheting in the next one.
This will create a small decrease in the circumference of your cylinder, which is necessary for creating the shape. Continue to do this until you have reached the desired width of your cylinder. But be careful not to make it too small as the project may unravel.
Step 7: Fasten Off
Once you have finished decreasing and have reached the desired size for your cylinder, you can fasten off the project. Cut the yarn and secure it with a slip knot, then weave in any loose ends using a tapestry needle or another blunt needle.
It is important to make sure you weave in the ends securely as this will ensure that your project does not unravel over time. If you are using a stitch marker, remove it before fastening off. It is also important to make sure the edges are even and that the tension remains consistent.
Step 8: Finishing Touches
Now that your cylinder is complete, there may be some finishing touches necessary to make sure everything looks neat and professional. Take some time to check for any sloppy stitches or gaps, then fix them with the help of a crochet hook and yarn.
It is also recommended to block your cylinder or use a steam iron on a low setting. This will help flatten out any uneven edges and give the finished product a smooth and professional look.
Step 9: Block It
Blocking is an important step in finishing your project. This involves stretching out the cylinder and letting it rest on a flat surface until completely dry. Doing this will make sure that the final shape of your cylinder is uniform and professional-looking.
But make sure to use a gentle hand when stretching as too much pressure can cause the stitches to lose their shape. It is also important to avoid using hot water or steam ironing as this could damage the fabric of your project.
Step 10: Add Details
To give your crochet cylinder a personal touch, you can add extra details like buttons or fringes. This will not only make it look more attractive but also help keep the stitches in place. It’s up to you how detailed you want to get – have fun and get creative!
This is the perfect way to make your crocheted cylinder unique and reflect your own style. Always remember to use the right materials and tools when adding details – it will make a big difference in the final outcome.

And there you have it – a finished crochet cylinder! Whether it’s for a cozy winter accessory or just to practice your skills, this tutorial has provided you with all the information necessary to achieve the perfect outcome. Now that you know how to crochet a cylinder, the possibilities are endless. So grab your yarn and hook and get creating!
Frequently Asked Questions:
Q: What is the Best Yarn to Use for Crocheting a Cylinder?
A: The best type of yarn to use when crocheting a cylinder would be medium or worsted-weight yarn. This type of yarn is strong and thick enough that it won’t unravel easily, making it ideal for durability and structure. However, you can experiment with different types of yarn if you want to create a unique texture for your project.
Q: What is the Difference Between Knitting and Crocheting?
A: The main difference between knitting and crocheting is that knitting is done with two needles while crochet uses one hook. Additionally, knitted stitches can be unraveled more easily than crocheted ones and knitted items tend to be more flexible. On the other hand, crochet creates a stiffer fabric that is better for creating structured shapes like cylinders.
Q: Can I Crochet a Cylinder Without Increasing or Decreasing?
A: Yes – you can still crochet a cylinder without increasing or decreasing your stitches. To do this, you should make sure to leave enough room between each stitch so that the fabric can stretch. This will create a longer and narrower cylinder shape than if you were to increase or decrease.

Q: What Other Projects Can I Make with a Crochet Cylinder?
A: Crocheted cylinders can be used to make an array of different projects. Some ideas include hats, bags, sweaters, scarves and even blankets. Depending on the yarn you choose for your project and your own creativity, there is no limit to what you can create. Have fun and see what you can come up with!
Conclusion
Crocheting a cylinder is not a difficult task, but it does take patience and practice. With the right instructions and a bit of creativity, you will be able to make any type of cylinder you can imagine! There is something so satisfying about creating something unique with your own two hands and crocheting this type of cylinder can give you a sense of accomplishment.
Whether for practical or decorative purposes, using yarn to make a cylinder is always an enjoyable task to undertake. So get creative and start crocheting your own perfect cylinders today! Thanks for reading this article on how to crochet a cylinder.