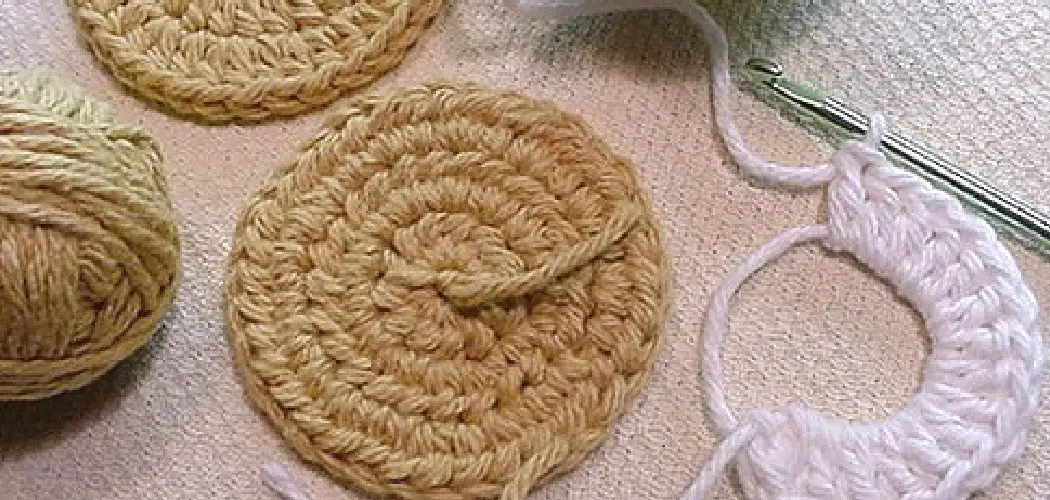
A functional and stylish coaster can give your living space an extra personality. A crocheted circle coaster is a perfect way to add a bit of color and texture to any room. Plus, it’s easy to make. All you need are some basic crochet supplies such as yarn, a crochet hook, and scissors. With some patience and practice, you can create a beautiful coaster that will last for years.
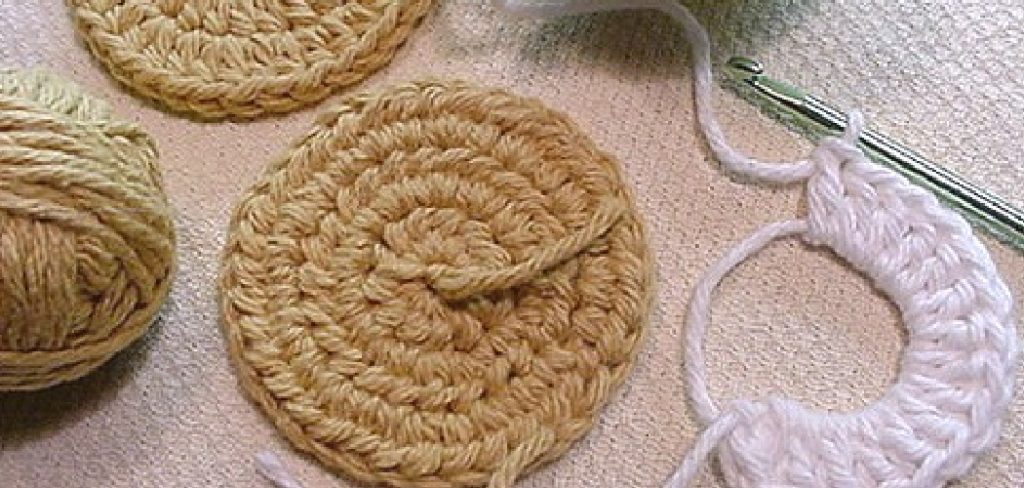
The advantage of learning to crochet a circle coaster is that it can be used as an attractive decorative piece in your home or as a unique gift to someone special. It’s also a great way to learn the basics of crocheting while creating something beautiful and useful.
The beauty of a circle coaster lies in its simplicity; you can customize it however you’d like, and it requires only a few simple stitches. In this blog post, You will learn how to crochet a circle coaster in detail.
How Often Should You Switch Yarn Colors When Making a Circular Coaster?
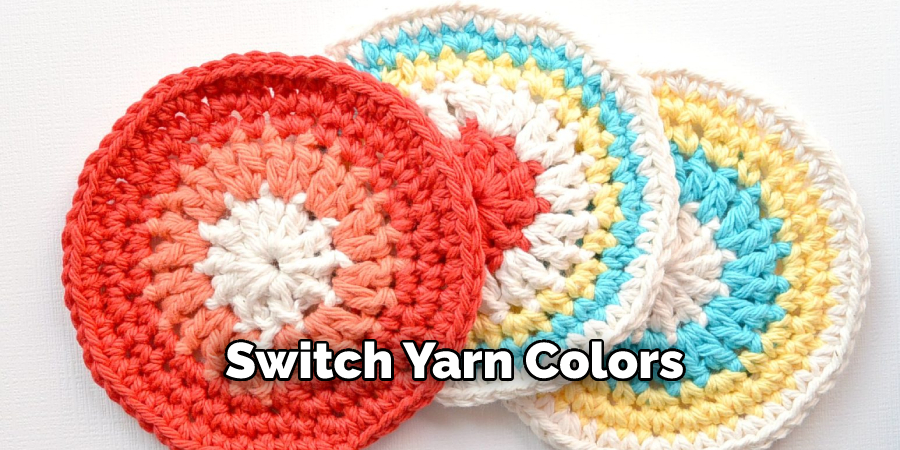
When making a circular coaster, it is up to you how often you switch yarn colors. You can choose to use one color throughout the entire project or change colors each round as you crochet. If you’re using multiple colors, this depends on what effect you want your finished coaster to have.
Switching colors every few rounds will result in a more speckled or striped effect while keeping the same color throughout will ensure your coaster is one solid shade. You can also mix and match different colors to create unique designs and patterns.
It’s important to remember that when you switch yarn colors, make sure to cut the previous color and tie off the new one before continuing to crochet. This will ensure that the colors do not bleed into each other and create an ugly color effect.
What Type of Yarn Should Be Used to Make a Circle Coaster?
When crocheting a circle coaster, selecting the right yarn for the job is important. The choice of yarn can affect how your coaster comes out in terms of size and texture, so choose wisely. A worsted-weight yarn is ideal for coasters because it is sturdy yet soft and won’t fray as easily when washed.
Some favorite yarns for circle coasters include Cascade 220 and Bernat Super Value. If you’re looking for a more decorative option, consider using something like Caron Simply Soft or Lion Brand 24/7 Cotton. You may also want to use a variegated yarn to give your coaster an extra pop of color. Whichever type of yarn you choose, make sure it’s machine-washable so your coaster can be easily cleaned.
Step-by-step Instructions for How to Crochet a Circle Coaster
Step 1: Inspect the Type of Crochet Hook and Yarn
Choose a crochet hook size appropriate for the yarn you are using, and inspect it to make sure there are no sharp edges that can snag on the yarn. Start by making a slip knot in your yarn and place it onto your crochet hook.
Step 2: Create the Magic Circle
Begin by making a magic circle with your yarn. To create a magic circle, loop one end of your yarn over itself to form a knot. Gently pull the tail end of the yarn up and around until you have formed a ring shape. Hold two ends of the tail together in one hand.
Step 3: Crochet into the Magic Circle
Using your crochet hook, insert it into the circular shape created by the knot and yarn. Hook the yarn that is connected to the tail end of the yarn used to make the magic circle and pull it through. This will create one single crochet stitch in your ring. Continue to crochet in the same manner (hook, pull through) until you have six single crochet stitches in your ring.
Step 4: Connecting the Last Stitch to the First
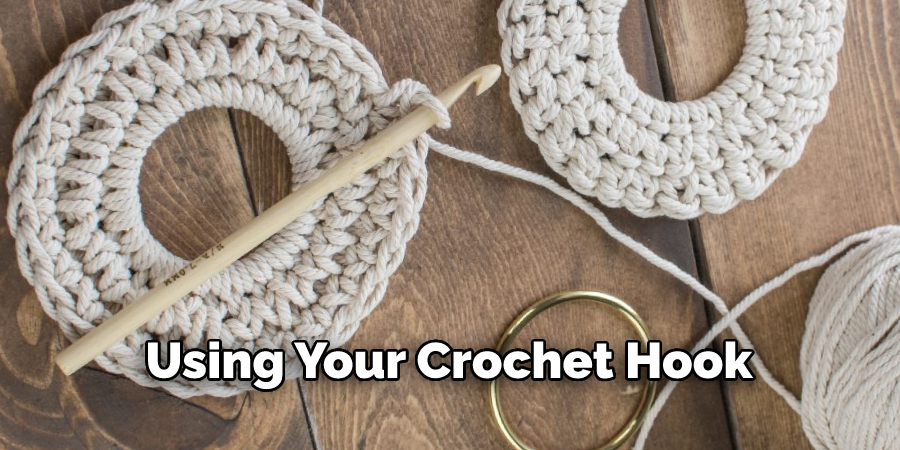
Once you have six single crochet stitches in your magic circle, connect the first stitch to the last stitch by inserting your hook into both of these stitches. Hook the yarn and pull through both stitches, creating one single crochet stitch that binds the two together.
Step 5: Crocheting in Rounds
Now, you’re ready to begin crocheting in rounds by inserting your hook into the top of the stitch closest to it and pulling up a loop. Continue this process until you have two single crochet stitches in each stitch for a total of 12 stitches around the circle. From here, continue crocheting in rounds until your coaster is the desired size.
Step 6: Finishing the Coaster
Once you have reached the desired size, connect the last stitch to the first with a slip stitch and cut the yarn, leaving a tail of about 4-5 inches. Then use a tapestry needle to weave in this end and secure it securely. Congratulations, you’ve now completed your own circle coaster.
Step 7: Optional Edging Design
Consider adding an edging design to your coaster for an optional finishing touch. Examples of edgings include a single crochet stitch, a double crochet stitch, or a shell stitch border. For more advanced crocheters, try adding fun popcorn or clusters around the edge to really show off your skill.
You Can Check It Out To Crochet Checkerboard
Tips for How to Crochet a Circle Coaster
- Ensure you have the right materials, such as a crochet hook, yarn, and scissors.
- Check to make sure your workspace is well-lit and comfortable for crocheting.
- Always use sharp scissors when cutting yarn or thread to avoid any accidental snags or cuts while working with them.
- Make sure never to pull too tight while crocheting, as this can cause your stitches to become distorted and difficult to work with.
- Always keep tension on your crochet hook while making a stitch, but make sure not to pull too hard, or it could damage the yarn or thread.
- Be mindful of your posture when crocheting, as slouching can cause strain on the back and shoulders over time.
- Take regular breaks while crocheting to rest your hands and wrists, which helps avoid any pain or discomfort resulting from extended crocheting periods.
- Make sure to use proper techniques to avoid any issues or unintentional mistakes while working with your stitches. Following patterns, counting loops, and checking gauges are all important techniques to keep in mind.
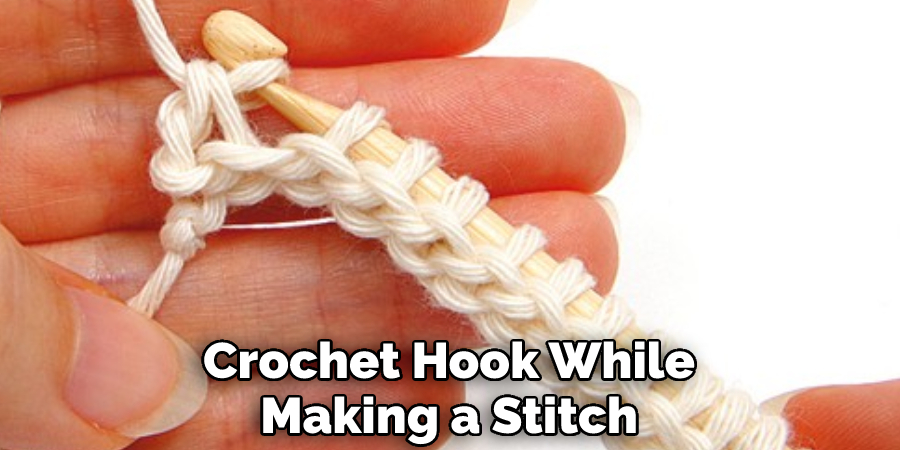
Following these tips will help make sure you have the best experience when crocheting a Circle Coaster! With careful attention to safety and proper technique, anyone can crochet a beautiful and unique Circle Coaster.
How Do You Join the Rounds of Your Coaster Together?
- To join the rounds of your coaster together while crocheting, start by making a slip knot and yarn over with your crochet hook.
- Insert the hook into the top loop of the first stitch from round 1, then insert it into the top loop of the last stitch from round 2.
- Pull through the first stitch, then yarn over and pull through both loops on the hook.
- This will create a slip stitch that joins round 1 to round 2.
- Continue this process until all of your rounds are connected.
- When you have completed the last round, fasten off by cutting the yarn and pulling the loose end through the last loop.
- Weave in any excess yarn at the beginning and end of your coaster to secure it.
How Do You Prevent Your Coaster From Curling Up?
- Start by crocheting in a continuous round or “spiral” formation. This will prevent the edges from curling up and create a flat circle shape for your coaster.
- Use the circular crochet technique to help with creating even tension distribution and neat stitches all around your coaster. Make sure that you start crocheting from the center of your coaster and then work outward.
- When you reach the last round (or when your coaster is wide enough), make sure to decrease stitches every other stitch and continue throughout the round until you finish it off with a slip stitch as usual.
- To further prevent curling up, you can block your coaster. Soak it in warm water and then lay it flat on a towel to dry. When it’s completely dry, use an iron on low heat and press the coaster gently for a few seconds. This will help flatten out any bumps or curling edges and make your coaster look neat and professional.
- Finally, once your coaster is finished and pressed, you can add a clear sealer or varnish layer to prevent any moisture from seeping through.
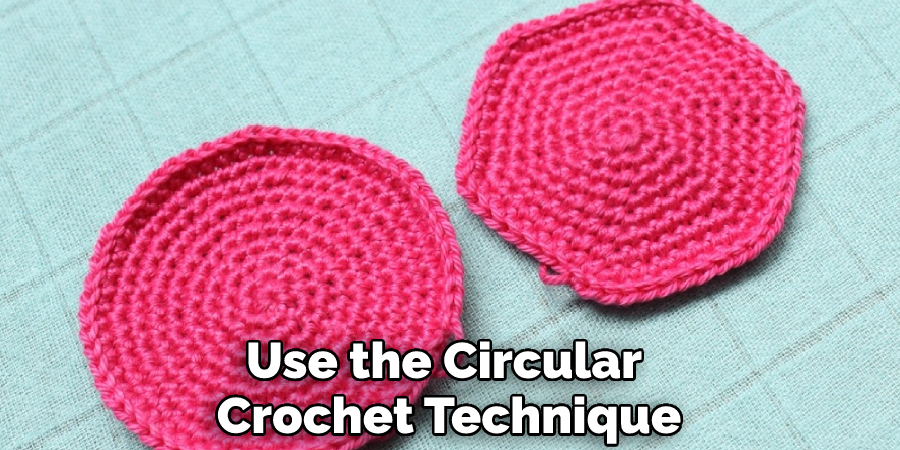
With these steps, you should now have a perfect circle coaster that will stay flat and not curl up.
Conclusion
Crocheting a circle coaster is an enjoyable and satisfying project. Not only are they functional, but they add a decorative touch to any room in your home. All you need is some yarn, a crochet hook, and a few basic crocheting techniques.
With these tools and skills, you can easily make several circle coasters in no time. Be sure to experiment with different patterns and colors when crocheting your coasters. You can even make them as gifts for friends and family who enjoy crafting. I hope this article has been beneficial for learning how to crochet a circle coaster. Make Sure the precautionary measures are followed chronologically.
You Can Check It Out to Fasten off Crochet

