
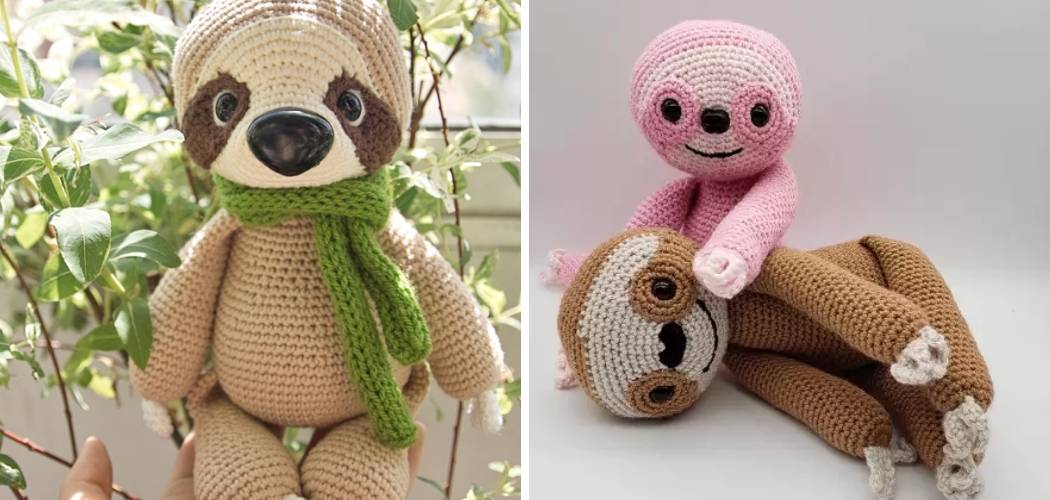
If you’ve ever wanted to learn how to crochet a sloth, look no further! Crochet has surged in popularity over the past few years, and it’s no wonder why. It’s an easy craft to get started with but can become quite complex as you improve your skills.

Crocheting a sloth is no exception, as the tiny little animals are incredibly cute and satisfyingly intricate when finished. With this guide, we’ll take you through all of the steps from gathering supplies to adding eyes so that by the end of it you can proudly display your own homemade sloth for everyone to admire! Are you ready? Let’s get started.
Why Crocheting Sloth is Fun?
Crocheting a sloth is a fantastic craft for both experienced and novice crocheters alike. The pattern itself is simple enough for beginners but has enough intricate details that experienced crafters can enjoy the challenge. Plus, sloths are adorable and make a great addition to any room. It will be a guaranteed conversation starter, and people will definitely appreciate your handiwork!
Supplies You’ll Need
To crochet a sloth, you’ll need the following materials:
- Crochet hook in size D3 or E4, depending on the yarn you choose.
- Yarn of choice – Worsted weight or bulky weight works best.
- Fiberfill stuffing
- 2 safety eyes, size 3/8″
- Scissors
- Tapestry needle and stitch markers to help keep track of your stitches
Things to Remember Before Starting
Before starting your project, take a few moments to familiarize yourself with the pattern.
- How many stitches are you supposed to crochet in each row?
- How often should you switch colors?
- How much fiberfill do you need for stuffing?
This step is especially important if you’re a beginner, as it will save you time and headaches throughout the process. Also, make sure to double-check that you have the correct supplies on hand before starting.
10 Steps on How to Crochet a Sloth
Once you have all of your materials ready and know what to expect from the pattern, you can begin crocheting! We’ll take this step by step so that everyone can follow along:
Step 1: Make a Magic Ring
Start with a magic ring. It will serve as the base of your sloth and will determine the overall size. It will determine the size of all subsequent parts, so make sure it is tight enough.
Step 2: Work in Rounds
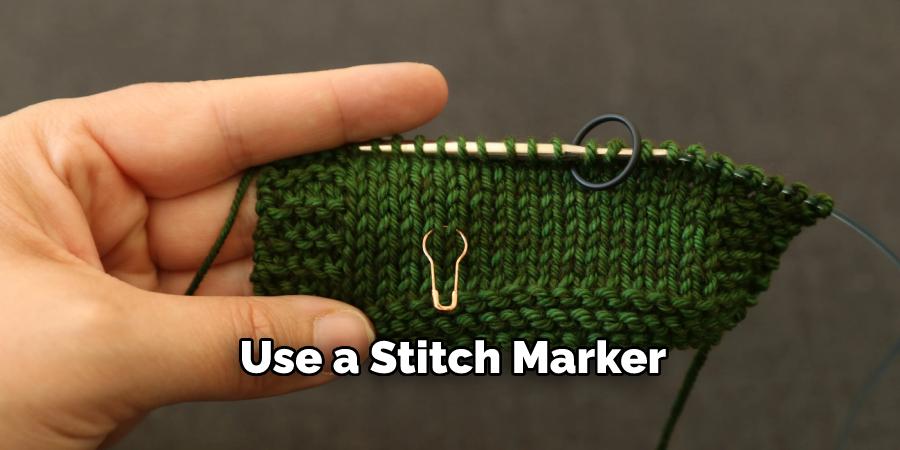
Continue working in rounds, making sure to use a stitch marker to keep track of your stitches. How many rounds you should crochet depends on the pattern you’re using, so make sure to read it carefully before continuing.
Step 3: Change Colors
Once you’ve finished the desired number of rounds, it’s time to start changing colors. How often should you switch colors? This will depend on the pattern, too. Some patterns require multiple color changes, while others just need one or two.
Step 4: Add Safety Eyes
When your sloth is almost finished, it’s time to add the safety eyes. Make sure they are securely attached before moving on.

Step 5: Stuff With Fiberfill
Now you can start stuffing your sloth with fiberfill. How much should you use? Again, this will depend on what pattern you’re using so make sure to read the instructions carefully.
Step 6: Close the Opening
Once your sloth is stuffed, it’s time to close the opening. How you do this will depend on which stitch you used to make the opening, so consult your pattern for more specific instructions.
Step 7: Add Embellishments (Optional)
If desired, you can now add any embellishments to your sloth. This might include a bow, scarf, or other small details. It will add a unique, personalized touch to your sloth and make it even more special.
Step 8: Weave in the Ends
Once you’re finished with the embellishments, it’s time to weave in any loose ends. This will help secure them and make sure your sloth is as sturdy as possible. It will also make it look neat and tidy.
Step 9: Block the Sloth (Optional)
If desired, you can block your sloth at this point. How you do this will depend on what type of yarn or fiberfill you use, so consult a crochet expert if needed.
Step 10: Enjoy Your New Creation!
And finally, it’s time to admire your hard work and enjoy your new creation! Your sloth is sure to bring a smile to everyone who sees it. Remember to take plenty of pictures so you can show off to your friends and family!
With just a few simple supplies, some patience, and the right instructions, you can create an adorable stuffed animal that will bring joy for years to come.
7 Additional Tips to Make the Sloth Special
1. Use a fuzzy yarn to give your sloth a furry look. Fuzzy yarn adds an extra bit of realism and is sure to make your sloth even cuter.

2. Add a pair of safety eyes to give your sloth a face. When shopping for safety eyes, look for ones that are slightly larger than the size you would usually use – this will help proportionally balance out the large ears and tail on your sloth.
3. Add a bow, scarf, or other accessories to personalize your sloth. You can use felt, yarn, embroidery thread – whatever you’d like!
4. Embroidery floss is great for adding details, such as the striped pattern on your sloth’s back and legs. The floss is easy to work with and provides a nice contrast against the fuzzy yarn.
5. If you want to make your sloth poseable, use jointed limbs by adding pipe cleaners or wire as arms and legs.
6. You can change the look of your sloth drastically by changing its color palette or using different types of yarns for the body and limbs.
7. Finally, have fun! The possibilities for customizing your sloth are endless. So get creative and try something new – you’ll be surprised by how great it will turn out!
5 Maintenance Tips
1. Always keep your yarn clean. If you notice that the yarn is getting tangled or frayed, it is important to take it off of your crochet project and gently wash it with mild soap before continuing.
2. It’s always best to store your project when you aren’t using it. This will help ensure that the yarn is not damaged when it isn’t in use. It will also help keep your project from becoming too tangled or frayed.
3. Make sure to keep the sloth clean and dry. If you are using a pattern, make sure that all of the instructions are followed correctly so that they come out looking as perfect as possible.
4. Don’t be afraid to take a break from your project. If you find yourself getting frustrated or feeling overwhelmed, take some time off and come back to it when you are feeling more relaxed and confident.
5. Make sure to keep track of the number of rows and stitches that you have completed so far. This will help you stay on track and make sure that your project is even and consistent. It will also help you know how much yarn to buy if you need more for your project.
Following these maintenance tips will help you create a beautiful and perfect crochet sloth! Have fun, relax, and enjoy the process of learning how to crochet a sloth.
Frequently Asked Questions
How Long Will It Take to Finish the Project?
The amount of time it will take to finish the project depends heavily on how familiar you are with the pattern and how quickly you can work. Generally, an experienced crocheter should be able to complete a simple sloth project in around 6-10 hours.
What Kind of Yarn Should I Use?
Cotton or acrylic yarn is best for a crochet sloth. It’s important to choose a yarn that won’t fray when being worked with and is easy to keep clean. The yarn should also be soft and not too thick so that the details of your sloth will show through.

Do I Need Any Special Equipment?
No, all you need is the appropriate size crochet hook and the right type of yarn! Some patterns may require additional supplies, so always read through the instructions before starting your project.
Conclusion
It is without a doubt that crocheting a sloth can be quite a challenge, but with the right preparation, materials, and instructions, it can become an enjoyable experience. It is important to remember that practice makes perfect – by following the steps provided in this blog post and with some dedication and patience, you will create a beautiful handmade piece of art.
Crocheting our own sloth allows us to release our inner creativity and make something unique to enjoy ourselves or even give as gifts to share with others. With just a few tips and techniques on how to crochet a sloth anyone can create amazing projects like these sloths and have fun doing it!