

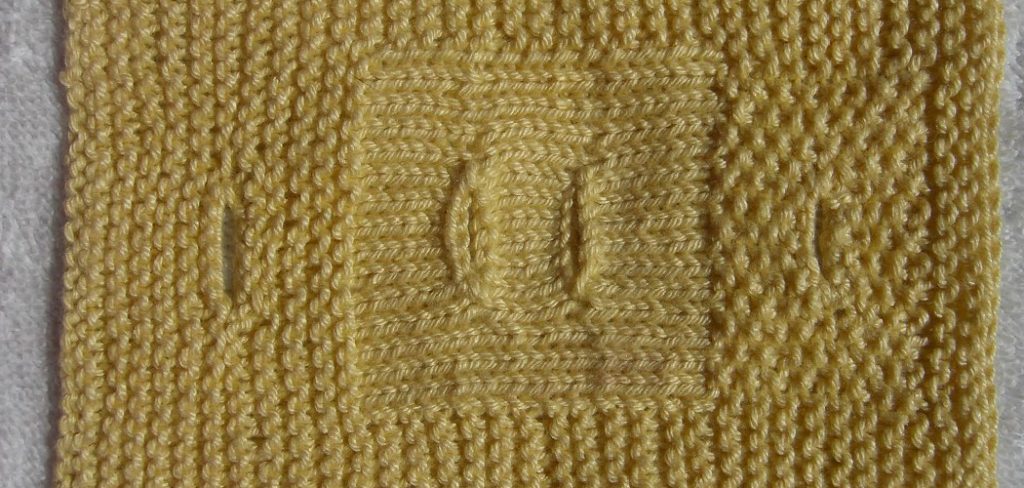
Crocheting can be an incredibly fun and rewarding hobby. It’s also an easy way to make your own garments, accessories, and more. But if you want a truly professional-looking item, it’s important to learn how to crochet a buttonhole correctly. Here’s what you need to know about creating the perfect buttonhole for crocheted items.
Can You Crochet a Buttonhole?
Crochet is a versatile craft that is made up of intricate patterns and loops that can be used to create fun and beautiful items. While it is easy to learn the basics, becoming an expert at crochet takes time and practice. That said, knowing how to crochet a buttonhole will show your skill level, as it requires precise stitch control and knowledge of pattern development.
To begin, you need the right supplies, such as yarn or thread, a crochet hook, and buttons in the size that you need for the hole. After mastering specific steps like counting stitches and moving your hook through loops, it’s possible to perfectly recreate every desired detail on each project with precision—including buttonholes!
With patience and practice crocheting, even novice crafters can soon do their own projects featuring tailored buttonholes easily.
Why Should You Crochet a Buttonhole?
Crochet is a great hobby for anyone, whether you are a beginner or experienced. One particular technique in crochet is making buttonholes, and there is an abundance of reasons why you should incorporate this into your creations.
Not only does it provide a secure closure for various pieces, but it also adds a unique visual touch to its design. If you’re looking for an extra element of comfort, then buttonholes can help you create the perfect fit around your projects.
You could practice different color combinations and styles to add some personality to the crocheted piece, making it stand out from the others. The possibilities are endless when it comes to demonstrating your creativity with buttonholes!
7 Steps to Follow on How to Crochet a Buttonhole
Step 1: Understanding Slip Stitches
Creating a buttonhole with crochet requires using slip stitches (SL st). Slip stitches are one of the most basic crochet stitches and involve inserting the hook into the stitch or space below without working up any loops on the hook.
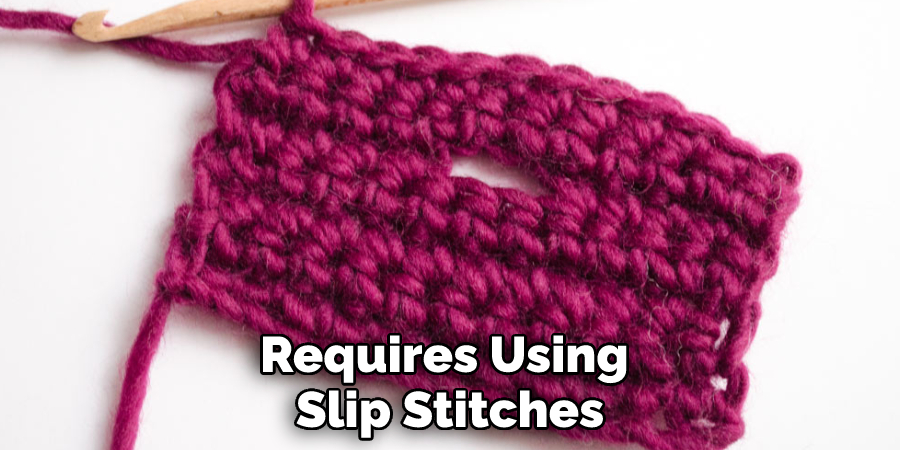
It’s similar to how you would insert your hook into a stitch when making a single crochet (sc) but without working up any loops onto your hook. Once inserted, yarn over and pull through both loops on your hook. This will create an invisible join that looks like it flows right into the fabric of your work.
Step 2: Creating Your Buttonhole
Once you understand slip stitches, creating your buttonhole is fairly straightforward. Make the number of chains required in order to leave enough room for your button (this should be specified in your pattern).
Then skip two chains and make one slip stitch followed by another chain stitch into the same chain as before; repeat this until you have made enough chains for the size of your desired buttonhole (again, this should be specified in your pattern).
Finally, make one slip stitch back into the last chain where you started, effectively closing off the hole you created with all those chains!
Step 3: Change Colors If Necessary
If your pattern calls for it, you may need to change colors when making a buttonhole to stand out from the rest of your work. To do this, flip colors after making one slip stitch into each chain until all of them are complete.
Then finish off with one final slip stitch back into the last chain where you began – this time using whichever color is best suited for making your buttonholes stand out from everything else!
Step 4: Finishing Off Buttonholes
To finish off your buttonhole, simply slip the stitch into the next stitch and then chain one before continuing with the rest of your pattern. This will ensure that your buttonhole is properly closed so it won’t unravel or come apart easily.
Step 5: Adding Buttons
Now that you know about crocheting a buttonhole, it’s time to add the buttons. Start by inserting your hook through one side of the button (from the underside) and then threading it through the other side.
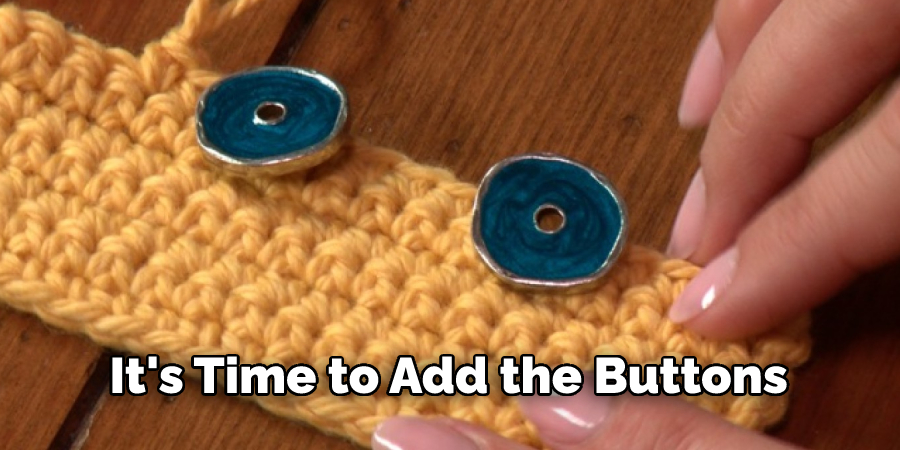
Now take your yarn and wrap it around both sides of the button before pulling tight to secure everything in place. Finally, make a few slip stitches around the entire button, making sure to go through both loops to reinforce how it’s attached and prevent any potential unraveling.
Step 6: Making Sure It Fits
Once your buttons are in place, checking that everything fits properly before moving on is important. Put your buttons into the buttonhole and ensure they fit comfortably without any gaps or extra fabric. If they don’t, then you may need to adjust how many chains and slip stitches you use in your buttonhole before moving on.
Step 7: Continue with Your Pattern
Once you’re happy with how your buttons fit into the buttonhole, it’s time to move on and continue with the rest of your pattern! From here, you can use your newly created buttonholes to add decorative accents to any project or use them as functional closures. No matter how you decide to use them, making a buttonhole with crochet is an essential skill for any crocheter!
That’s it! You’ve now learned how to crochet a buttonhole, how to change colors if necessary, and how to fit the buttons correctly. With practice and patience, you’ll make perfect buttonholes in no time!
Try experimenting with different sizes of chains and buttons for different designs and effects, or even combine them with other stitches for more interesting patterns – the possibilities are endless!
Things You Need to Know Before Crocheting a Buttonhole
Crocheting a buttonhole can be intimidating for beginners, but with proper guidance, anyone can master the skill. Before attempting to crochet a buttonhole, it is important to have the right materials and tools on hand – you will need a yarn of your choice, preferably a medium-weight cotton or acrylic, along with the desired size crochet hook.
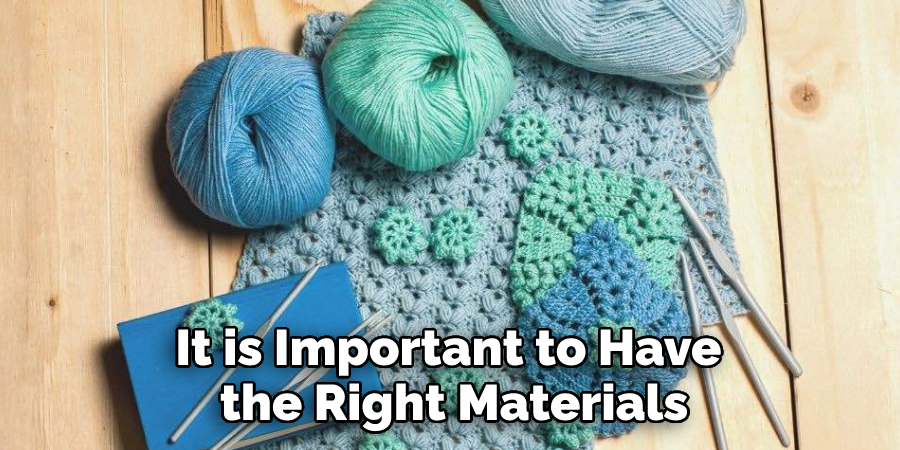
Furthermore, familiarizing yourself with foundational stitches such as chains (ch), single crochets (sc), double crochets (dc), and slip stitches (SL st) will facilitate the buttonhole-crocheting process immensely.
Lastly, knowing how to read and follow basic patterns is vital before picking up your needles to embark on this adventurous journey. With these essentials in check and a little bit of patience, you’ll be ready to make all kinds of fun projects featuring beautiful crochet buttonholes.
Benefits of Crocheting a Buttonhole
Buttonholes are one of crocheted projects’ most useful decorative and functional elements. They provide shape and closure for garments, accessories, and home décor items. With a few simple steps, crocheting a buttonhole is an easy way to add versatility and functionality to your project.
Buttonholes allow you to customize the fit of your crochet piece by cinching it shorter or providing extra room for larger buttons on garments. The different placement options for buttonholes also allow you to customize the look of the item – placing them off-center is sure to make it unique.
Crafting an attractive yet secure buttonhole will lend an air of sophistication while ensuring everything stays in place as needed. Plus, adding an extra element, such as crochet, can elevate even simple designs!
5 Common Mistakes People Make When Trying to Crochet a Buttonhole
1. Not Crocheting the Buttonhole Loosely Enough
One of the most common mistakes people make when crocheting a buttonhole is not crocheting it loosely enough. The key to a good buttonhole is to make sure that it is loose enough to easily insert and remove the button. If the buttonhole is too tight, the button will be difficult to put in and take out, and it may even rip the hole.
2. Not Making the Buttonhole the Right Size
Another common mistake people make is not making the buttonhole the right size. The size of the buttonhole should be just slightly larger than the diameter of the button. This will ensure that the button fits snugly in the hole without being too loose or too tight.
3. Not Leaving Enough Space Between Buttonholes
If you are making a garment with multiple buttons, it is important to leave enough space between each buttonhole. If the buttonholes are too close together, they will be difficult to use and may even tear the fabric.
4. Not Weaving in the Ends
Once you have finished crocheting your buttonhole, it is important to weave in all of the loose ends. This will help to secure the hole and prevent it from coming undone.
5. Not Using a Contrasting Color
If you are using a light-colored yarn for your project, it is a good idea to use a contrasting color for your buttonholes. This will help them to stand out and be more visible.
Does the Type of Yarn Affect How To Crochet a Buttonhole?
Crocheting a buttonhole is a fairly simple process, but it must be done correctly to ensure the item being crocheted will look great and serve its purpose. Interestingly enough, the type of yarn used may actually have an effect on the finished product.
Depending on the yarn’s weight and drape, incorrect tension or size could occur in the stitch during buttonhole creation, affecting how well it fits with buttons and stays closed.
Furthermore, certain types of yarns hold up well when repeated openings are necessary, while others may begin to show wear or deteriorate with use. It’s important to consider this factor when deciding which type of yarn to select for a project involving buttonholes.
Conclusion
Creating a beautiful buttonhole doesn’t have to be complicated or intimidating. With just some basic knowledge about how to use slip stitches and practice at changing colors if necessary, anyone can make their own perfect crocheted buttonholes for any project!
Whether you’re making sweaters or accessories with buttons, following these simple steps will ensure that all of those items look polished and professional every time! So grab some yarn and get started – soon enough, you’ll have perfected this essential skill! Thanks for reading our post about how to crochet a buttonhole.
You Can Check It Out to Fix Crochet Mistakes