
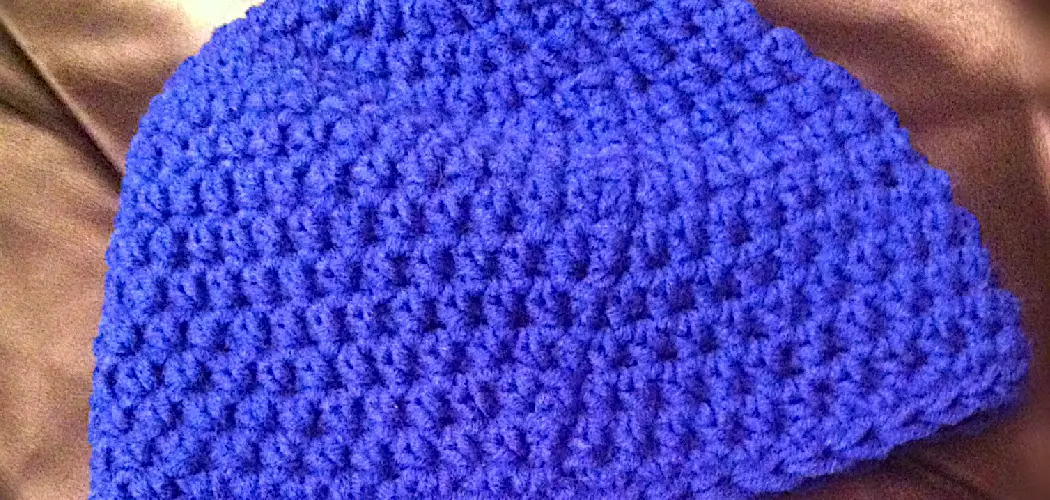
Are you looking to learn a new craft, or just want to make some handmade accessories for yourself or as gifts? Crocheting is an incredibly versatile and gratifying hobby, and with a few supplies and some basic techniques, you can easily create beautiful items like beanie hats!

If you’re curious about how to crochet a basic beanie hat step by step, this guide has the tips needed to get started. From choosing yarns and hooks to all the different stitches involved in making your very own custom-designed beanie, this post will cover each part of the process in detail.
How Many Chains Do You Need to Crochet a Beanie?
The number of chains you will need to crochet a basic beanie hat depends on the size you are making. Generally, 8-12 inch (20-30 cm) circumference hats require 80-90 chains, while 12-14 inch (30-35 cm) circumference hats require 90-100 chains. Once you have crocheted your desired number of chains, work in single crochet stitches for three rows before starting to decrease in the fourth row.
The decreases should be worked on every other stitch until you reach the final 8 stitches, which should then be pulled together and fastened off. To make sure that your hat fits properly, it is important to check its size throughout the process by measuring against a ruler or tape measure so that adjustments can be made if needed.
In addition to basic beanie hats, you can also use the same technique to make more complex hats with different stitches and designs. Have fun experimenting with different stitches and colors to create your own unique hats!
10 Methods on How to Crochet a Basic Beanie Hat
1. Choose the Right Yarn
The first step in learning how to crochet a basic beanie hat is to choose the right yarn. You’ll want to select a worsted-weight yarn in a solid color. Worsted weight yarn is a medium-weight yarn that’s easy to work with, and it will produce a nice, sturdy hat.
Avoid using a variegated yarn, as the different colors will make it more difficult to see your stitches. If you’re just starting out, you might want to choose a softer yarn like acrylic or cotton. Once you’re more comfortable with crocheting, you can step up to wool and heavier yarns.

2. Select the Right Hook
The next step is to select the right hook. You’ll want to use an aluminum or plastic crochet hook in size J-10 (6 mm). This size hook will create a nice, tight fabric that will keep your head warm. If the hook is too large, the hat won’t be snug enough and won’t fit properly. If it’s too small, you may struggle to get the stitches to fit around the hook. However, if you’ve got an unusual head size, you may need to adjust the hook size accordingly.
3. Make a Slip Knot
Once you have the right yarn and hook, it’s time to start crocheting! Begin by making a slip knot on your hook. To do this, wrap the yarn around your fingers to form a loop, then insert the hook into the loop and pull it through.
Now you should have one loop on your hook. Pull the loop as tight as you can, and your slip knot is complete. While you should make sure your stitches are tight, be careful not to pull too hard when making the slip knot — you don’t want to damage your yarn!
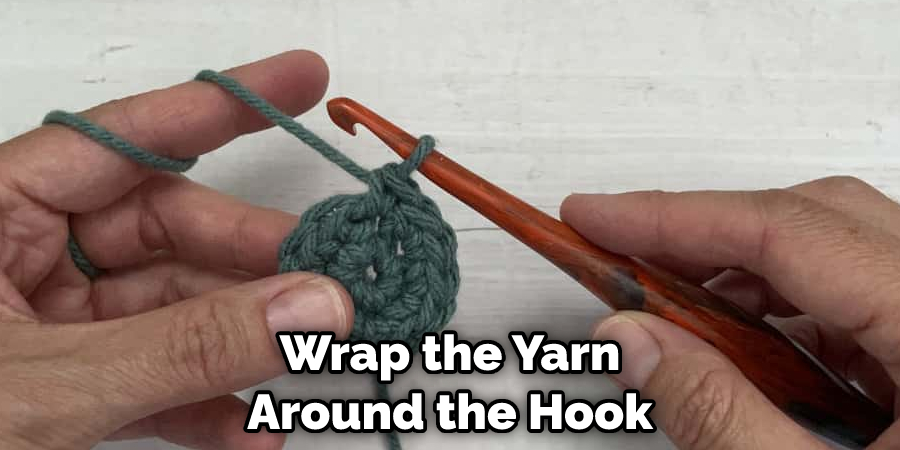
4. Make a Chain
Now you’re ready to start crocheting! The first stitch you’ll need to learn is the chain stitch. To make a chain stitch, simply wrap the yarn around the hook and pull it through the loop on the hook. Continue wrapping and pulling until you have the desired number of stitches. For a basic beanie hat, you’ll need about 60 chains. Though, the exact number will depend on your gauge and the size of the hat you want to make.
5. Join the Ends of the Chain
Once you’ve made your desired number of chains, it’s time to join them together to form a ring. To do this, insert your hook into the first chain stitch (the one closest to the hook), then wrap the yarn around it and pull it through both loops on the hook.
Congratulations, you’ve now joined your chain! Make sure to tighten the yarn slightly as you do this to ensure a neat join. However, don’t make the join too tight, as you’ll need to work stitches into this space later.
6. Crochet in Rounds
Now you’re ready to start crocheting in rounds. To do this, simply insert your hook into any stitch on the ring and single crochet around until you’ve worked all the way around.
When you reach the end of the round, slip the stitch into the first stitch to join. If you need to, mark the first stitch of each round with a stitch marker, so you don’t lose track. Once you’ve worked your desired number of rounds, fasten off and leave a long tail.
7. Single Crochet in Each Stitch Around
For each round, single crochet in each stitch around until you reach the end of the round again. When you reach the end of each round, slip the stitch into the first stitch to join as before. Continue crocheting rounds until your hat measures about 7 inches from top to bottom.
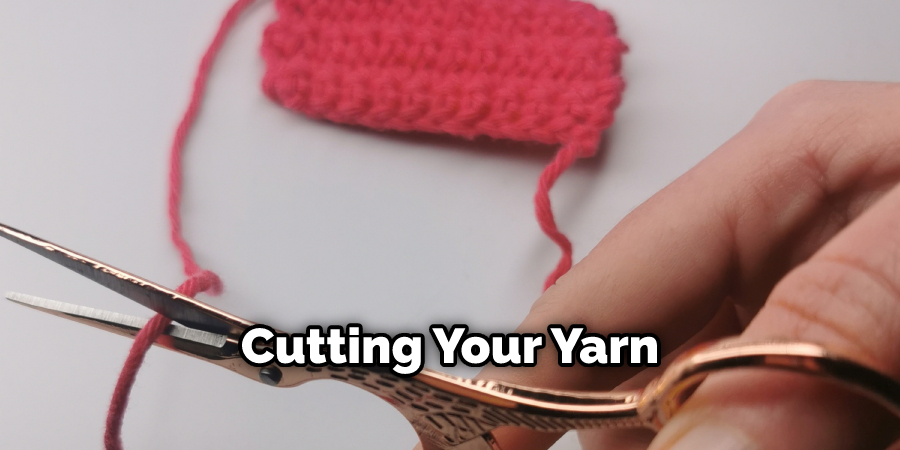
With each round, your hat will increase in size and begin to take shape. When the hat is at the desired length, you may choose to slip stitch around one last time or to cut your yarn and fasten off.
8. Decrease Rounds
Once your hat measures 7 inches from top to bottom, it’s time to start decreasing rounds. To do this, single crochet two stitches together at the beginning of each round until you have only a few stitches left on your hook. Bind off these last few stitches and weave in your ends.
Your basic beanie is now complete! Depending on your preferences, you can either leave it as is or embellish it with colorful motifs and other decorations. Congratulations on your finished project!
9. Add an Accent Ribbon or Pom-Pom
For an extra touch, you can add an accent ribbon or pom-pom to your beanie hat! You can purchase pre-made ribbons and pom-poms at most craft stores or make them yourself with some colorful yarn or fabric scraps.
Attach the ribbon or pom-pom to the top of the hat with a few stitches. To make it extra secure, use a stitch that won’t come unraveled like a slip stitch or single crochet. This final step will give your hat an extra special touch and is sure to get noticed! Although it’s optional, it’s definitely worth a try.
10. Wear and Enjoy!
The final step is to wear and enjoy your new beanie hat! You can style it however you’d like, or simply keep it simple for a classic look. No matter how you choose to style it, you’ll be sure to turn heads with your handmade creation!
Have fun showing off your new beanie, and don’t be afraid to get creative with the colors, designs, and yarn types in order to make it truly unique! Enjoy your cozy accessory and let your creativity flourish!
You’ve now learned how to crochet a basic beanie hat – congrats on finishing this project! With practice and patience, you’ll soon be able to make more complex designs and begin experimenting with different colors and textures.
Things to Consider When Crochet a Basic Beanie Hat
1. Choose the Right Yarn and Hook Size:
Select a medium-weight yarn that is easy to work with, such as worsted weight. Yarns with multiple colors will give an interesting effect when the hat is finished. The size of the crochet hook you use should match the recommended gauge for your chosen yarn.
2. Decide on the Style:
Do you want a slouchy, rolled brim or fitted hat? This will determine how many stitches you will need to make and how much yarn you should purchase.
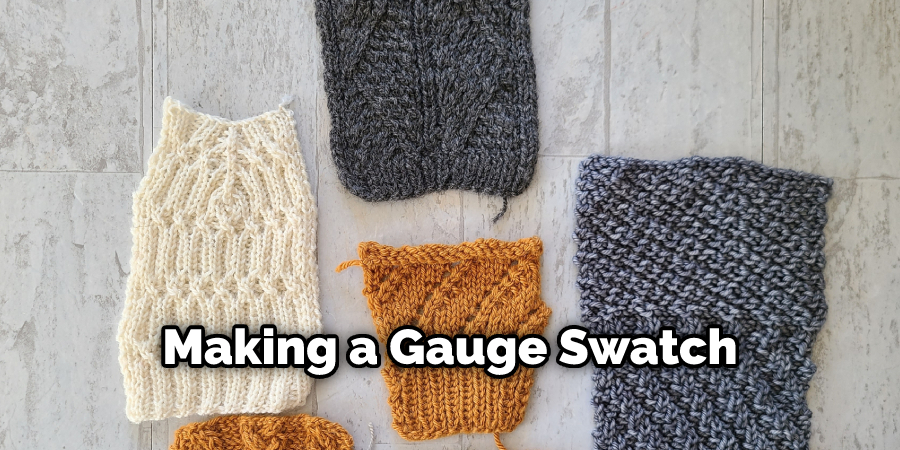
3. Make a Gauge Swatch:
Making a gauge swatch is important when crocheting any project, as it will determine the size of the finished item. Make a 4” x 4” swatch using your chosen yarn and hook size, and count how many stitches and rows you have after working in the specified pattern stitch.
Conclusion
If you’ve taken away anything from this post, it should be that crocheting isn’t really that difficult! So why not pick up those needles and yarn today? With practice, you will be able to prove how talented you are at crocheting – and perhaps the next project you tackle will be a bit more ambitious! Get creative with your own unique style and find out what kind of hats you can make for yourself on any given day with how to crochet a basic beanie hat.