
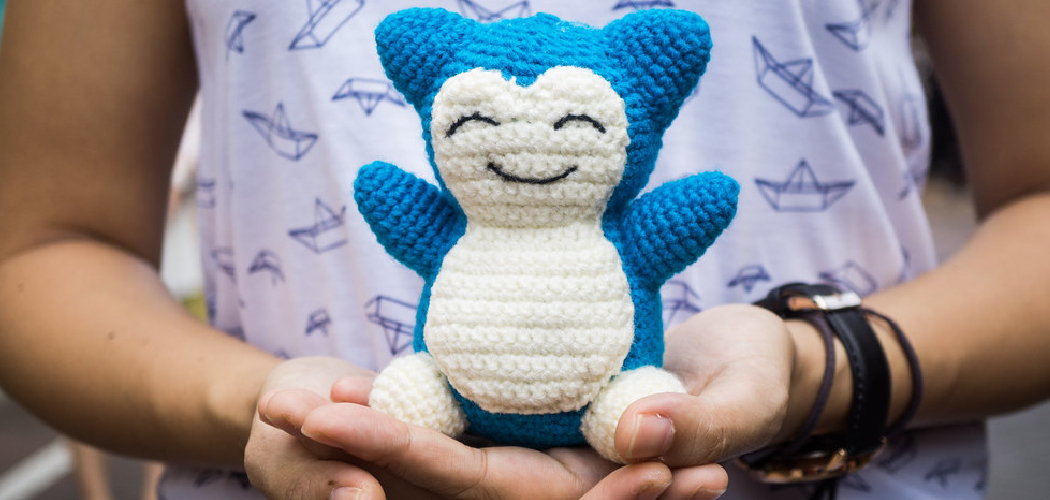
Crocheting Pokemon is an enjoyable, creative craft that can help bring a beloved character to life. With basic crochet skills and some yarn and supplies, you can create custom stuffed toys for some of your favorite characters from the Pokemon universe. Crocheted Pokemon have the added benefit of being fully customizable — you get to pick their colors and facial expressions and even add accessories like hats or scarves.

One of the primary advantages of Crocheting Pokemon is that it’s simple. Learning to crochet Pokemon is easy and can be done by a beginner in no time. People can make their own plushie or pokemon amigurumi with the right pattern and tools in a few hours. Crocheting Pokemon is an affordable way to create handmade gifts or decorations. You can purchase yarn and other crochet accessories at a fraction of the cost of store-bought items, saving money while still creating something unique. In this blog post, You will learn how to crochet pokemon in detail.
Step-by-Step Processes for How to Crochet Pokemon
Step 1: Inspect Your Yarn
Before you begin your crochet project, take a look at the type of yarn you’re using. Different types of yarn will require different levels of skill to work with. Choose a yarn made for crocheting and suitable for the type of Pokemon you want to make. You’ll need a few supplies before you start your project. Gather all the necessary crochet hooks, yarn, safety eyes, stuffing, and other materials needed to make your Pokemon.
Step 2: Choose Your Pattern
Pick a pattern that you like and will be easy to work with. Many patterns are available online or in books, so explore a few options before deciding on one. Make sure you understand the instructions of your chosen pattern completely before beginning.
Step 3: Begin Crocheting
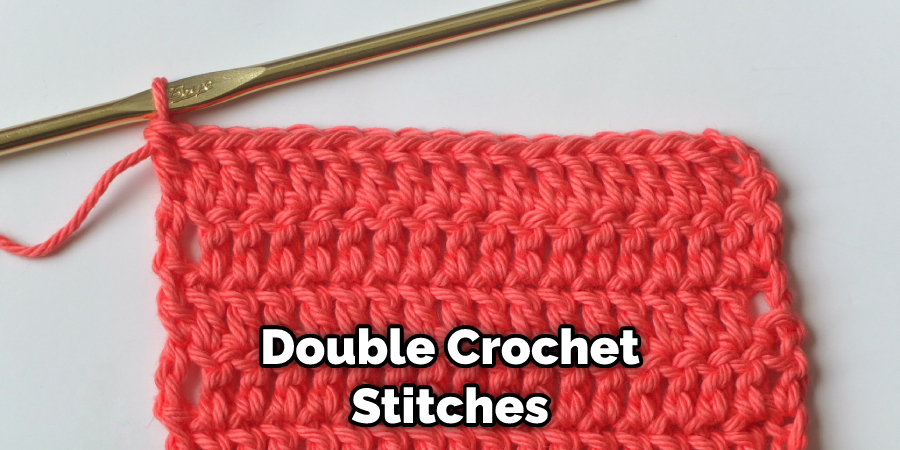
Start your crochet project by following the instructions in your chosen pattern. Start at the base of your Pokemon and work up from there, using single or double crochet stitches as needed to create the shape of the Pokemon. As you go along, count how many stitches you’ve worked to ensure that the size is consistent.
Step 4: Stuff Your Pokemon
Fill the body of your Pokemon with stuffing. This can be done by using a spoon or other tool to help you fill every part of your crochet piece. Make sure that the stuffing is evenly distributed throughout so that the shape and structure of your Pokemon come out correctly.
Step 5: Add Details
Once you’ve completed the main body of your Pokemon, it’s time to add details. This can include eyes, ears, spikes, or anything else needed to make your Pokemon look like its real counterpart. Elements like eyes and ears are best added with safety pieces that won’t come off easily.
Step 6: Attach Legs and Arms
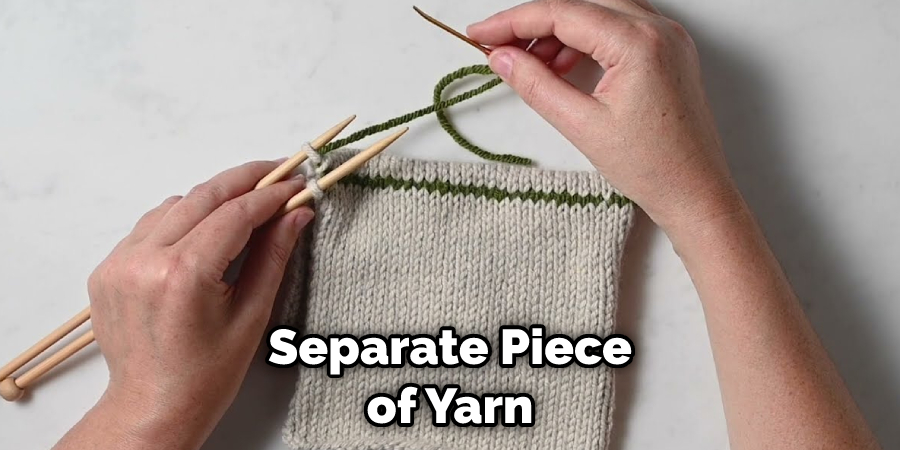
If your Pokemon has legs or arms, it is time to attach them. Depending on your chosen pattern, this may involve using a separate piece of yarn for each limb. Attach the limbs securely to avoid any mishaps when playing with your Pokemon. If your Pokemon needs clothing or accessories, start crocheting these now. This can include things like hats, shoes, gloves, and more. Take care to match the colors as closely as possible when creating clothing for your Pokemon.
Step 7: Make Final Edits
Now that all of the main components of your Pokemon are complete take a look at the overall design and make any necessary edits. This is also the time to use a crochet hook to fix any loose stitches or imperfect details. If you’ve left any openings while crocheting your Pokemon, now is the time to sew them up. Use a yarn needle and the same color of yarn to sew up any holes or gaps, ensuring that it is completely closed off.
Step 8: Finish Up
Once your Pokemon is complete, give it one last look over before declaring it finished. Any final touches, such as adding details with markers or gluing on accessories, can be done now.
By following these ten steps, you’ll have successfully created your very own crochet Pokemon.
Tips for How to Crochet Pokemon
- Gather all of the materials you will need before beginning a crochet project, including the crochet hook and appropriate yarn or thread.
- When crocheting with a pattern, read through it first to ensure that you understand each symbol and how to complete each step.
- Avoiding splitting your yarn by keeping your tension steady and even as you crochet.
- Check the yarn label to ensure it is suitable for the project stated in the pattern.
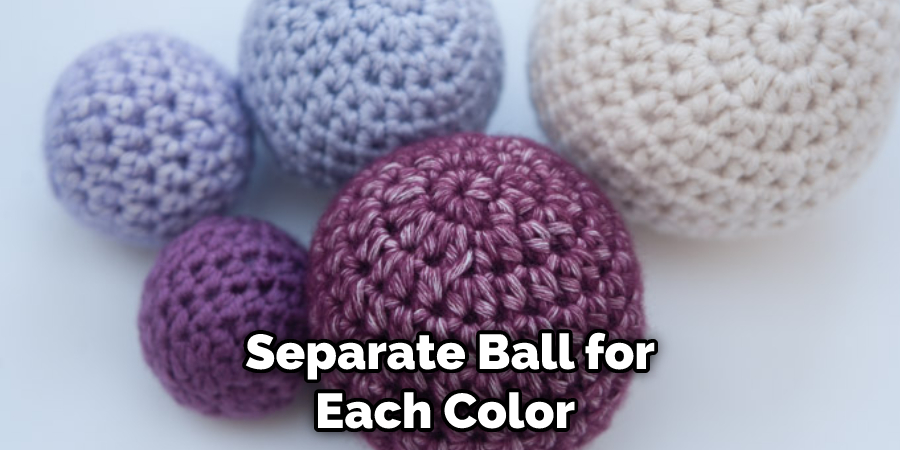
- When crocheting with multiple colors, use a separate ball for each color and try to keep them organized.
- Pay attention to details when working from a pattern, such as changing colors, increasing, and decreasing.
- Take regular breaks from crocheting to avoid tension headaches or fatigue.
Following these tips will help ensure that your Crocheting Pokemon project is successful.
How Do You Make Sure Your Stitches Are Even and Consistent When Crocheting Pokemon?
When crocheting Pokemon, it is important to ensure that your stitches are even and consistent. This will help create a nice, neat look that makes your Pokemon look as realistic as possible. Here are some tips for ensuring your stitches are even:
- Use the same hook size throughout the project to ensure consistent tension in each stitch.
- Count your stitches in each row to make sure you are working the same number as the pattern calls for.
- Take time to measure and check your work regularly throughout the project to ensure that it is not becoming too wide or too narrow.
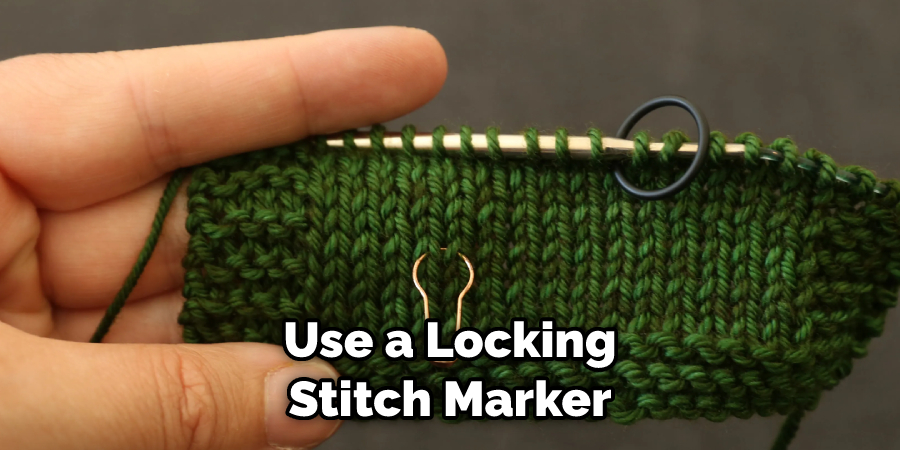
- Use a locking stitch marker to track where you are in the pattern.
- If you make a mistake, try to find it quickly and fix it as soon as possible.
Following these tips ensures that your stitches will be even and consistent when crocheting Pokemon. This will help create a realistic look for your project and give it a professional finish.
How Should You Block Your Finished Pokemon to Give It a Professional Look?
Blocking a finished piece of crochet work is the best way to give your Pokemon some extra definition and make it look professional. The process involves wetting the Pokemon with water, pinning it into shape, and allowing it to dry. This will help reduce any curling that may have occurred when working in rounds.
To block a completed crochet project, start by dampening a towel or cloth with cold water and laying it out flat. Place your Pokemon onto the dampened surface, gently stretching and pinning in any places you would like to shape better. Allow the Pokemon to dry completely before unpinning. After blocking, it’s ready to wear or display. With these simple steps, you can easily give your Pokemon a polished, finished look.
How Can You Protect Your Crochet Pokemon From Wear and Tear Over Time?
Once you have crocheted your Pokemon, it is important to take the necessary steps to protect them from wear and tear over time. After all, if you plan on displaying or playing with your Pokemon frequently, then it is essential to ensure that they are properly cared for. A few tips for protecting your crochet Pokemon include:
- Regularly inspect your Pokemon for signs of damage, such as torn yarn or fraying edges.
- Store your crochet Pokemon in a dust bag when not in use to keep them clean and protected from dirt and debris.
- Use a plastic wrap or storage container that is big enough for the entire piece if you plan to display your Pokemon for longer periods.
- Handle your crochet Pokemon carefully and avoid excessive handling or rough play to prevent damage.
- Regularly clean your crochet Pokemon using a lint roller or cleaning brush to remove dust, dirt, and debris from the surface.
- Use stuffing material such as batting or polyfill inside the body of your Pokemon to keep them in shape over time.
- Seal any opening or exposed seams with a fabric sealant to prevent fraying or unraveling.
By following these simple tips, you can help ensure that your crochet Pokemon stay looking good and last for years to come.
How Do You Care for a Crocheted Pokemon to Make Sure It Lasts Longer?
It is important to ensure your crocheted Pokemon stay in good condition, so they last longer and look better. You should regularly check for any damage or wear and tear to do this. If it’s been a while since you made your crochet Pokemon, you may want to give it an extra once over before displaying it.
To clean your crocheted Pokemon, use a soft brush and lukewarm water with a mild detergent or soap. Do not machine wash or dry your crochet Pokemon, as this could cause damage. After cleaning, make sure to let the piece air dry completely before storing it away in an area free from dust and moisture. Make sure never to store your crochet Pokemon in direct sunlight or extreme temperatures.
If you need to use a stiff brush, such as for cleaning off any dirt or dust, always do so gently. This will help prevent damage to the stitches and threads of your crochet Pokemon. Be sure to check regularly for any loose yarn or threads that may have come undone and repair them as soon as possible.
Conclusion
The main disadvantage of crocheting Pokémon is the time-consuming process. It can take several hours, or even days, to complete a single project. This may be discouraging for beginners as they may become frustrated with the slow progress of their work. Additionally, it requires a lot of patience and focuses on creating accurate details in the Pokémon. Finding patterns and tutorials for certain Pokemon can also be difficult, as there is not always a lot of information available.
In conclusion, crocheting Pokemon is a great way to make your own custom stuffed toys and accessories. With the right materials, tools, and know-how, you can create anything from a classic Pikachu to an original creation of your own. Whether you’re an experienced crocheter or just starting out, plenty of tutorials and guides are available to help you get started. I hope reading this post has helped you learn how to crochet pokemon. Make sure the safety precautions are carried out in the order listed.