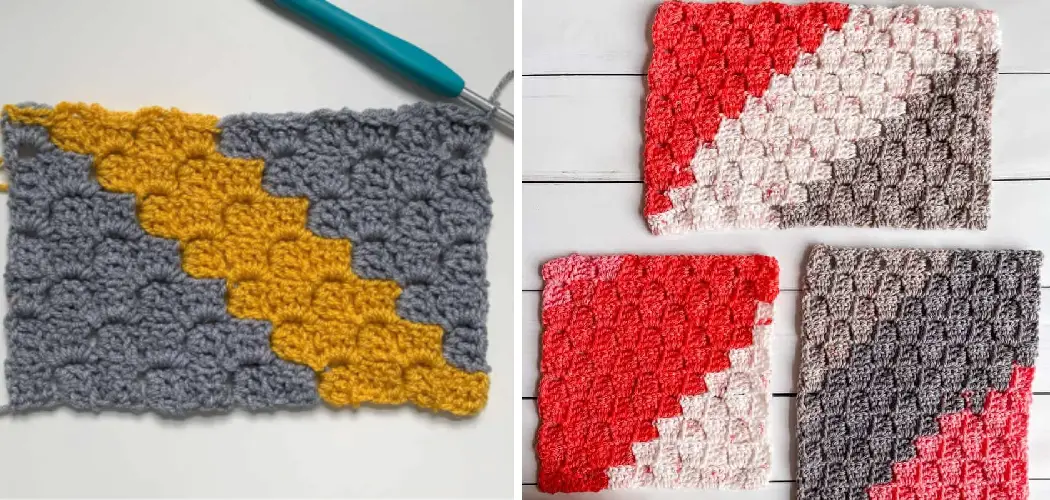
Do you want to take your crocheting skills to the next level? If so, corner-to-corner (or C2C) crochet is a great technique that can help you create beautiful projects by learning nothing more than a few simple stitches. Whether you are working with squares or triangles, the C2C approach allows for vibrant color combinations, interesting shapes, and textures.
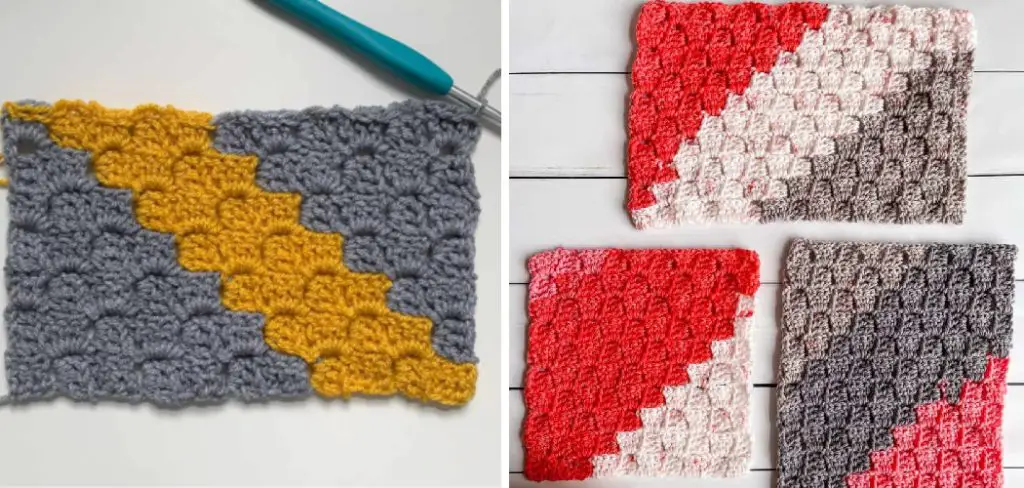
In this blog post, we walk through step-by-step how to corner to corner crochet so that even novice crafters can begin creating colorful and eye-catching items right away!
What is Corner to Corner Crochet?
Corner-to-corner crochet (also known as C2C crochet) is a technique that uses basic stitches, such as chain and double crochet, to create a fabric that looks like it has been crocheted diagonally.
This means you increase the number of stitches in each row until you reach the desired size, then decrease them in the same way until you are back to your original number of stitches.
The beauty of C2C crochet is that it can be used to create almost any type of project — from blankets and afghans to sweaters, hats, and bags. It’s also a great choice for beginners as it doesn’t require any special stitches, and is a great way to practice counting stitches.
Supplies You Will Need to Corner to Corner Crochet
- Crochet hook
- Yarn
- Scissors
- Tapestry needle (for weaving in ends)
- Measuring tape (optional, but helpful!)
Step-by-step Guidelines on How to Corner to Corner Crochet
Step 1: Foundation Chain
The foundation chain is the very first step of corner-to-corner crochet. To start, you will need to make a basic chain (CH) stitch that is twice as long as your desired width (plus one extra stitch). For example, if you want a square that measures 10 inches, then your foundation chain should be 21 stitches long.
Once you’ve made your foundation chain, you will need to turn the work over and begin crocheting.
Step 2: Increase Stitches for Each Row
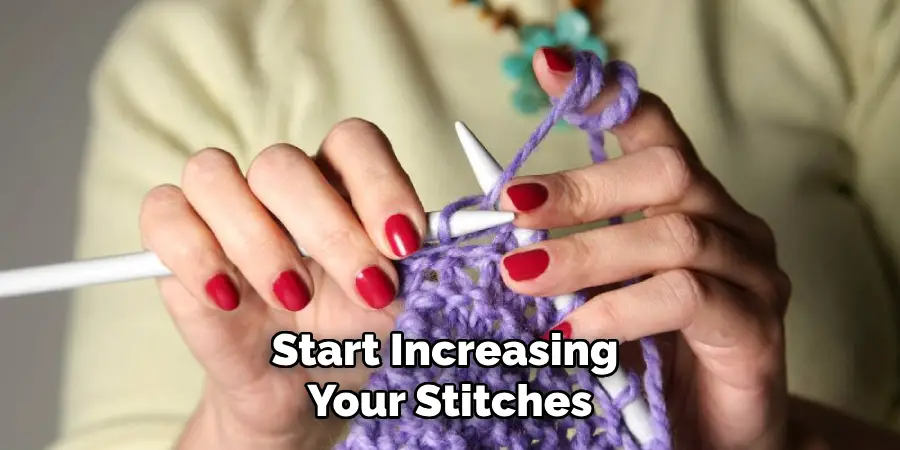
The next step is to start increasing your stitches. To do this, use a double crochet (DC) stitch into each of the CH stitches in your foundation chain (or as many as needed to reach the desired width). Increasing the stitches for each row will give you a nice, even edge along the sides of your work.
Step 3: Decrease Stitches for Each Row
Once you’ve reached your desired width, it’s time to start decreasing the stitches. To do this, use a double crochet two-together (DC2TOG) stitch into each of the DC stitches in your previous row.
Decreasing the stitches for each row will give you a nice, even edge along the sides of your work. While decreasing, be sure to count the stitches in each row so that you know when you have reached your desired width.
Step 4: Finishing Off
Once you’ve finished decreasing your stitches and are back to the same number of stitches as you started with in the foundation chain, it’s time to finish off your work. To do this, cut the yarn, leaving a long tail for weaving in later. Pull the tail through the remaining loop and pull it tight to secure your stitch.
Now that you’ve finished your corner-to-corner crochet project, you can use a tapestry needle to weave in all of the ends and finish off your work.
Additional Tips and Tricks to Corner to Corner Crochet
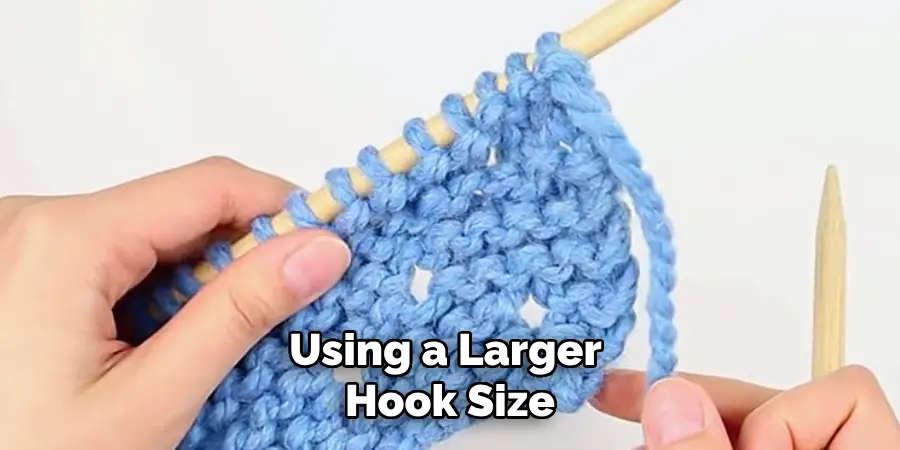
1. Increase your speed and work more efficiently by using a larger hook size. A larger hook will create bigger stitches making it easier for you to see the pattern and make each stitch with ease.
2. Experiment with different colors or textures when crocheting, to break up large projects into manageable pieces or just to add some flair. You can use two colors of yarn to create a striped pattern, or try adding a novelty yarn for texture.
3. Make sure you have a large enough piece of fabric when starting out corner-to-corner crochet. This will prevent running out of material and having to restart your project multiple times.
4. Instead of counting each row and stitch, make a mental note of patterns or landmarks in the fabric. This will help make counting much easier and more enjoyable.
5. To prevent any mistakes, write down each row or pattern in the project in a notebook so you can refer back to it if needed.
6. If your project is turning out too dense or tight, use a hook size that’s larger than what’s recommended for the yarn you’re using. This will loosen up the stitches and make it easier to work with the fabric.
7. If your project is turning out too loose or uneven, use a hook size that’s smaller than what’s recommended for the yarn you’re using. This will create a tighter stitch and help keep your project uniform in size.
8. For a beginner-friendly project, try making a corner-to-corner blanket or scarf with bulky yarn and a large hook size. This will help you get the hang of the technique without being too intimidating.
9. Use stitch markers to keep track of where your rows end and begin in order to make counting easier. This is especially helpful when doing multiple colors or different patterns in the same project.
10. Lastly, don’t be afraid to make mistakes! Mistakes are a part of learning any craft and everyone starts somewhere. With some patience and practice, you’ll soon be a corner-to-corner crochet expert!
Following these tips and tricks will help you become a pro at corner-to-corner crochet in no time! Give them all a try and have fun experimenting with different patterns. Who knows, you may even create your own unique designs! Happy crocheting!
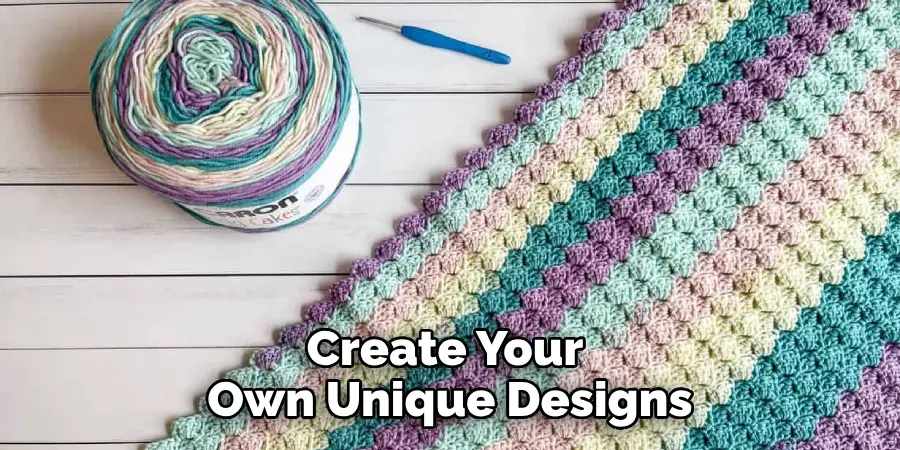
Ways to Use Your Corner-to-Corner Crochet Projects
Corner-to-corner crochet is a great way to create unique projects in a fraction of the time. You can use your corner-to-corner projects for anything from blankets and scarves to wall hangings and tapestries. Here are some ideas for how you can use your corner-to-corner crochet:
1. Baby Blankets
A baby blanket is a perfect project to make with corner-to-corner crochet. With just a few skeins of yarn, you can create a beautiful and unique baby blanket that will be cherished for years to come. Plus, since the pattern works up quickly you won’t have to wait very long before you can present it as a gift!
2. Afghans & Throws
Afghans and throws are great for keeping warm during the winter months. They also make beautiful home décor pieces that can be used to add color and texture to any room. With corner-to-corner crochet, you can make these projects even quicker, allowing you to enjoy your cozy blanket in no time at all.
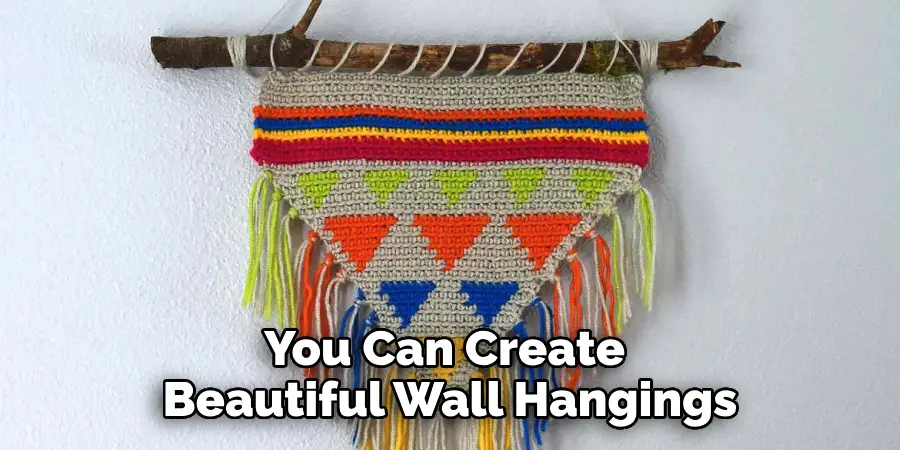
3. Wall Hangings & Tapestries
With corner-to-corner crochet, you can create beautiful wall hangings and tapestries that are sure to impress. Choose bright colors and bold patterns for a modern design aesthetic or go for more subtle shades for something softer. No matter what style you decide on, your wall hanging or tapestry will definitely be the talk of the town!
4. Scarves & Cowls
If you’re looking for a quick and easy project, corner-to-corner crochet is the way to go. With just a few skeins of yarn, you can create beautiful scarves and cowls that will keep you warm all winter long. You can also use your corner-to-corner projects to add a touch of handmade charm to any outfit.
5. Pillows & Cushions
Pillows and cushions are a great way to add a touch of comfort and style to any space. With corner-to-corner crochet, you can quickly make your own unique pillows and cushions that will be sure to stand out from the crowd! Choose bright colors for something bold or go for neutral shades for a more subtle look.
No matter what you decide to make with your corner-to-corner crochet projects, you won’t be disappointed! This technique is quick and easy, and the results are beautiful. So grab some yarn and get started on your next corner-to-corner creation today!
Precautions Need to Follow for Corner-to-Corner Crochet
1. Make sure to use the correct size crochet hook for your yarn weight. Different thicknesses of yarn require different-sized hooks, and using the wrong hook can result in an oddly shaped project or a piece that won’t lay flat.
2. Take extra care when measuring gauge swatches for corner-to-corner projects. This type of crochet works up quickly, so it’s important to get an accurate reading on your gauge swatch. The last thing you want is for your project to come out too large or too small!
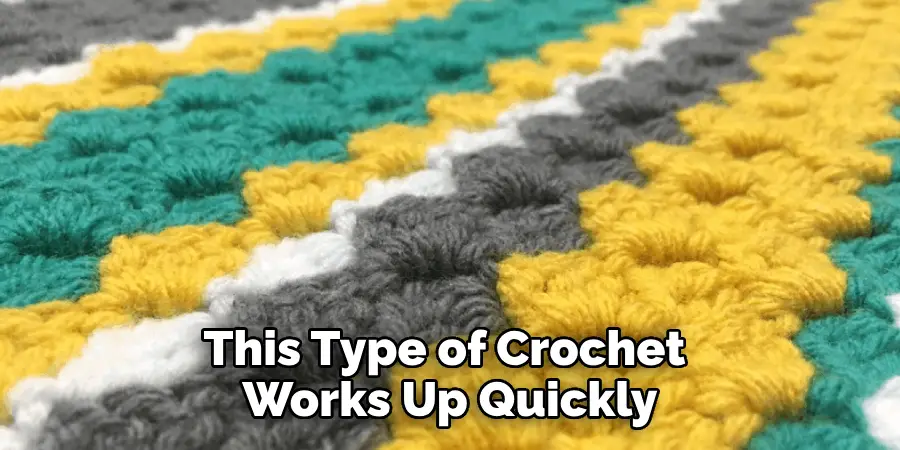
3. Pay close attention to the instructions in the pattern and check your work as you go along. Corner-to-corner crochet can be tricky to keep track of, so be sure to read through the pattern several times before you start. Checking your work as you go will help you stay on track and ensure that your project turns out exactly as intended.
4. Be aware of shifting stitches when working in rounds. Corner-to-corner crochet is often worked in rounds, which can cause a slight shift in stitches from one round to the next. Keep an eye out for this shift and adjust your pattern accordingly to make sure your project turns out perfectly!
5. Always take breaks when crocheting for long periods of time. Corner-to-corner crochet works up quickly, which can be both a blessing and a curse. If you find yourself getting tired or bored with the project, take a break and come back to it later with fresh eyes. This will help you stay focused and motivated, resulting in a better-looking final product.
Following these precautions will help ensure that your corner-to-corner crochet projects turn out beautifully every time. So grab your hook and get started on your next project!
Frequently Asked Questions
How Do I Know When to Stop Crocheting a Corner-to-Corner Project?
The best way to determine when to stop crocheting a corner-to-corner project is by measuring your gauge swatch. When the project reaches the desired size, you can chain one stitch and fasten off. For more detailed instructions, check out the pattern for your project.
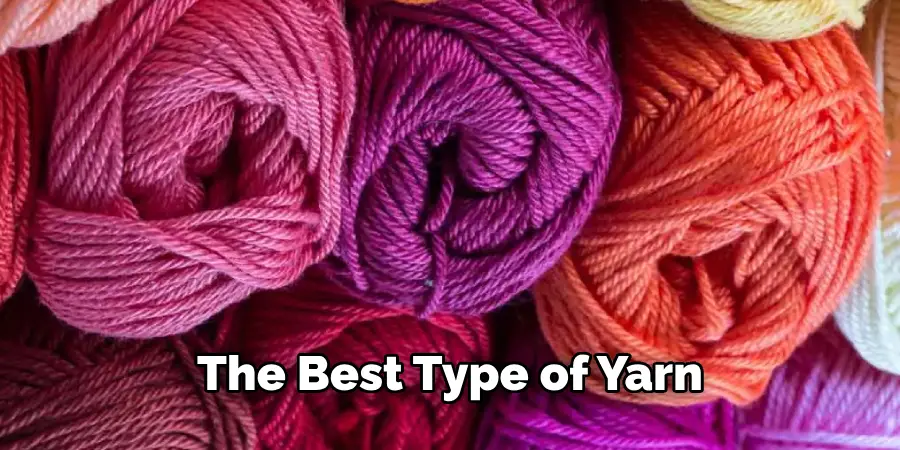
What Kind of Yarn Should I Use for Corner-to-Corner Crochet?
The best type of yarn to use for corner-to-corner crochet is a medium-weight (4) yarn. This thickness can be easily manipulated and will work up quickly, allowing you to finish your project in no time. You can also experiment with lighter or heavier yarns, depending on the desired size and texture of your project.
What Is the Best Way to Join New Yarn When Working Corner-to-Corner Crochet?
The best way to join a new yarn when working corner-to-corner crochet is to make a slip knot with the new yarn and place it over your hook. Then, crochet the first stitch with the new yarn as you would normally. This will ensure that your project has a seamless look and won’t have any visible seams or gaps.
Conclusion
With the above outlined you will easily understand how to corner to corner crochet. With just a few basic materials and some practice, you will be able to make beautiful projects with corner-to-corner crochet in no time! Plus, the results are sure to impress your friends and family. So grab your hook and get started on your next corner-to-corner project today!
Whether it’s a baby blanket, an afghan, or a wall hanging – corner-to-corner crochet is sure to make the perfect gift for any occasion. So get your yarn ready and start crocheting! You won’t regret it.

