
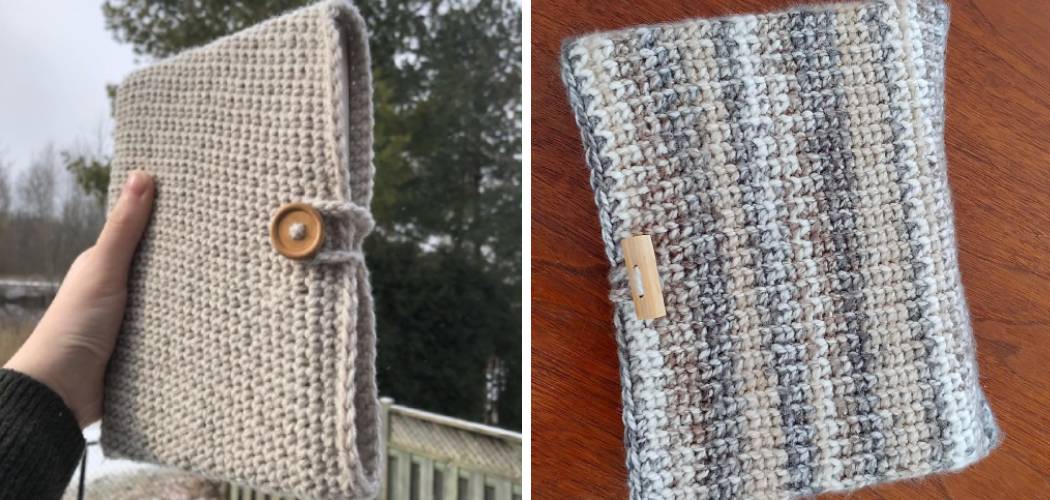
Are you a bookworm looking to spruce up your collection? Do you want to learn how to crochet a cozy cover for your precious read? If so, then this blog post is just what you need! Whether you’re new to crocheting or a seasoned crafter, this tutorial can help you create the perfect one-of-a-kind item in no time.

Here, we will be discussing all the necessary steps on how to crochet a book cover and the materials needed in order to craft an adorable homemade knitting project. So grab your crocheting needles and get ready – it’s time to put in some work and create the perfect book cover of your dreams!
Things to Consider Before Starting
Before you get your hands dirty and start crafting, there are a few things to consider first. How thick is the book? How large of a cover do you need? Measuring the dimensions of the book will help ensure that your crochet pattern fits properly. It’s also important to think about the type of yarn you’d like to use for the project. A variety of colors and textures will make your book cover unique and special.
Now that you’ve got the basics down let’s get crafting!
Gathering Your Materials
The first step in creating a crochet book cover is gathering all the necessary materials. You’ll need a yarn or thread of your choice, one large crochet hook, scissors, and a measuring tape. To make sure that your cover is the correct size, measure your book and determine how wide you’d like the finished product to be.
Is Crocheting Book Cover Difficult?
No! Crocheting a book cover is definitely not difficult and can be learned by anyone who has some basic knowledge of it. Moreover, you don’t even need to have special skills in stitching or crocheting as the process requires only basic know-how of stitches like half double crochet, single crochet, and slip stitch.
All you need is to practice a few times before starting the project, and you will be good to go!
6 Tips on How to Crochet a Book Cover
Now that we’ve discussed materials and covered the basics, it’s time to get started with crocheting.
1. Measurement
First, determine the size of your book and measure it to decide how wide you’d like the finished product to be. It will be helpful to make a few extra stitches in the end, as it will give you some wiggle room for any possible misalignments.
2. Foundation Chain
Once you’ve measured, it’s time to create the foundation chain stitch. This is done by creating a series of slip stitches – usually, 12-15, depending on the width of your book – and then looping them back on themselves.
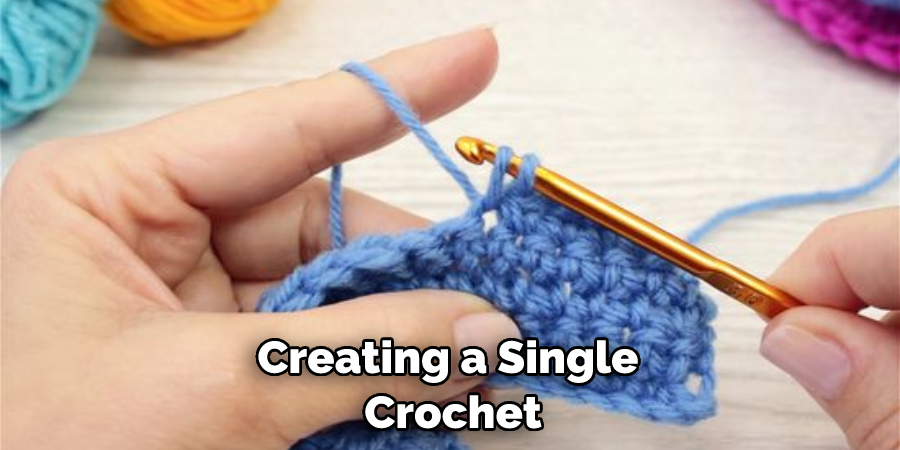
3. Crochet Pattern
Next, you’ll need to begin the crochet pattern by creating a single crochet (sc) stitch in each of the loops of your foundation chain. Continue this pattern until you’ve reached the desired length of your cover.
4. Add Color
If you’d like to add a splash of color to your book cover, now is the time. How about adding stripes or a border? To do this, simply switch colors in the middle of your pattern and complete it as usual.
5. Add Pattern Stitch
Adding a pattern stitch can really take your book cover to the next level. You can do this by inserting stitches of different lengths or even shapes like stars and hearts.
6. Finishing touches
For the finishing touches, it’s important to make sure that your book cover is properly shaped. To do this, add a few more single crochet stitches around the top and bottom edges of the cover in order to give it some extra stability. Finally, tie off your yarn, and you’re done.
You have just completed your very own crochet book cover. How does it feel? Everyone will be envious of your stylish new accessory. Enjoy showing off your creation, and don’t forget to share your results on social media for all of your friends and family to see!
8 Additional Tips to Make the Book Cover Unique
1. Use contrasting colors for a creative look. It will add interest and attract attention.
2. Choose the stitch pattern that best suits your book size and shape. Experiment with single crochet, half-double crochet, double crochet, or treble crochet to achieve the desired texture.

3. Add extra decorations like tassels or flowers for a fun look. Adding tassels will create a unique edge, and the flowers can be used to highlight certain areas.
4. Incorporate lettering or images into the book cover for a personalized touch. This could include letters, numbers, words, or even pictures!
5. Add a pocket on the inside cover of your crochet book cover so that you can store notes, bookmarks, and other items.
6. Use a larger hook size to create an openwork pattern that lets the pages show through. The density of your stitches will determine how much visibility there is between each stitch.
7. Embellish with beads and buttons for a one-of-a-kind look. These can be applied as accents or used to form decorative patterns on the fabric.
8. Use a lining of interfacing or other material to give the book cover structure and shape. This will also provide protection for your book from wear and tear.
Creating a crochet book cover is an enjoyable project that allows you to add your own unique style to your book. With just a few simple supplies and some creative thinking, you can craft a beautiful handmade book cover that is sure to be admired by others. Follow these 8 tips to make your crochet book cover extra special!
5 Maintenance Tips
1. Spot clean when necessary. It’s inevitable, dirt and dust will accumulate on your book cover over time. To keep it looking presentable, spot-clean it periodically with a damp cloth or paper towel. Be sure not to soak the fabric too much, as this could cause the yarn fibers to separate or fray.

2. Iron with a low heat setting. If your book cover gets wrinkled, lightly steam it with an iron set on the low-temperature setting. Never apply direct heat, as this could scorch the fibers and ruin your project.
3. Secure buttons properly. In order for the closure of your book cover to stay in place, it’s important that you properly secure the buttons. Use a large-eyed needle and thread to stitch up the loops on each side of the button. This will prevent them from popping off when opening or closing your book cover.
4. Store away from direct sunlight. Prolonged exposure to direct sunlight can cause the colors in your book cover to fade or even warp. To keep its original vibrancy, make sure it’s stored away from any direct sunlight.
5. Use a fabric protector spray. If you want your book cover to last longer and be more resistant to dust, water, and fading, use a fabric protector spray on it. Be sure to thoroughly read the instructions and follow the safety precautions before use.
Following these five maintenance tips will help ensure your project looks great for years to come! With proper care and handling, you’ll be able to enjoy your handmade creation for a long time.
Frequently Asked Questions
How Long Will It Take to Finish the Project?
The amount of time it takes to complete the project will depend on your skill level and the complexity of the design. Generally, if you’re an experienced crocheter, it should take between 6-8 hours to make a basic book cover. If you are a beginner, it will likely take longer.
What Materials Will I Need?
Generally, you’ll need yarn in the color of your choice, a crochet hook, stitch markers or safety pins, scissors, and buttons for closure. You may also want to use fabric protector spray if you plan on using it outdoors or near water.
What Is the Best Yarn to Use?
For the projects, it’s best to use an acrylic yarn or cotton/acrylic blend. Both of these materials are easily washable and won’t shrink when you clean them. They also have great durability and can last for years with proper care.

Conclusion
Creating a book cover is a wonderful way to express your creativity and love of crocheting. Whether you are a beginner or advanced in your skill set, there are still ways to make the project exciting and worthwhile. With the right pattern and supplies, and tips on how to crochet a book cover, you can have a beautiful handmade book cover that shows off your style!
The options really are limitless when it comes to designing your cover – feel free to use whatever colors, shapes, and materials will work with the measurements of your book. Crochet professionals and hobbyists alike can all enjoy this fun craft – who knows what kind of design you’ll come up with! So go on and get started – we’re sure you’ll love the experience of making something special just for yourself or for someone else.