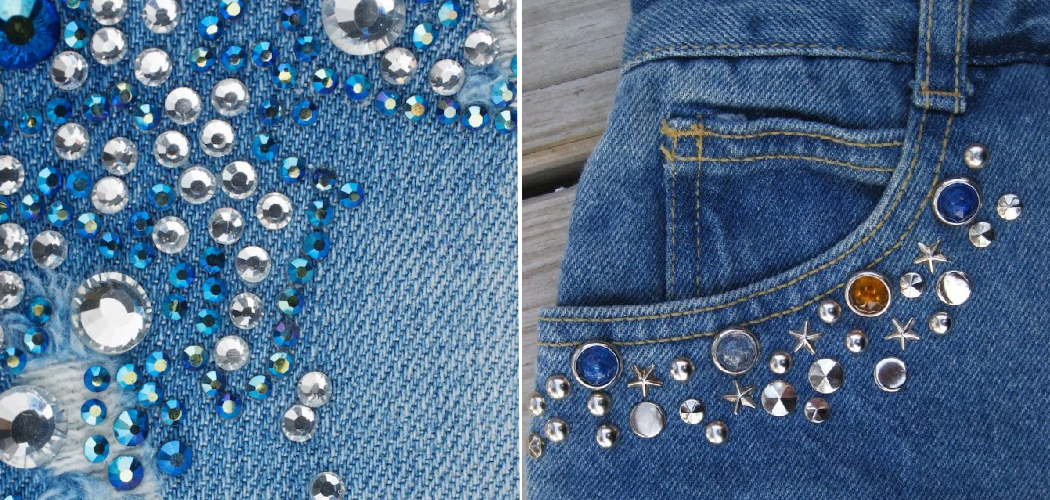
Do you want to create your own unique wardrobe pieces with a bit of flair and sparkle? Look no further! Bedazzling clothes is an easy way to add some personality and style to any outfit.
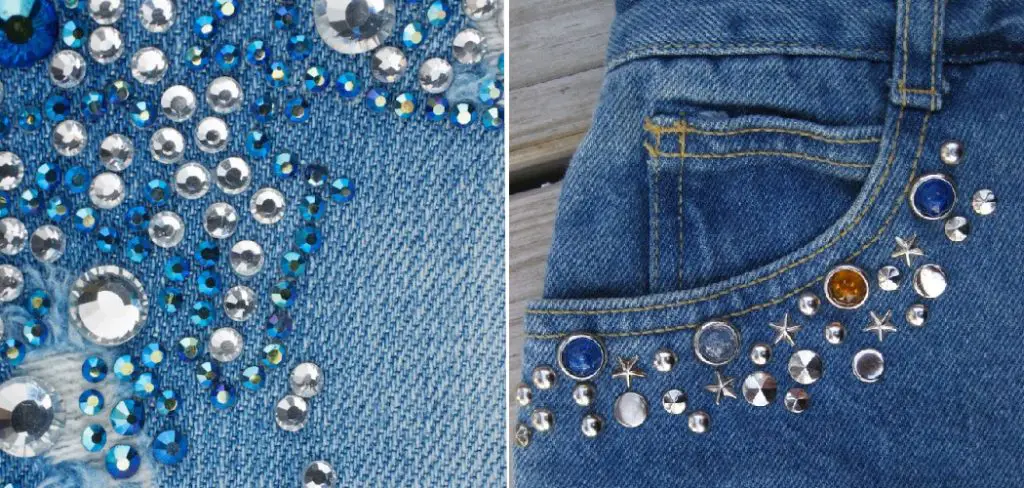
You can quickly jazz up old or boring articles of clothing, give new garments more “oomph”, or even take something from drab to fab. In this blog post, we will teach you the basics of how to bedazzle clothes like a pro–all without breaking the bank!
From supplies needed and step-by-step instructions for easy applications, by the end of this article, you will be prepared to tackle any outfit makeover project. So let’s get started!
Why Do You Need to Bedazzle Clothes?
Bedazzling your clothing is a great way to set yourself apart and express your personality through fashion. You can customize pieces to fit your own unique style, and it’s easy enough that anyone can do it! Whether you’re looking for something subtle or an outrageous statement piece, the possibilities are endless when you take the time to bedazzle.
Plus, it’s not just about looks–bedazzling your clothing can also add an extra layer of protection to the material. This is especially true for items you wear regularly or pieces that are exposed to the elements such as rain or snow. Bedazzling can help keep the fabric free from stains and rips while looking awesome at the same time!
Needed Materials
Given below is a list of supplies you will need to bedazzle your clothing.
- Glue Gun & Glue Sticks
- Rhinestones or Gems
- A Fabric Marker or Pen
- A Pair of Scissors
- An Old Cloth or Rag (to Clean Up Any Messes)
11 Step-by-step Instructions on How to Bedazzle Clothes
Step 1: Prepare the Clothing
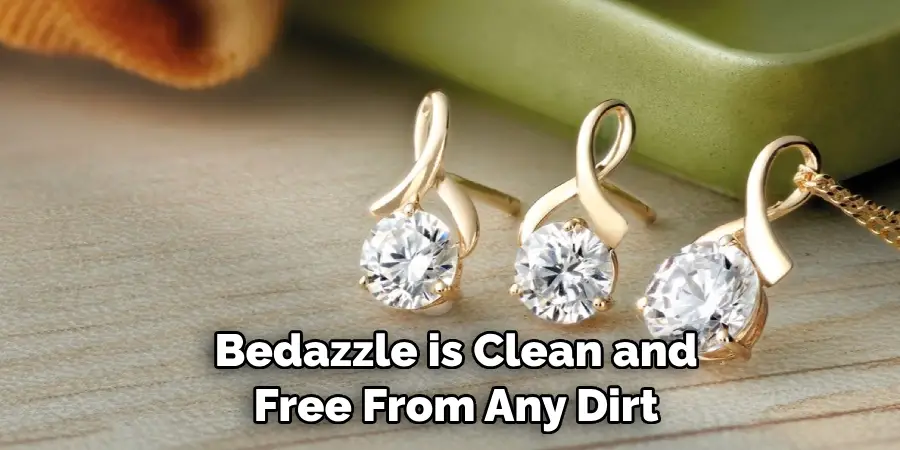
Make sure the item of clothing you are going to bedazzle is clean and free from any dirt, dust or residue. It’s best to do this process on an item that has not been washed yet. If you are going to bedazzle something fragile or delicate, consider washing it by hand instead. But make sure to let it dry completely before getting started. You don’t want the glue to seep through and damage the fabric!
Step 2: Decide On A Design
Once you have your clothing item and supplies ready, it’s time to decide what design you want to bedazzle. You can draw out a rough sketch of the pattern or go directly to bedazzling if you already know what you are doing. Keep in mind that this step is all about creativity and experimentation–so don’t be afraid to try something new! This is also a great time to add any personal touches to your design, like using different sizes or colors of stones. You can also mix and match to make a unique combo.
Step 3: Plan the Layout
Now that you have a design in mind, it’s time to plan out your layout. This will help you decide how many rhinestones or gems you need for your project and make sure everything is even and balanced. It also helps ensure that you don’t waste materials if you are using expensive gems. If you are using a fabric marker, this is the time to draw out your design on the clothing item. But make sure to test it first on a piece of scrap fabric before you do the actual item.
Step 4: Draw the Pattern
Once you have a plan for your bedazzling design, it’s time to draw out the pattern on the clothing item. You can use either a fabric marker or pen to do this. Make sure your lines are neat and accurate so that you have a good reference point for where to place the gems. Otherwise, you may end up with an uneven and lopsided design. It’s also important to work slowly and take your time when drawing the pattern–you don’t want any mistakes here!
Step 5: Cut and Stick
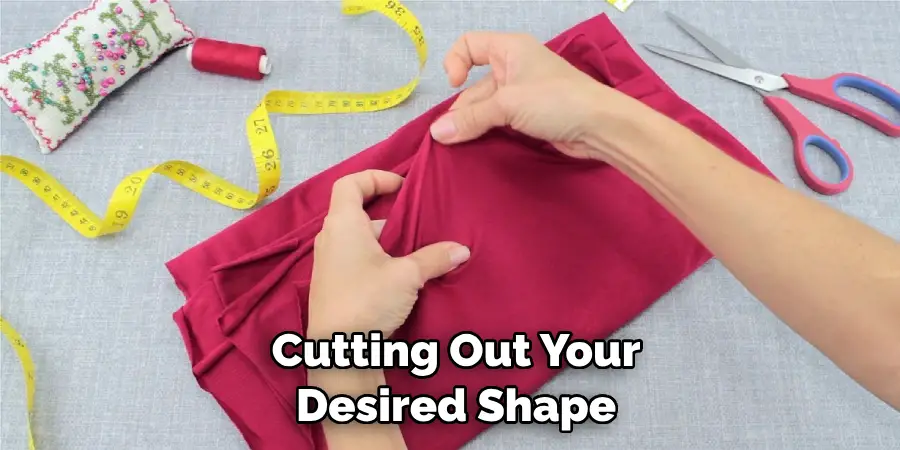
Now it’s time to get bedazzling! Start by cutting out your desired shape from the fabric using scissors. Once you are done, use a glue gun to stick the rhinestones or gems in place. Be careful not to overdo it with the glue as this can affect the fabric’s quality. Although it is tempting, don’t rush this step as the outcome can be affected by your accuracy. But don’t worry, you can always go back and make adjustments if needed. It’s better to go slow and get it right the first time!
Step 6: Add Details
Once you have placed your rhinestones or gems in place, it’s time to add any extra details that you would like. This could include adding beads, sequins or other kinds of embellishments if desired. Make sure to use the glue gun to stick these in place as well. But take your time and again, don’t rush. You want the design to look professional and neat! It may take some extra time, but it will be worth it in the end.
Step 7: Let It Dry
After you are done with your bedazzling design, it’s important to let it dry completely before wearing or washing the item of clothing. A good way to do this is by placing a piece of old cloth over the item and letting it sit for a few hours. This will help the glue dry evenly and securely. If you are in a rush, you can use a blow dryer to help speed up the process. You can also use an iron on a low setting to press the stones into place if needed.
Step 8: Clean Up Your Mess
Once your bedazzling is done, make sure to clean up any mess you have made with the glue gun or marker pen. An old cloth or rag should do the trick here–just make sure that it doesn’t come into contact with the bedazzled area as this could ruin your design. If you are dealing with any stubborn residue, try using an old toothbrush to get rid of it. This should help remove any leftover glue or marker without harming the fabric.
Step 9: Admire Your Work
Now that you have finished bedazzling your clothing item, it’s time to admire the final result! You should be proud of yourself for creating something unique and special. Now all you need to do is show off your new design and let everyone know who made it! Whether it’s a subtle accessory or an outrageous statement piece, people are sure to take notice. It’s time to take a bow!
Step 10: Wear It
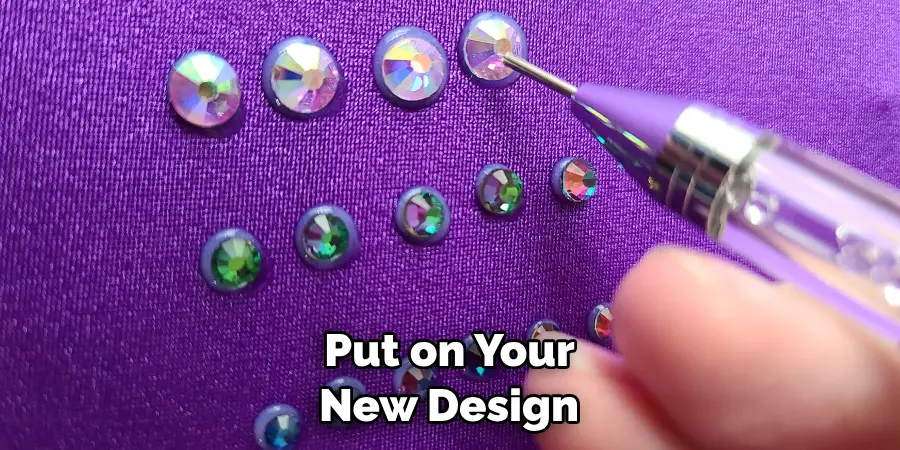
Once the bedazzled item has dried completely, it’s time to show off your masterpiece. Put on your new design and strut around with pride in your own custom-made wardrobe statement! You can also take pictures of your new look and share them with the world. Don’t be afraid to get creative and experiment with different styles. Who knows, maybe yo might even create some new trends!
Step 11: Take Care of It
The last step is to take extra care when cleaning or washing the bedazzled item. Since you have placed your design with glue, it’s important to make sure that it doesn’t come off when washing. To do this, hand wash the item in cold water or use a delicate cycle on the washing machine.
And there you have it! You are now ready to bedazzle any clothing item of your choosing like a pro. So go ahead, get creative and show off your unique style. Happy bedazzling!
How Much Could It Cost?
Bedazzling can be a cheap or expensive project depending on the supplies and materials you use. The cost of rhinestones, gems, beads and other embellishments will vary depending on the type and quantity that you choose. Glue guns are usually very affordable and easy to find in most stores. All in all, bedazzling your clothing is an affordable way to make a statement with fashion without breaking the bank. It’s also a great way to revamp old clothing items and give them new life.
Important Tips When Bedazzling Clothes
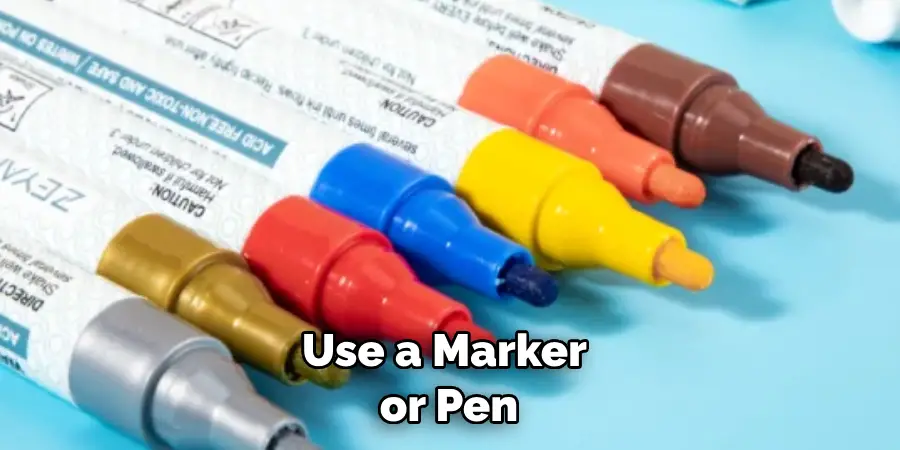
Here are some tips to keep in mind when bedazzling clothes:
- Make Sure the Fabric is Clean Before Starting Any Design.
- Use a Marker or Pen to Draw Out the Pattern Before Applying the Gems.
- Use the Glue Gun Sparingly and Avoid Over-glueing the Gems.
- Let Your Design Dry Completely Before Wearing or Washing It.
- Use Cold Water When Handwashing Bedazzled Items to Prevent Damage.
- Have Fun and Be Creative With Your Designs–you Can Always Try Something New!
With these tips in mind on how to bedazzle clothes, you are sure to have a fantastic bedazzling experience. So go ahead and start creating pieces that perfectly express your unique style! Happy bedazzling!
Frequently Asked Questions
Q1: Is It Better to Hand Wash or Machine Wash Bedazzled Items?
A1: It’s best to hand wash bedazzled items using cold water as this will help preserve the glue and prevent damage. If you must machine wash them, make sure to use the delicate cycle setting.
Q2: Where Can I Buy Rhinestones or Gems To Bedazzle Clothes?
A2: You can find a variety of rhinestones or gems at craft stores, online retailers and even some fabric stores. Be sure to shop around for the best deals and quality materials.
Q3: How Long Does It Take For Bedazzled Items to Dry?
A3: It usually takes about 2-4 hours for bedazzled items to dry completely. To help speed up the process, you can place a piece of old cloth over the item and leave it overnight. This will help ensure that the glue dries evenly and securely.
Q4: Can I Bedazzle Shoes?
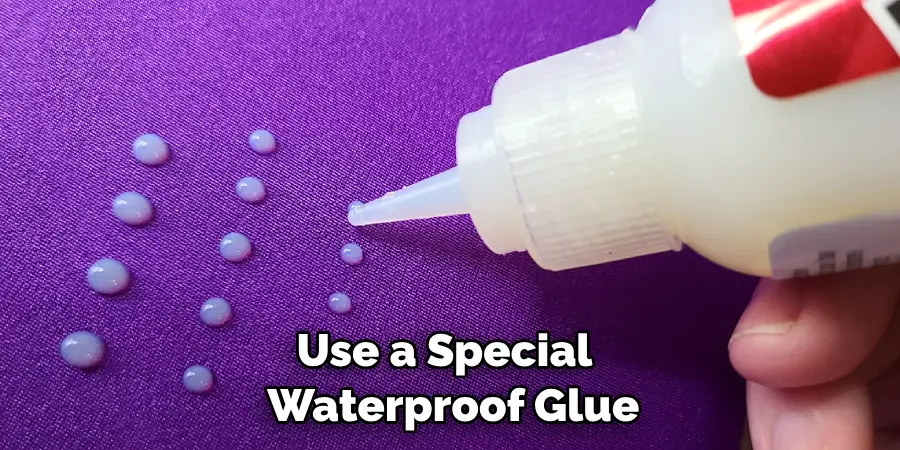
A4: Yes, you can bedazzle shoes, but be sure to use a special waterproof glue and let the item dry completely before wearing them. It’s also important to take extra care when washing the shoes as this could cause the design to fade or come off.
Conclusion
As seen, bedazzling your clothing is a creative and fun way to add some extra flair to any outfit. Whether you’re adding gems or rhinestones to enhance the look of a piece, or experimenting with different techniques like beading and fabric paint, you are sure to create something unique that will bring out your individual style.
With some guidance and practice on how to bedazzle clothes, you too can turn old pieces into something eye-catching and timeless. Why not get inspired today and start dreaming up ideas for how to make your clothing truly sparkle? Go ahead – it’s time to start bedazzling!

