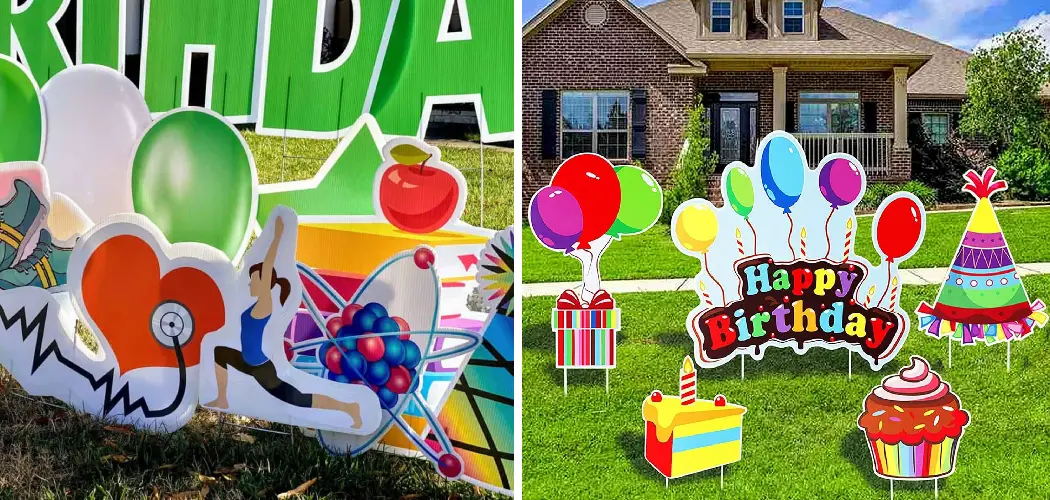
Creating a custom yard sign at home is a fantastic way to express your creativity, share important messages, or add a personal touch to your outdoor space. Whether you want to announce a special event, support a cause, or simply add some charm to your yard, knowing how to make a yard sign is a valuable DIY skill.
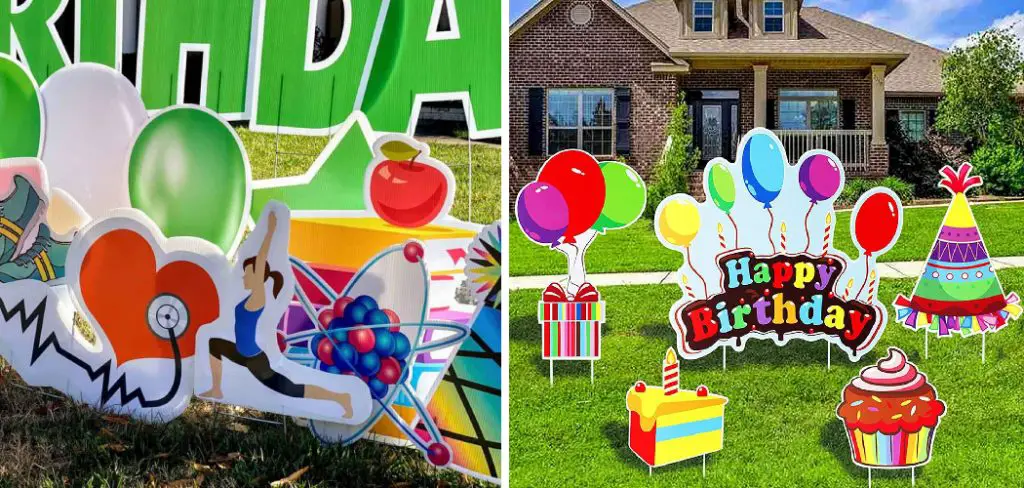
In this comprehensive guide, we’ll walk you through the step-by-step process of how to make a yard sign at home from start to finish.
Whether you’re a seasoned DIY enthusiast or a novice looking to embark on a creative project, these instructions will empower you to design, create, and display a personalized yard sign that reflects your unique style and message. Get ready to turn your outdoor space into a canvas for self-expression and artistic flair with this rewarding and practical DIY endeavor.
The Purpose and Benefits of Yard Signs
Yard signs are a great way to make your message stand out and be seen. Whether you’re running for office, advertising an upcoming event, or just expressing your opinions, yard signs can be an effective way to get the word out.
They have been known to increase visibility and make messages more memorable. Plus they come in a variety of shapes and sizes which can help make them stand out from the competition. Not to mention, making your own yard sign is an inexpensive and straightforward process.
Determining the Purpose and Message of the Yard Sign
Before you dive into the actual creation process, it’s important to spend a few moments thinking about the purpose and message of your yard sign. What do you want to say with it? Are you promoting a candidate or an issue? Do you have a specific call-to-action in mind? Knowing what you want to communicate is key for designing an effective yard sign.
Once you have a clear vision for your message and purpose, you can start brainstorming ideas for how to bring it to life. It’s best to keep the design of your sign simple and straightforward, so try not to overcrowd it with too many images or words.
You want the main focus of your sign to be easy to read and understand, and you also want to make sure that your message stands out from any other yard signs in the area.
Considering the Size and Dimensions of the Sign
It’s important to consider where and how you’ll display your yard sign when you’re making it. The size of the project will depend largely on its purpose, location, and surrounding environment.
If you want a larger sign, you may need to make something that fills up an entire fence line or stretches across a large area of property. If space is limited, however, you can still create a sign that stands out with the right design and materials.
To ensure your yard sign grabs people’s attention, it should be large enough to be visible from a distance. If you’re making a larger sign, make sure to plan out its size and dimensions on paper before getting started.
This will help you determine the number of supplies you need and the amount of space you’ll need for the project. Additionally, it’s important to make sure the sign is adequately supported so that it doesn’t become damaged or topple over in strong winds.
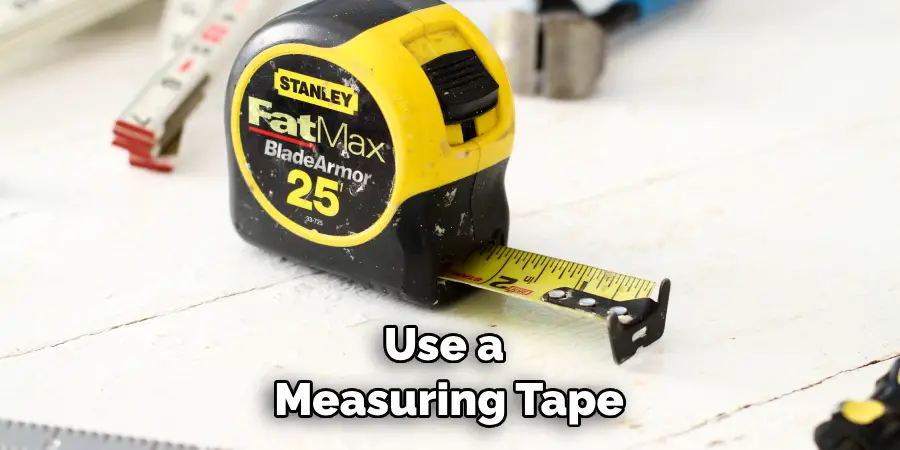
Finally, use a measuring tape and ruler to measure out the dimensions of your sign before cutting materials or painting any elements. This will help you create a finished product that looks professional and polished.
10 Steps How to Make a Yard Sign at Home
Gather Supplies
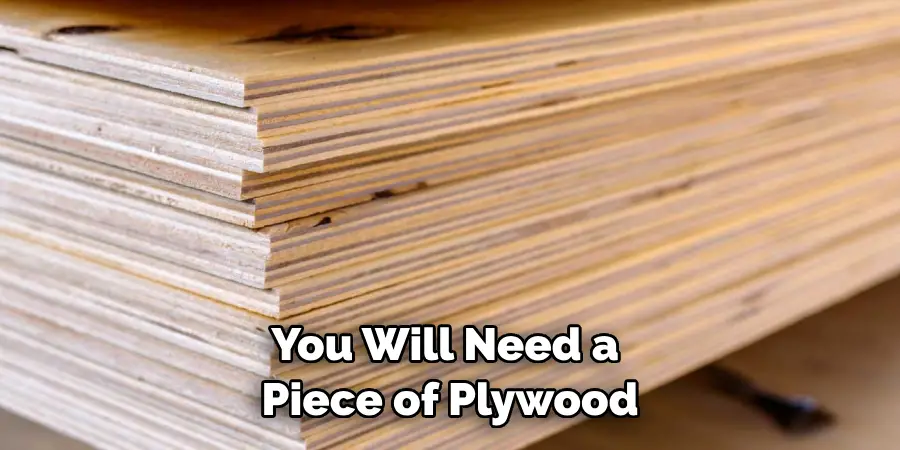
The first step in making a yard sign at home is to gather all of the necessary supplies. You will need a piece of plywood, paint, brushes, and stencils or letters for your message. You may also want to purchase some stakes or poles to attach your sign to the ground. Make sure you have enough materials to complete your project before you start.
Prepare the Plywood
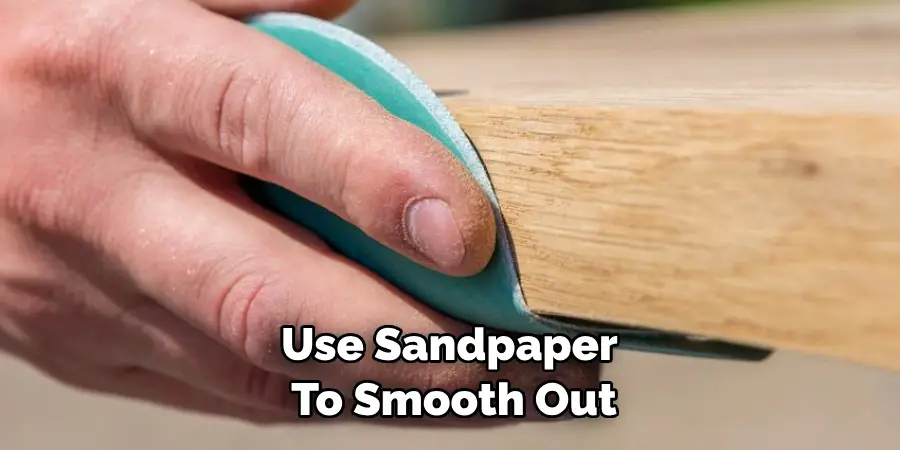
Once you have gathered all of your supplies, it’s time to prepare the plywood for painting. Use sandpaper to smooth out any rough edges and then wipe down the surface with a damp cloth to remove any dust or debris. Once you’ve finished prepping the plywood, it’s time to move on to the next step.
Paint the Background
Now that your plywood is ready, it’s time to start painting! Use a roller brush and paint in even strokes across the entire surface of the plywood until you get an even coat of color. Allow this layer of paint to dry completely before moving on to step four.
Create Your Message
This is where things start getting fun! Using stencils or letters, create your desired message onto the painted background of your yard sign. Be sure that each letter is evenly spaced and lined up properly before moving on to the next step.
Paint Your Message
Once you have created your message onto the painted background, it’s time to add color! Choose colors that contrast well with each other and apply them in even coats over each letter or design element until everything looks perfect! Allow this layer of paint to dry completely before moving on to step six.
Add Finishing Touches
Once all of your layers are dry, it’s time for the finishing touches! You can add borders around each letter or design element using a different color than what was used for painting them in order to make them stand out more clearly against the background color. You can also use glitter glue or other decorative elements such as rhinestones if desired!
Attach Stakes/Poles
Before displaying your yard sign outside, be sure that it is securely attached by attaching stakes or poles onto either side of it with screws or nails (or both). This will help ensure that your sign stays put while outdoors and won’t blow away in strong winds!
Display Your Sign
Now that everything is secure and ready to go, it’s time for display! Place your yard sign in an area where people will be able to easily view it from their cars or walking paths nearby – just make sure that there are no local ordinances prohibiting signs from being displayed in certain areas first!
Protect From Weather
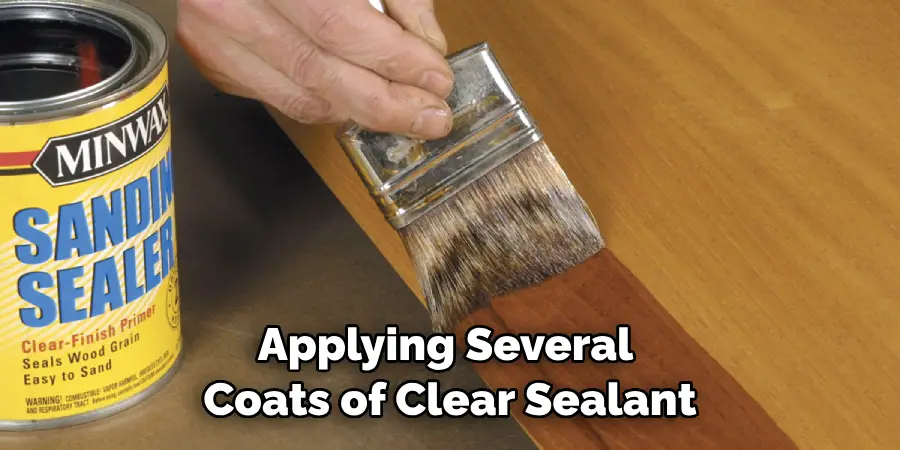
To protect your yard sign from weather damage such as rain and snow, consider applying several coats of clear sealant over the top once everything has dried completely (this should only take about 24 hours). This will help ensure that all colors remain vibrant and prevent any water damage from occurring over time!
Enjoy Your Sign
Last but not least – enjoy your new yard sign! Whether you are displaying a political slogan or simply want something unique in front of your house – now everyone who passes by will know exactly what you’re about. Plus, you can proudly say that you made it yourself!
Things to Consider When Making a Yard Sign at Home
When it comes to making a yard sign at home, there are a few important things to consider. First and foremost, the type of material you’ll use for your sign is critical. Corrugated plastic is an excellent choice for outdoor signs due to its durability and versatility, but other materials like wood or metal may work just as well in certain scenarios.
The next thing to consider is the design of your sign. How many colors will you use? Will there be any text or images included? Depending on the size and type of yard sign you’re making, it might be beneficial to consult a professional designer for help creating an eye-catching sign that stands out from the rest.
Finally, make sure you have the necessary tools and equipment to make your yard sign. Depending on the materials used, you may need a saw or drill for cutting shapes, paint brushes and markers for adding color, or adhesive for attaching parts together. Having the right supplies on hand will ensure that your sign looks professional and lasts for years to come.
Conclusion
In conclusion, making a yard sign at home is an easy and cost-effective way to create a statement piece that will add beauty and personality to any outdoor space. With the proper supplies and some creativity, you can have a beautiful sign up in no time!
Additionally, if you’d like more of a challenge, why not try your hand at designing a professional-looking logo or using alternative materials for another unique twist?
So get creative with how you make your sign – fun color combinations, meaningful slogans or slogans that make people smile – the possibilities are limitless when it comes to customizing your own yard signs.Follow these simple instructions outlined in this blog post about how to make a yard sign at home, and you’ll be able to get the job done with ease.
you can check it out also : Attach Twine to Wood Sign

