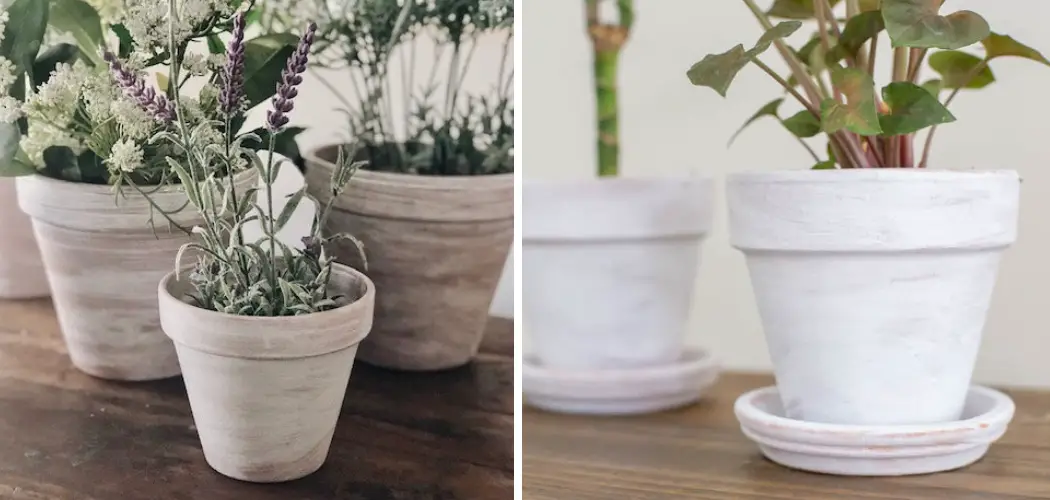
Have you ever seen those beautifully whitewashed terracotta pots and wondered how to achieve that same look? You can easily transform your old clay pot into something new and stylish with simple supplies.
Whether you’re looking to spice up your outdoor patio or add an artistic touch to your indoor décor, whitewashing terracotta is the perfect way to get started. Plus, it’s a great weekend craft project for gardeners of all levels!
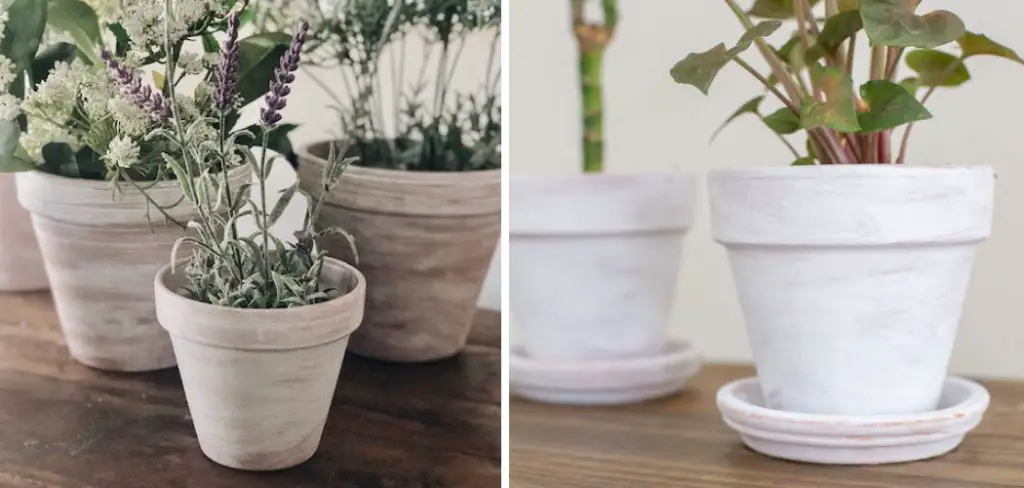
If you’re ready to give it a shot, here is what you’ll need and some helpful tips to ensure your project turns out just the way you want it.
Follow this step by step guide and discover how easy it is to give your terracotta pot a beautiful white makeover. Read on to learn more about how to whitewash a terracotta pot!
What Will You Need?
Before you get started, make sure you have the following items on hand:
- A terra-cotta pot
- White paint (latex or acrylic works best)
- Paintbrush
- Water bucket for cleaning up the brush and pot during the process.
Once you’ve gathered all the supplies, you’re ready to begin.
10 Easy Steps on How to Whitewash a Terracotta Pot
Step 1: Prepare the Pot
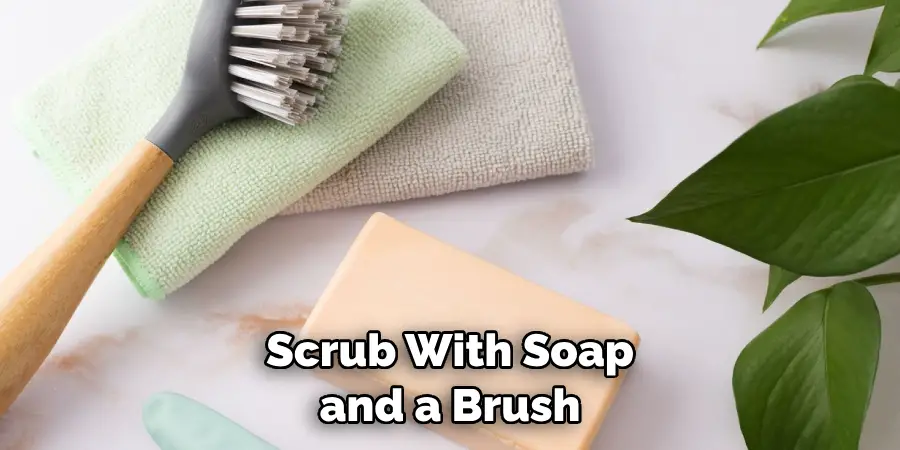
To start whitewashing your terracotta pot, the first step is to ensure it’s clean and dry. Give it a good scrub with soap and a brush, and then let it air-dry completely. You don’t want any moisture on it when you start painting!
Step 2: Mix the Paint
Mix your white paint with water in a ratio of 1 part paint to 3 parts water. This will help create a light wash effect that looks more natural and gives your pot an aged, rustic charm. Additionally, adding a bit of acrylic medium to the paint mixture will help keep it from cracking.
Step 3: Start Painting
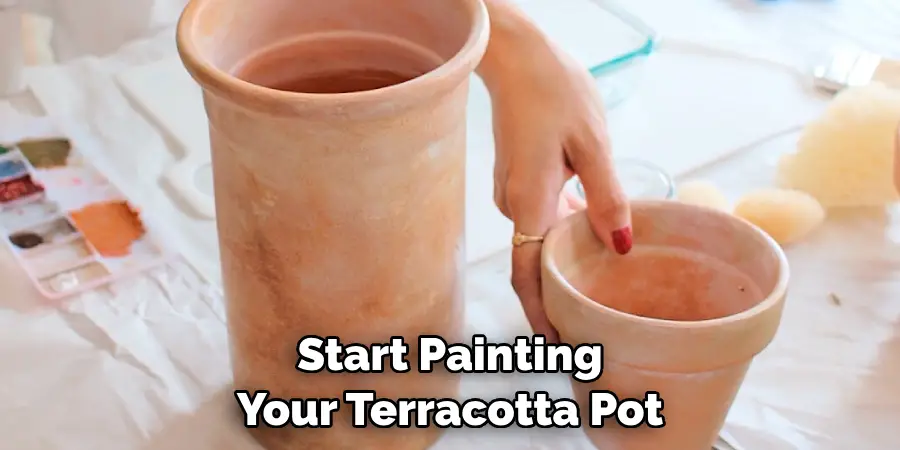
Now, you’re ready to start painting your terracotta pot! Pour a small amount of the paint mixture into a clean bucket and dip your brush in. Work in circular strokes, starting at the top and working your way down for a more consistent look. Make sure to paint the entire exterior, including any ridges or grooves.
Step 4: Apply Multiple Coats
After the initial coat of paint, allow the pot to dry for about 20 minutes. Depending on the desired effect, apply additional coats of paint. Remember, the more coats you apply, the less the terracotta color will show through the whitewash. Be sure to let the pot dry between each coat to prevent the paint from smearing or peeling.
Step 5: Let It Dry
After applying the last coat of whitewash, let the pot dry overnight to ensure the paint sets properly. Place the pot in a well-ventilated area or near a fan to speed up the drying process. Make sure it’s thoroughly dry before moving on to the next step. The drying time may vary depending on the number of coats you’ve applied and the conditions of the drying area.
Step 6: Lightly Sand the Pot
Once your pot is completely dry, consider lightly sanding it. This step is optional but can add to the aged, rustic look of the pot. To do this, use a piece of fine-grit sandpaper and lightly go over the pot’s surface.
Then, wipe off any dust with a dry cloth. Remember to sand lightly, as you don’t want to remove too much of the paint layer. This will give your terracotta pot a distressed, weathered look perfect for an outdoor display.
Step 7: Seal the Pot
Now that your terracotta pot has been painted and distressed to your liking, it’s time to seal it to protect the paint and maintain its beautiful, rustic look. Apply a clear, water-based sealer to the pot using a clean paintbrush. Be sure to cover all painted surfaces, both inside and out.
Remember, the sealer protects the paint job and makes the pot more resistant to weathering, making it perfect for outdoor use. Allow the sealer to dry completely per the manufacturer’s instructions before moving on to the final step.
Step 8: Add Your Favorite Plant
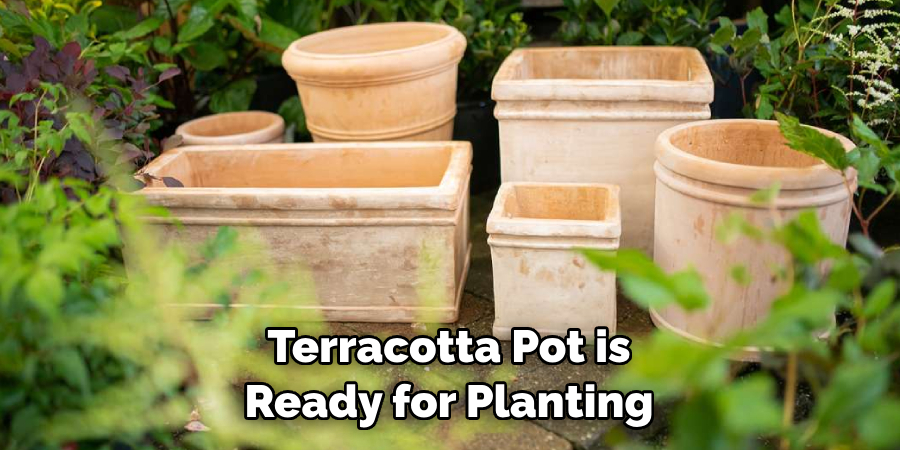
After thoroughly drying the sealer, your whitewashed terracotta pot is ready for planting. Carefully add your favorite plant, ensuring its roots are well covered with soil. Water it generously and place your newly transformed pot where it will thrive.
Whether you display it indoors or out, this beautifully rustic, whitewashed terracotta pot will add charm and character to any space. Congratulations – you’ve learned to whitewash a terracotta pot and brought a unique touch to your gardening decor!
Step 9: Ongoing Care
Your newly whitewashed terracotta pot is not just a beautiful piece of decor; it’s also home to a plant that needs care and attention. Ensure to water the plant as required, and remember to consider the needs of the specific plant species you’ve chosen.
Look for any signs of distress in your plant or any chipping or fading in the whitewash. You can always touch up the whitewash with additional paint to keep it looking its best.
Step 10: Enjoy Your Work
Now that you’ve completed the process take a step back and admire your work. Your newly whitewashed terracotta pot should blend seamlessly with your other decor, indoors or out. And remember, the beauty of this process is in its versatility. Don’t limit yourself to just one pot—feel free to experiment with pots of different shapes and sizes or even try different colors or paint effects.
Following this simple guide, you can whitewash a terracotta pot and give it an aged, rustic charm. With just a few simple steps and minimal supplies, you can quickly transform any terracotta pot into a beautiful decor piece.
5 Additional Tips and Tricks
- To ensure that the terracotta pot is evenly covered with whitewash, dip the entire pot into the mixture.
- If you want to add some texture and depth to your whitewashing project, mix some small pebbles or pieces of broken terracotta with the whitewash mixture before dipping your pot into it.
- If you want to highlight certain areas of the pot, use a brush to paint on the whitewash mixture instead of dipping the entire pot into it.
- To achieve a more rustic look, use a sponge to dab the whitewash onto the terracotta pot and create a mottled effect.
- Once you have completed your whitewashing project, seal the pot with varnish or polyurethane to protect it from water damage and prevent fading. This will also help keep its original color intact for longer.
Happy whitewashing! With these easy tips and tricks, you’ll be able to give a new life to any terracotta pot in no time.
5 Things You Should Avoid
- Avoid using a regular paintbrush to whitewash a terracotta pot, as the bristles can leave behind streaks on the surface.
- Never use any type of metal brush or tool when applying whitewashing material, as it can scratch and damage the terracotta.
- Remember to seal your whitewashed terracotta pot after it has dried, as this will help protect it from the elements.
- Avoid using too much whitewashing material on a terracotta pot, making it look overly saturated and unnatural.
- Never attempt to whitewash an unglazed terracotta pot, as the glaze acts as a seal that prevents the whitewashing material from seeping into the clay.
Avoiding these common mistakes will help you create a beautiful whitewashed terracotta pot that looks and lasts for many years.
What if You Want a More Intense Color?
Consider adding a bit of acrylic paint to the whitewash mixture to achieve a more intense color. While this will not affect the durability of your terracotta pot, it is important to note that the paint may fade over time with exposure to sunlight and other elements.
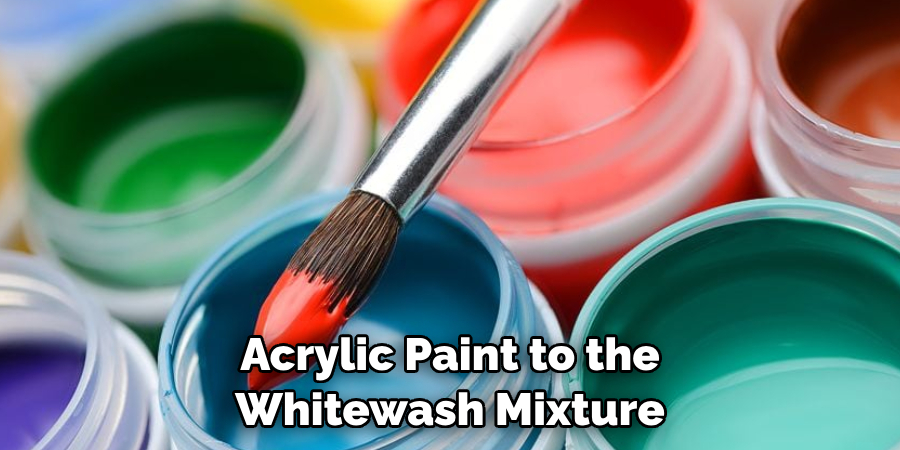
Additionally, seal your painted terracotta pot once it has dried completely to extend its life and ensure the best possible results. Feel free to experiment and create a unique look that reflects your style.
These tips can help you achieve a whitewashing project that looks great and lasts for years to come. Have fun experimenting with different colors, textures, and techniques! With creativity, your terracotta pot can be transformed into something new. Happy whitewashing!
Does Bleach Damage Terracotta?
Using bleach to whitewash a terracotta pot is not recommended, as it can weaken the structure of the clay over time. Additionally, bleach may corrode or damage the surface of the pot, making it more susceptible to cracking or breaking. If you must use a bleaching agent, dilute it with water and ensure that no undiluted bleach comes in contact with the terracotta.
Additionally, it is important to note that bleach can discolor the surface of the pot, so be sure to use it sparingly. For best results and maximum durability, opt for a whitewash mixture that does not contain any harsh chemicals.
Whitewashing a terracotta pot can be an easy and rewarding project, and you can create something beautiful with the right tips and techniques. Have fun experimenting, and remember these helpful reminders for successful whitewashing results!
How Can You Clean a Whitewashed Terracotta Pot?
Cleaning a whitewashed terracotta pot is easy and straightforward. For light cleaning, just use a soft cloth or brush to gently wipe away any dust or dirt that has accumulated on the surface.
If more intensive cleaning is required, you can use warm water with mild soap and scrub the pot with a sponge. Be sure to rinse the terracotta pot thoroughly when you are finished, as soap residue can leave a chalky film on the surface.
Additionally, avoid using any harsh chemicals or abrasive cleaners, as these can damage the whitewashed finish of your terracotta pot. Instead, use natural cleaning solutions like hot water, vinegar, or baking soda. These are effective at removing grime and dirt without damaging your pot’s whitewashed finish.
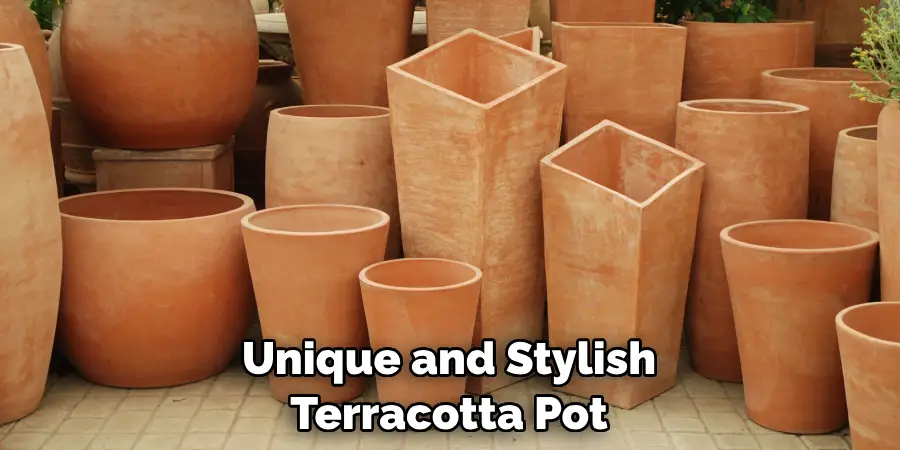
Overall, whitewashing a terracotta pot is an easy and rewarding project, sure to add charm and beauty to any garden or outdoor space.
Conclusion
With just a few simple steps, you can now create a unique and stylish terracotta pot that adds character to your living space. It may seem like an intimidating project for first-timers, but the process is easier than it looks.
Taking the time to find the right materials and layering the coating will make sure your pot lasts for years to come. Plus, you can always bring new life into a plant or decoration when needed by whitewashing it over again! Always use natural and non-toxic whitewash mixtures, and take the time to clean the terracotta pot before starting.
Hopefully, the article on how to whitewash a terracotta pot was helpful and informative. So go ahead – give it a try! Your creative efforts will amaze your friends and family – happy decorating!

