

Are you wondering how to tink knitting? Tink stands for “knit backward,” so tink knitting is the process of un-knitting a row of stitches to fix a mistake. It can be tricky to learn tink knitting, but once you get the hang of it, it will become second nature.
If you love to knit but are feeling frustrated by the same patterns and stitches over and over again, why not try something different? Today I will show you how fun and creative it can be to tuck knitting – a method of creating knitted designs just by using your needles. Tucked knitting is one of my favorite ways to add unique texture and interest to garments, accessories, or items around my home!
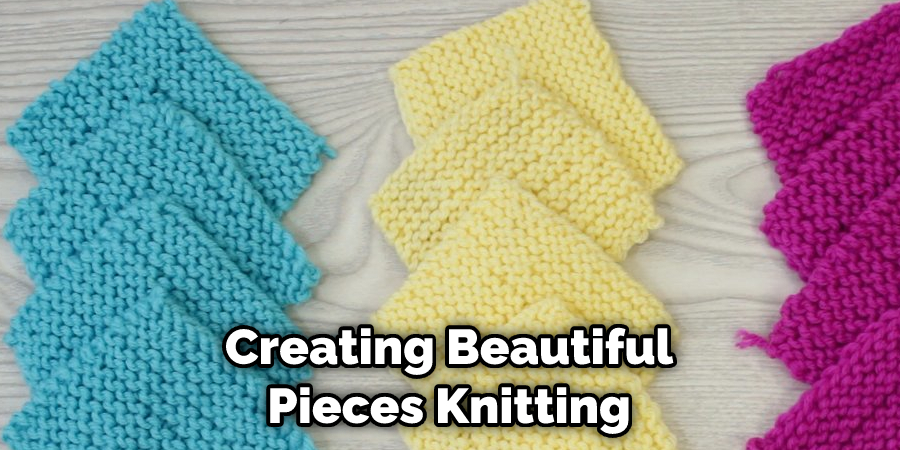
With a few simple techniques that require very little materials or yarn, you’ll be able to create beautiful pieces in no time at all.
What Will You Need?
To get started, you’ll need a few basic materials and tools.
- Knitting needles in the size recommended for your yarn
- Yarn
- Scissors
- Darning needle (optional)
Once you have all the materials ready, it’s time to move on to tink knitting.
10 Easy Steps on How to Tink Knitting
Step 1. Count the Number of Stitches:
When tink knitting, you need to count how many stitches are in the row to know how many to un-knit. You can do this by counting how many loops are on your needle. If you have trouble counting them, you can use a stitch counter tool to keep track.
Step 2. Insert Needle into Stitches:
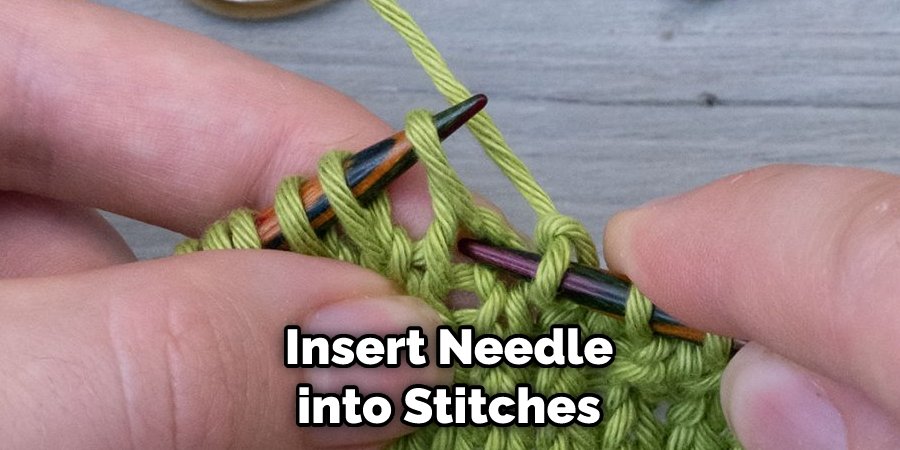
Insert your needle into the top of the stitch that you want to un-knit. Be careful not to pull the stitches off the needle. Because it is knit backward, you will be working from right to left.
Step 3: Un-Knit and Slip Stitch Backwards:
Using your left hand needle, slip the stitch off onto it and carefully pull it back through itself. This should cause the stitch below it to come up on your right hand needle. Slip this stitch onto your left hand needle as well and continue working all the way across until you’ve un-knitted all the stitches in that row.
Step 4: Check for Errors:
Once you’ve un-knitted all the stitches, carefully check to make sure that all the loops are back on your needle and that there are no errors. You can also use a stitch counter to double-check how many stitches are on your needle. If you notice any errors, simply repeat steps 1-3 until they are corrected.
Step 5: Resume Knitting from Wrong Side:
Now that you have successfully tinnked knitting and fixed your mistake, it’s time to resume knitting from the wrong side. Be sure to knit all the stitches loosely, so they don’t pull too tight when finished. Additionally, pay attention to how the stitches look when you’re knitting so that you can easily spot any mistakes.

Step 6: Re-Count Stitches if Necessary:
If needed, re-count how many stitches are now on your needle to make sure that you have the correct amount. This will help to ensure that your knitting project is neat and even. Using stitch markers at the beginning and end of every row is also a good idea to track how many stitches are in each row.
Step 7: Continue Knitting from Right Side:
Once you’ve re-counted how many stitches are on your needle, turn the workaround so that you can now knit from the right side. Again, be sure to knit all the stitches loosely, so they don’t pull too tight when finished. If you find that the stitches are too tight, you may need to un-knit them again and re-count how many stitches are on your needle.
Step 8: Working in Pattern Again:
Continue working in pattern until you reach the spot where you tinked knitting. At this point, it should look as though nothing ever went wrong! Ensure that any previous errors are corrected and that the stitches look as they should.
Step 9: Check for Errors Again:
Once again, carefully check to ensure all the stitches are back in place and there are no errors. If you notice any mistakes, simply repeat steps 1-8 until they are corrected. Don’t forget to use stitch markers at the beginning and end of every row to track how many stitches are in each row.
Step 10: Finish Knitting Your Project as Desired:
Once your knitting is perfect again, go ahead and finish it up as desired! You’ve now successfully tinnked knitting and can go on with your project. Congratulations!
Whether you’re a beginner or an experienced knitter, tink knitting can be a great way to add texture, interest, and creativity to your projects. With just a few simple tools and some basic techniques, you’ll soon be creating beautiful pieces inspired by this unique method of knitting. Happy tinking!
5 Additional Tips and Tricks
- To make sure you get the correct number of stitches when tinkering, count how many stitches were in the row before tinking and how many are after to make sure they match.
- To ensure the stitches look neat, try tinkering each stitch individually back to the correct loop rather than tinking an entire row in one go.
- Practice thinking on a swatch or scrap of knitting first so that you get familiar with how it works before trying it on an important project.
- Marking the wrong side of your work makes it easier to follow the pattern and ensures you are tinking in the right direction when correcting mistakes.
- If you’re using a pattern repeat – such as a lace or cable section – consider keeping a lifeline in place so if you do make any errors, it’s easy to rip back without having to tink the whole section. This will save you a lot of time and frustration.
Tinking knitting is an important skill for experienced and novice knitters alike. It’s essential for correcting mistakes quickly and accurately, helping you maintain your knitting project without too much disruption or wasted yarn. Following these tips can help make sure you get the most out of tinking each time you use it!
5 Things You Should Avoid
- Don’t tuck too quickly, as it can lead to mistakes or incorrect stitches.
- Don’t tug on the yarn. This will cause your knitting to become distorted and make it difficult to fix errors in your work.
- Don’t use a circular needle for tink knitting because this increases the chance of your stitches getting caught in the loop.
- Don’t rush tink knitting because it can lead to errors and frustration when trying to fix them.
- Don’t forget to check your work after tinking as there may be some mistakes that you didn’t catch while doing the process. Taking a quick glance over your work can help save time and energy in the long run.
Learning how to tuck knit correctly is an important skill for any knitter, but even more so if you want to create quality pieces of clothing or homeware items with flawless textures and patterns. To get the best out of tink knitting, make sure you avoid these common pitfalls! With some practice and patience, you will be able to achieve beautiful and intricate designs with ease.

What is the Difference Between Frogging and Tinking?
Frogging and tinking are actually two different techniques that can be used in knitting to correct mistakes. While frogging involves completely ripping a row of stitches out, tinking takes each stitch individually backward to its previous location. This makes finding and fixing the mistake easier without having to start over again.
Frogging is usually best for bigger mistakes or when you want to completely undo an entire section of knitting, while tink knitting is better suited for smaller corrections. In addition, with tink knitting, you can more easily preserve any intricate patterns or textures that were previously created.
When it comes to how to tink knit correctly, it’s important to remember that practice makes perfect! With patience, consistency, and a few tips outlined above, you’ll soon be tinking like a pro!
Conclusion
In conclusion, learning to knit can be an enjoyable yet sometimes intimidating experience. Taking the time to learn the techniques involved properly is one of the key elements for success. An important step for beginners is understanding the basic tools and equipment, then carefully experimenting with stitches and needle sizes to get a feel for the craft. However knitting may seem like a complicated activity from the outside, but with some practice, it quickly becomes second nature.
Furthermore, taking advantage of available resources such as books, tutorials, and even community classes is another great way to become proficient in knitting and make sure you’re heading in the right direction. With hard work and patience, anyone can become a knitting expert who can proudly show off their homemade garments!
Hopefully, the article on how to tink knitting has given you a better understanding of how to perform this useful technique correctly. Thanks for reading, and happy knitting!