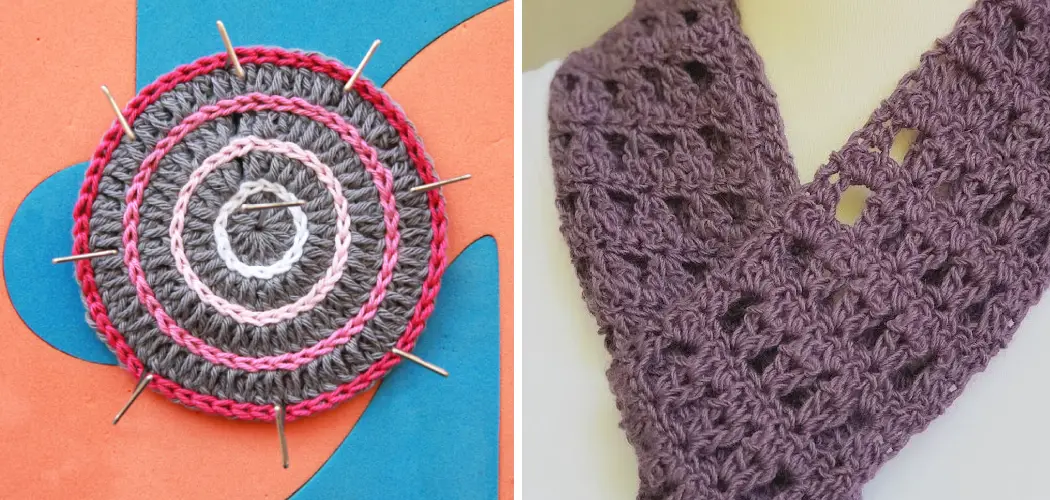
Welcome to the world of crochet! Whether you’re a seasoned veteran or just starting out, there’s no denying the joy of creating beautiful and intricate pieces using just a hook and some yarn. But one aspect of crochet that can often leave us scratching our heads is how to properly finish our projects, particularly when it comes to blocking.
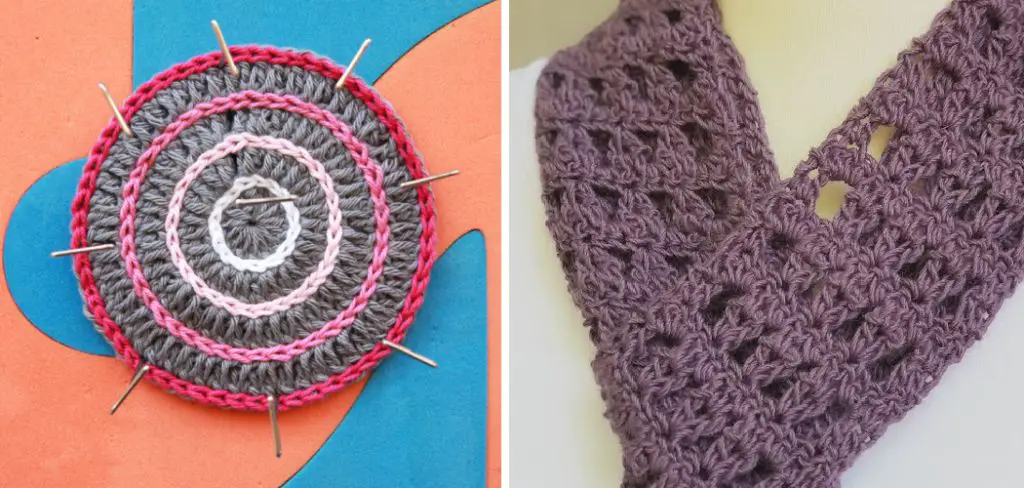
Steam blocking is used to shape and set crochet items in place, giving them a professional and polished look.
In this blog post, we’ll dive deep into the world of steaming blocking for crochet pieces, exploring why it’s an essential step, and providing you with a step-by-step guide on how to steam block crochet. So grab your favorite crochet project and get ready to elevate your skills to a whole new level!
What Will You Need?
Before we jump into the steam-blocking process, let’s ensure you have all the necessary tools on hand. Here’s a quick list of what you’ll need:
- Your finished crochet piece
- A steamer or iron with a steaming function
- An ironing board or towel to protect your surfaces
- Pins (blocking pins are preferred, but regular sewing pins will also work)
- A spray bottle filled with water
- A ruler or measuring tape (optional but helpful for precise measurements)
Why Steam Block Crochet?
So why is steam blocking so crucial in the world of crochet? Here are a few reasons:
- Creates a Professional Finish: With steam blocking, you can smooth out any uneven or lumpy areas in your crochet piece, giving it a polished and professional look.
- Shapes and Sets Your Piece: Crochet items often need to be shaped and set in place to achieve the desired size and appearance. Steam blocking allows you to do this without damaging the fibers or distorting the design.
- Improves Drape and Texture: Some yarns can feel stiff or scratchy after cropping. Steam blocking can help soften the fibers and improve the drape and texture of your finished piece.
- Fixes Mistakes: Did you make a mistake while crocheting? No problem! With steam blocking, you can often fix minor mistakes by stretching or reshaping the affected area.
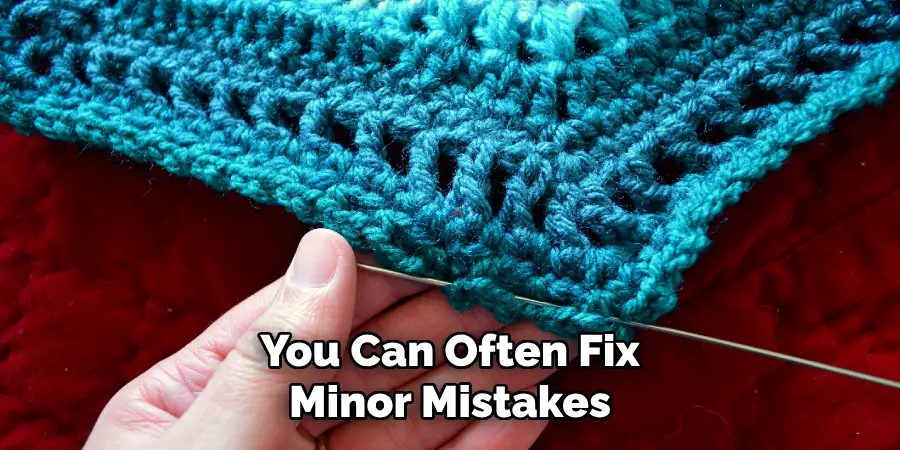
These are just a few reasons steam blocking is essential in the crochet process. Now let’s move on to the steps of steam block crochet.
9 Easy Steps on How to Steam Block Crochet
Step 1. Gather Materials
Before beginning the process of steam blocking crochet, you will need to gather a few supplies. You will need a blocking board or mat, several T-pins, and an iron with a steaming setting. If your iron does not have a steaming setting, you can use an inexpensive hand-held steamer instead. Additionally, you should have some measuring tape to ensure your project is blocked to the correct size.
Step 2. Pin Your Project
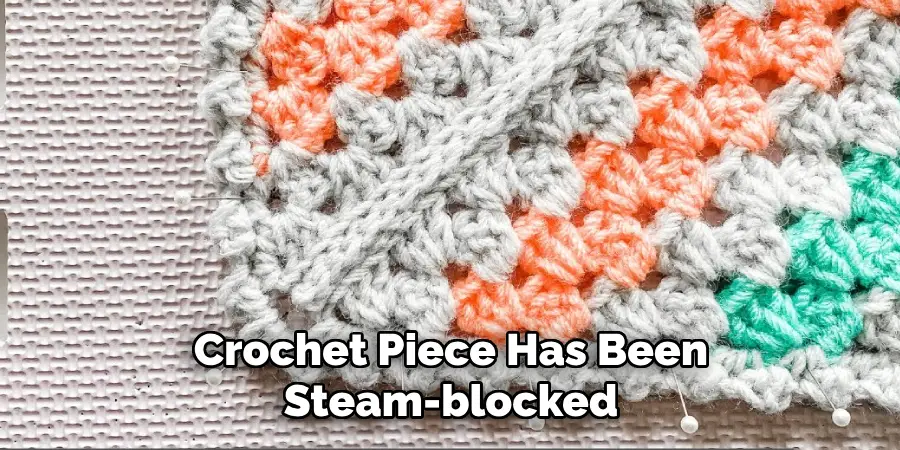
Once you have gathered all your materials, it’s time to start pinning your project onto the blocking board or mat. Start by laying out your project on the blocking board and then use the T-pins to secure it. Make sure that each piece is pinned securely so that it doesn’t move when steaming it.
Step 3. Prepare the Steamer
Now, it’s time to prepare your steamer or iron. Fill the water reservoir of your steamer or iron, ensuring you follow the manufacturer’s instructions. If you’re using an iron, set it to the highest steam setting. Let it heat up for some time until it starts producing steam. Be cautious when handling the steamer or iron, as it can get boiling.
Step 4. Steam Your Project
Once your steamer or iron is ready, it’s time to steam your project. Hold the steamer or iron a few inches above the project, ensuring you don’t touch the project with the steamer or iron to avoid scorching or damaging the yarn.
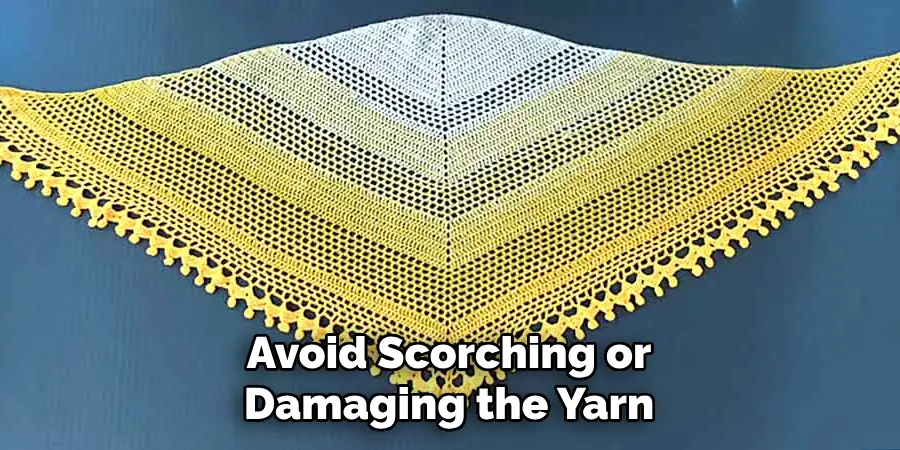
Start at one end of your project and slowly move across the entire project, allowing the steam to penetrate through the wool. Make sure every part of the project gets an equal amount of steam. Remember to keep your hands safe and avoid touching the hot steam.
Step 5. Let Your Project Cool Down
After the steam blocking process, it’s crucial to let your crochet project cool down and dry thoroughly. The cooling process will help the fibers to set in their new shape. During this time, avoid touching your project or removing the pins. This could cause the crochet piece to lose its new form before it can set.
Depending on the thickness of the yarn and the size of your project, the cooling and drying time may vary, typically ranging from a few hours to a full day. Make sure your project is fully dry before moving on to the next step.
Step 6. Unpin and Evaluate Your Project
Once your crochet piece has dried completely, it’s time to unpin it from the blocking board or mat. Be gentle when pulling out the pins to avoid harming the fibers. After your project is free, take some time to evaluate the results of the steam blocking process. Your crochet piece should look more even and professional, and any errors may have been rectified.
If you notice any areas needing further adjustment, repeat the steam blocking process until you achieve the desired appearance. Once satisfied with the result, your steam-blocked crochet piece is ready to be enjoyed or gifted!
Step 7. Care and Maintenance
After completing the entire process of steam blocking, it is vital to know how to maintain the shape and quality of your crochet piece. When cleaning, hand-washing your steam-blocked crochet items gently with a mild detergent in cold water is best. Aggressive washing, high temperatures, or a heavy spin can undo the blocking process and distort the shape of your piece.
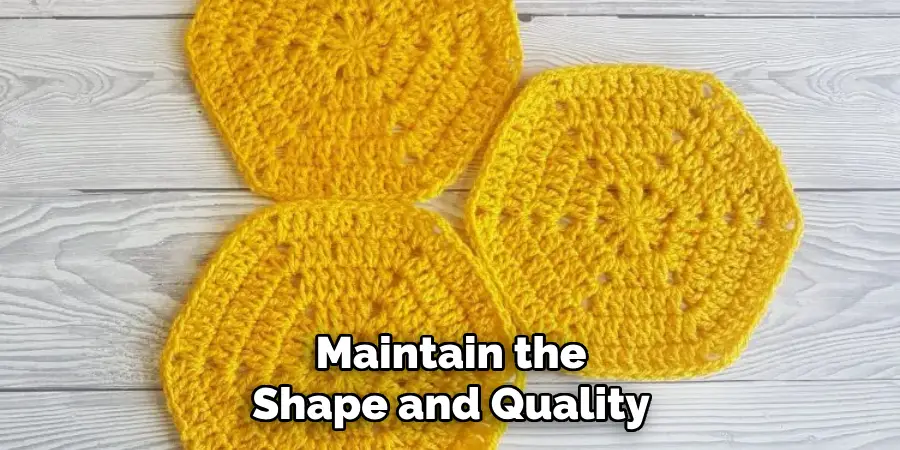
After washing, blot out the excess water with a towel, reshape it if necessary, and then allow it to dry flat. If your piece gets wrinkled or out of shape with use, you can repeat the steam blocking process to restore it to its original form. This way, you can ensure your crochet pieces will look their best for years.
Step 8. Re-Blocking
Over time, your crochet piece might lose shape due to use, cleaning, or storage. If this happens, don’t worry! You can restore its original form through re-blocking. Simply follow the process of steam blocking crochet as laid down in Steps 1 to 7. Remember to be gentle during the washing and pinning process.
Re-blocking can rejuvenate the fibers, correct distortions, and renew the professional finish of your crochet item. Just remember care and patience are vital to maintaining the beauty and longevity of your crochet pieces.
Step 9. Storing Your Crochet Pieces
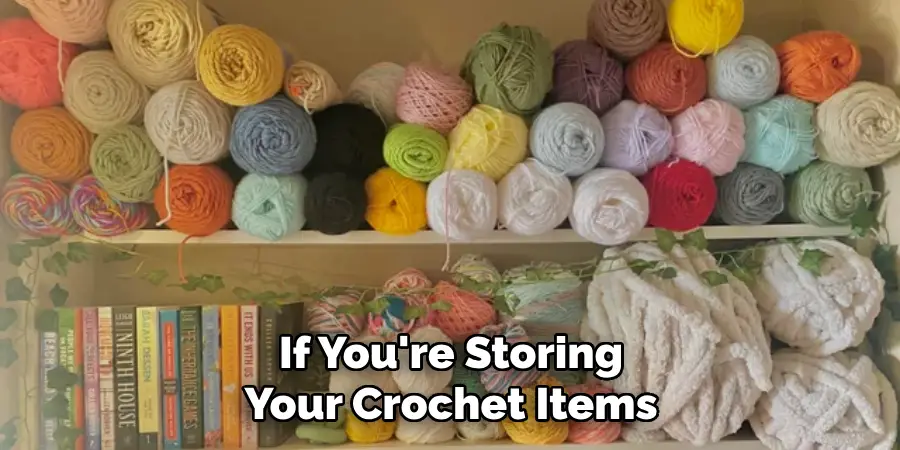
Proper storage of your crochet pieces is essential to maintaining their shape and quality. Store your crochet items in a cool, dry place away from sunlight, as sun exposure can cause colors to fade and fibers to degrade over time. Lay the pieces flat in a drawer or on a shelf. Consider rolling them instead of folding them to avoid creases for items like scarves or shawls.
If you’re storing your crochet items for an extended period, consider adding sachets of lavender or cedar chips to repel moths and other pests that could damage the fibers. Remember never to hang your crochet items, which can stretch the fibers and distort the shape.
With these tips, you can ensure that your crochet pieces stay in top shape for years. Now it’s time to put your newfound knowledge into practice and start steam-blocking your beautiful crochet projects!
5 Additional Tips and Tricks
- Use a Pressing Cloth: While steam blocking your crochet, it’s advisable to use a pressing cloth between the iron and your work to prevent accidental scorching of the yarn.
- Check Yarn Labels: Always check the labels on your yarn to ensure they are steam-block friendly. Some synthetic materials can melt under high temperatures.
- Consistent Strokes: Maintain slow, consistent strokes with your iron to ensure even steam distribution across the entire piece of work.
- Let it Dry: After steam blocking, allow your crochet work to dry thoroughly before moving or using it. This helps the fibers to settle in their newly shaped form.
- Pin it Down: If your work is curling up, use rust-resistant pins to hold it down on the blocking board while you apply steam. This will help maintain the desired shape.
By following these additional tips and tricks, you can ensure a successful steam blocking process for your crochet projects.
5 Things You Should Avoid
- Avoid Rushing: Steam blocking is a process that requires patience. Do not rush through the process, especially during the cooling and drying phases. Your crochet piece needs ample time to set in its new shape.
- Avoid Touching the Hot Steam: Remember to keep your hands safe while steaming. The steam from the iron or steamer can be scalding, and touching it can cause burns.
- Avoid Using Pins that Rust: Always use rust-resistant pins when pinning your crochet work. Rusty pins can leave unsightly stains on your work that are difficult, if possible, to remove.
- Avoid Using the Wrong Yarn: Always check the yarn label before beginning the steam blocking. Not all yarns are suitable for steam blocking. Some synthetic fibers can melt under the high temperatures produced by steaming.
- Avoid Storing in Direct Sunlight: After your crochet piece has been steam-blocked, avoid storing it in direct sunlight, which can cause colors to fade and fibers to deteriorate. Always store your work in a cool, dry place away from sunlight.
By avoiding these common mistakes, you can ensure that your steam blocking process is successful and your crochet pieces are cared for properly.
Conclusion
In conclusion, learning how to steam block crochet can bring out the natural texture of your yarn and show off intricate stitch patterns that wouldn’t otherwise have much definition. With a few simple steps, you can recover the shape of your piece and give it a professional appearance with minimal effort. It doesn’t take much time or sophistication to master blocking, either.
All it takes is some pins, steam, and patience. So if you want to get the most out of your crocheting projects, start incorporating steam blocking into your routine today!
Thank you for joining me as we discovered how to take our crochet projects to the next level with the excellent finishing technique of steaming blocking.
You Can Check It Out to Block a Crochet Square

