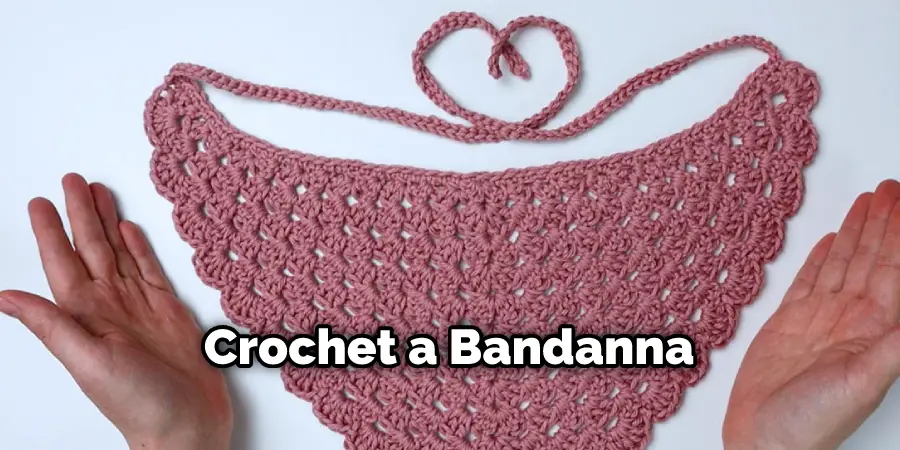
Are you looking for a creative and fun way to add style and charm to your wardrobe? Look no further than crocheting your very own bandana! With just some basic crochet knowledge, a few supplies, and a bit of patience, you can easily learn how to make an attractive-looking bandana that is sure to turn heads.
Whether you just want something unique or are looking for the perfect gift idea, this guide will provide step-by-step instructions on how to crochet a bandana. Keep reading if you want to learn more about the process so you can start crafting one of these eye-catching accessories in no time!
What Is the Best Yarn for Crochet Bandana?
For a crochet bandana, your best bet is to use worsted-weight yarn. Worsted-weight yarn is a medium-weight yarn with excellent drape and stitch definition. It’s perfect for creating lightweight garments like bandanas because they won’t feel too bulky around the neckline. You can choose from natural fibers like wool or cotton or synthetic fibers like acrylic. Each will have a slightly different feel and look, so pick the one that best suits your needs! If you’re looking for something extra special, try using a blend of natural and synthetic fibers to get the best of both worlds.
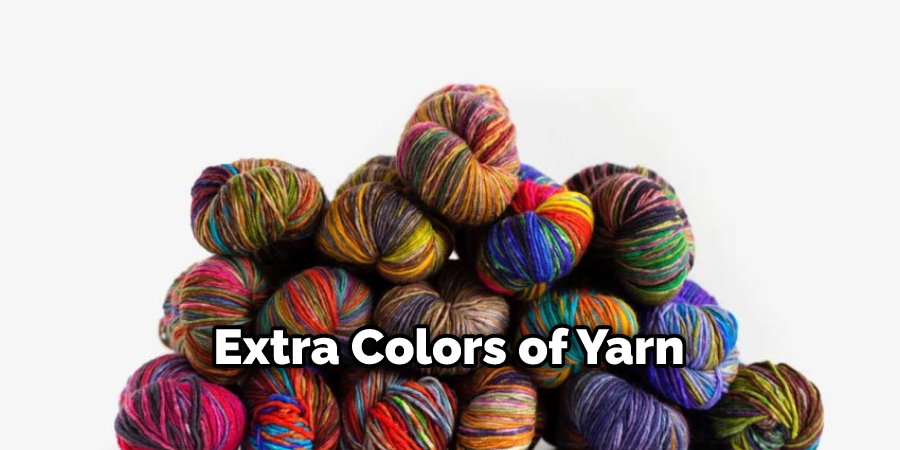
When it comes to colors, go wild! You can choose from solids, heathers, bright colors, or muted pastels. The best part about crochet is that you have complete control over the pattern and colors that make your bandana unique. If you’re looking for a more subtle look, choose solid colors in neutral tones like cream or black. For something with a bit more flair, opt for brighter colors or a mix of colors to create an eye-catching design.
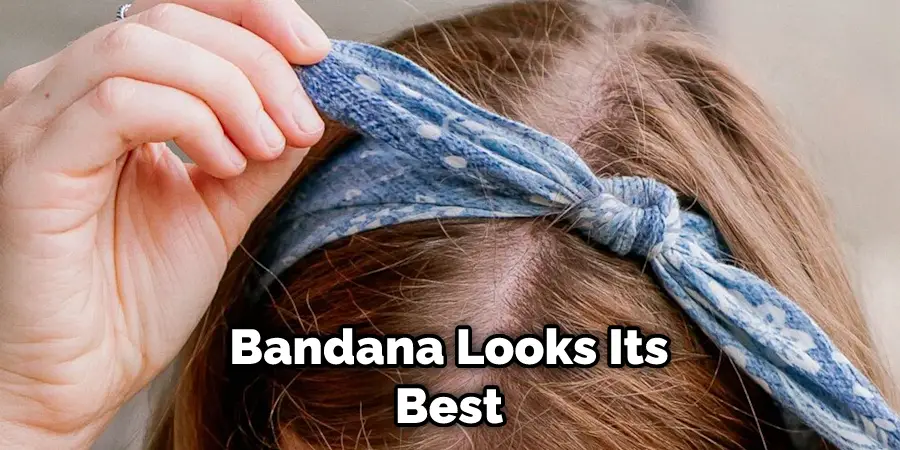
No matter what yarn you choose, make sure that it is the correct weight for your project. Check the label before you buy, and be sure to follow all washing instructions so that your bandana looks its best for years to come! And, most importantly, have fun with it! With a little creativity and patience, you’ll soon be the proud owner of a beautiful crochet bandana.
10 Methods How to Crochet a Bandana
1. Choose the Right Yarn
The first step in learning to crochet a bandana is to choose the right yarn. You’ll want to use a worsted-weight yarn that is 100% cotton. This type of yarn is durable and will hold its shape well. It’s also important to choose a yarn that is machine washable, as you’ll likely be washing your bandana frequently.
If you plan to use the bandana outdoors, it’s best to select a yarn that is weather-resistant and won’t fade or fray over time. Make sure to purchase enough yarn for your project; you may need several balls of yarn, depending on the size of your bandana.
2. Choose the Right Hook
The second step in learning to crochet a bandana is to choose the right hook. You’ll want to use a size H (5 mm) crochet hook. This size hook will create a nice, tight stitch that will hold the shape of your bandana well.
Once you’ve selected the right hook, it’s time to gather your supplies. If you don’t already have the necessary materials, you can easily find them at your local craft store. While you’re there, you may want to pick up a few extra colors of yarn in case you decide to add some embellishments or change the color of your bandana.
3. Crochet a Foundation Chain
The third step in learning how to crochet a bandana is to crochet a foundation chain. To do this, simply make a slip knot on your hook and then chain 24 stitches. Once you have 24 stitches on your hook, cut the yarn, leaving a long tail for sewing the bandana together later. Make sure that the chain is not too loose or too tight; it should have a nice, even tension throughout.
If you need to, you can use stitch markers to separate the stitches. After you have completed your foundation chain, it’s time to start crocheting the bandana itself. Although the method may vary based on the pattern you are using, most bandana patterns will require you to chain a single row around the entire circumference of the foundation chain.
You will then move on to the pattern’s next step, which is usually to single crochet in each stitch all the way around the foundation chain. If you are using a pattern that has multiple rounds, be sure to follow the instructions exactly as they appear in order to get the desired look for your bandana.
4. Single Crochet in Each Stitch
The fourth step in learning to crochet a bandana is to single crochet in each stitch across the foundation chain. To do this, insert your hook into the first stitch, yarn over, and pull up a loop. Then, yarn over and pull through both loops on your hook to complete the single crochet stitch. Repeat this process across the entire foundation chain until you have 24 single crochet stitches. Then, chain one and turn your work.
5. Chain 1 and Turn
The fifth step in learning to crochet a bandana is to chain one and turn. This will create a nice turning point for crocheting the rest of the bandana. After chaining one, turn your work and begin to crochet rows. Although it is not necessary to count these chains, it can be helpful to do so in order to keep track of your progress.
Continue crocheting until your desired bandana length is reached. To get a perfect size, measure the width of your head and add a few inches to that measurement for a comfortable and flattering fit.
6. Single Crochet in Each Stitch Across
The sixth step in learning to crochet a bandana is to single crochet in each stitch across the row. To do this, simply insert your hook into each stitch and complete a single crochet stitch as before. When you reach the end of the row, cut the yarn and leave a long tail for sewing the bandana together later.
After this, turn in your work and begin the next row. Although it may seem like a lot of work, the finished product is definitely worth it. With practice, you’ll find that crocheting a bandana is a fun and rewarding experience.
7. Repeat Rows 4-6 Until Bandana Measures 22” Long
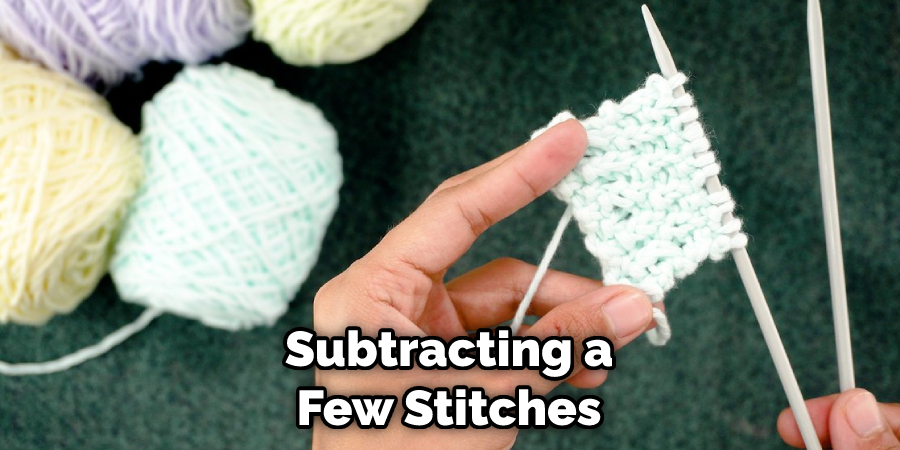
The seventh step in learning how to crochet a bandana is to repeat rows 4-6 until your bandana measures 22” long. This will ensure that your bandana is the perfect size for wearing around your neck or head. If the bandana measures too much less or more, you can always adjust by adding or subtracting a few stitches in each row. Once your bandana is the right size, it’s time to finish the edges. Make sure to count the stitches in each row to make sure they are consistent.
8. Sew Bandana Together Using the Tail Ends
The eighth step in learning to crochet a bandana is to sew it together using the tail ends from rows 4 and 6. To do this, simply thread one of the tail ends through a tapestry needle and sew it along one side of the bandana. Then, repeat with the other tail end on the other side of the bandana. Be sure to sew it securely so that it doesn’t come undone.
9. Weave in Any Remaining Ends
Once your bandana is complete, make sure to weave in any remaining yarn ends. To do this, thread the end of the yarn onto a yarn needle and weave it in and out of the back loops of the stitches. This will help to keep your work secure, as well as make sure that there are no loose ends for you or anyone else to get caught on. Once you have woven in all the ends, give your bandana a final trim, and then it is ready to be worn!
10. Enjoy Your New Bandanna!
The tenth and final step in learning how to crochet a bandanna is simply to enjoy it! Whether you wear it around your neck or head or use it as part of another project, your new bandanna will be sure to add some personality and style. With its unique shape and design, you can be sure that your bandanna will stand out from the crowd. So go ahead and show off your finished project – you deserve it!
Conclusion
Now that you know how to crochet a bandana, get out there and show off your skills! Whether you make one for yourself or give them as a gift, handcrafted items always have a special meaning. And who knows, maybe crocheting will become one of your new favorite hobbies. Thanks for reading, and happy crocheting!

