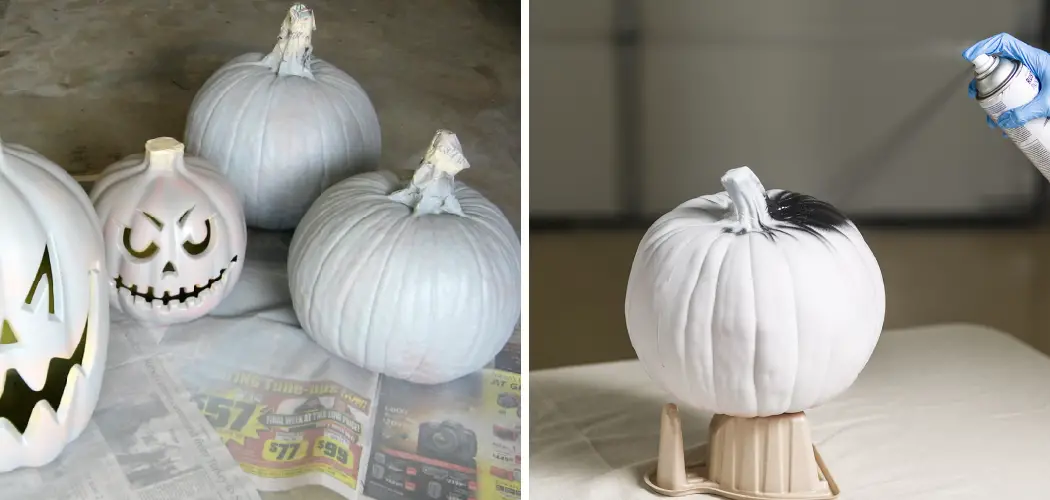
Pumpkin season isn’t just about carving ghoulish grins; it’s a time for creativity and personal flair! For a twist on traditional orange, spray-painting pumpkins, a crisp white offers a modern, chic aesthetic fitting for the season. Whether you’re prepping for a haunting Halloween bash or looking to elevate your autumnal decor, learning how to spray paint pumpkins white could be just what you need to make your display pop.
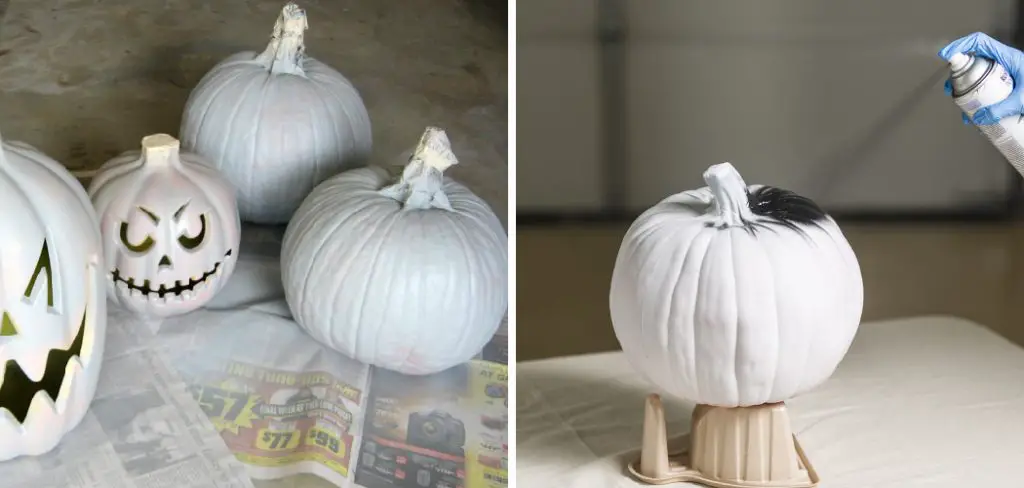
Here’s a step-by-step guide to turning ordinary pumpkins into stunning, ghostly masterpieces.
Can You Spray Paint Pumpkins White?
The answer is an enthusiastic ‘Yes.’ Spray painting pumpkins is a fantastic way to transform their look completely. From bright orange to an ethereal white, your pumpkins can now match the elegance of your interior decor. It’s also on-trend, with a white pumpkin being a popular sight in modern decorating schemes.
Why Should You Spray Paint Pumpkins White?
There are several compelling reasons why you might want to opt for this method of pumpkin decoration:
Aesthetic Appeal
White spray-painted pumpkins offer a clean, modern look that blends seamlessly into any space. Unlike their traditional orange counterparts, white pumpkins can be the canvas for various creative designs and embellishments, all thanks to a layer or two of paint.
Versatility
White pumpkins can be decorated in many ways, making them versatile for any event or design style. Halloween party? Combine them with black for a timeless feel. Casual fall gathering? Pair them with earth tones for a cozy vibe.
Durability
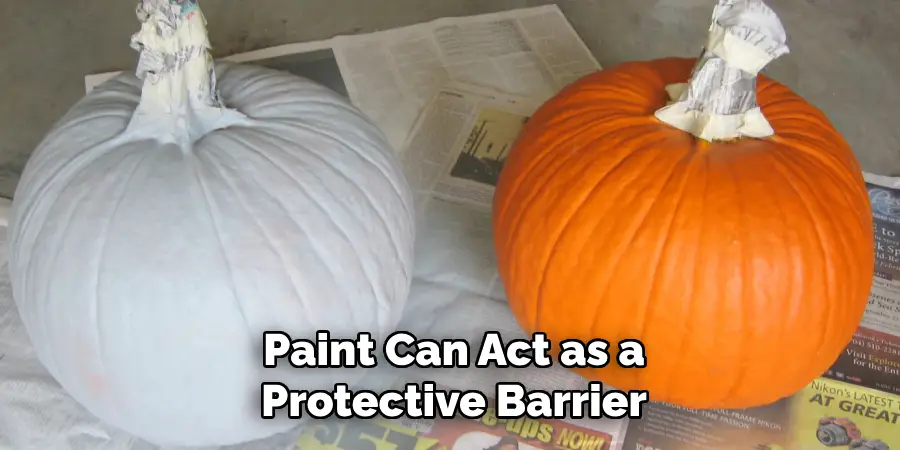
A layer of white spray paint looks good and helps preserve your pumpkins. The paint can act as a protective barrier, helping to extend the life of your pumpkins well beyond the holiday season.
Now that you’re convinced let’s dive into the nitty-gritty of spray-painting pumpkins white.
Materials
Before you can begin your pumpkin transformation, you’ll need to gather a few key supplies:
- Pumpkins: Select smooth surfaces with no blemishes for the best results.
- White Spray Paint: Pick a type suitable for the material of your pumpkins—acrylic-based for foam pumpkins and enamel for real ones.
- Primer: While not essential, this can provide a more even base for the paint to adhere to, especially on real pumpkins.
- Drop Cloths or Cardboard: Protect your work area from stray paint.
- Painter’s Tape: Cover the stem if you want to keep it unpainted or create designs.
- Gloves and a Mask: Protect yourself from paint fumes and particles.
- Clear Sealant Spray: Optional but adds extra protection and can give the pumpkins a shiny finish.
Preparation
Choosing Your Pumpkins
Consider the purpose of your decorating. Different shapes and sizes can evoke different feelings and designs.
Cleaning
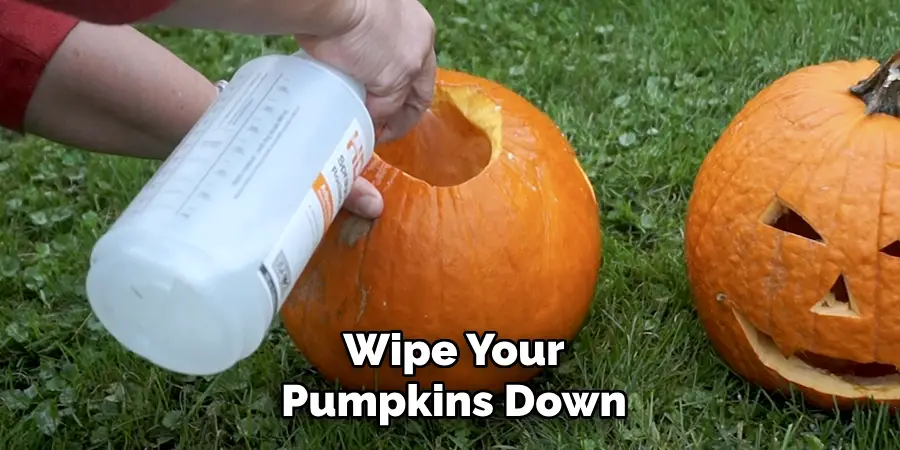
Dirt and debris can hinder the paint job. Wipe your pumpkins down with a damp cloth and let them dry thoroughly before painting.
Sourcing a Good Spot
A well-ventilated area is essential. Consider the wind when planning your spot, and if in doubt, inside a large box or garage can help prevent the wind from distorting your spray pattern.
A Step-by-Step Guide on How to Spray Paint Pumpkins White
Follow this simple list to transform ordinary pumpkins into elegant decor pieces.
1. Gather the Materials
Ensure you have all the supplies listed above before spray-painting your pumpkins. Having everything prepared beforehand will make the process much smoother.
2. Prepare the Workspace
Avoid paint splatters on your surfaces by laying down drop cloths or cardboard. Plan your spray painting in a well-ventilated area to ensure proper air quality. Use painter’s tape to mask off any parts of the pumpkins you want to keep free of paint.
3. Clean and Prime the Pumpkins
A dirty surface can ruin your paint job, so clean each pumpkin with a damp cloth. Dust and moisture can also affect the way the paint sticks, so apply a thin layer of primer to help the white paint adhere.
4. Spray Paint the Pumpkins
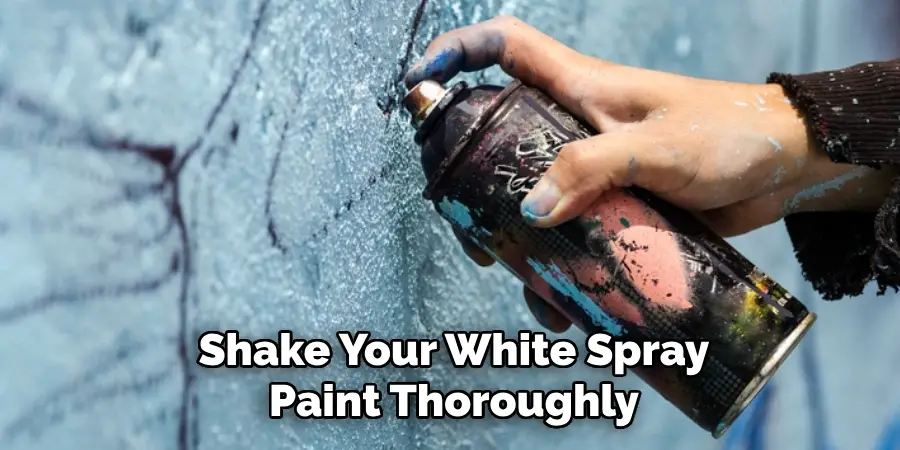
Shake your white spray paint thoroughly for a couple of minutes to ensure a consistent color. Hold the can approximately 6-8 inches from the pumpkin and apply a light, even coat, moving the can in a steady back-and-forth motion. Do this until all pumpkins are fully coated.
5. Allow the Paint to Dry
Let the pumpkins dry as per the instructions on your spray paint. Make sure they are sitting on a protected surface as the paint cures. This patience will prevent marks or nicks as you handle your pumpkins later on.
6. Add Additional Coats if Needed
If you notice any areas with less coverage, don’t worry. Apply another coat in the same manner to achieve the desired white hue. Repeat this until the pumpkins are uniformly white.
7. Remove Painter’s Tape and Clean Up
Once the pumpkins are dry to the touch, gently remove the painter’s tape to reveal smooth edges. If there are any paint drips or unwanted marks, use a damp cloth or paint thinner to clean up before the paint fully cures.
8. Display Your Beautifully Spray Painted Pumpkins
With the pumpkins painted white and ready for display, arrange them on your porch, entryway, or table. They make perfect centerpieces or surrounding pieces for other autumnal decor. Now, step back and bask in the glow of your beautifully white pumpkins!
5 Considerations When Painting Pumpkins White
- Timing: Consider the weather. Painting indoors or on a calm day can prevent rogue leaves and dust from ruining your finish.
- Technique: Always keep the can moving. Approach with a gentle, side-to-side sweep for each pass. Overlapping strokes slightly ensures full coverage and avoids missing spots.
- Coats: It’s better to have several thin coats than one thick one, which can lead to dripping and longer drying times.
- Resting: Ensure each coat is fully dry before applying the next. This helps avoid uneven texture and color.
- Cleanup: If you’ve accidentally sprayed your gloves, use mineral spirits or rubbing alcohol to clean your fingers without smudging the paint job.
Benefits of Spray Painting Pumpkins White
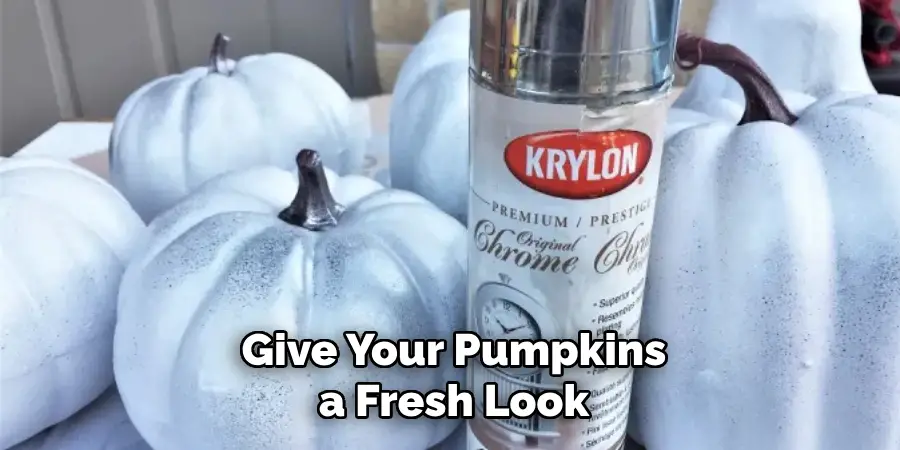
- Easy: Spray painting is a straightforward way to give your pumpkins a fresh look.
- Custom: You can control the depth of color and coverage, allowing you to create unique, personalized pumpkins.
- Quick: The drying time between coats is relatively short, allowing you to complete this project in a day.
- Professional Finish: Unlike hand-painting, spray paint can give pumpkins a smooth, professional-looking finish that’s hard to replicate with brush and paint alone.
3 Common Mistakes When Spray Painting Pumpkins White
If you want to turn your fall decor into a snowy wonderland, spray painting pumpkins white can be inspiring. However, like any craft, it comes with its potential pitfalls. Here are three mistakes to avoid for a successful, ghostly transformation.
1. Skipping the Primer
You’ve got to prime for success! If you dive straight into painting without priming, you’re setting yourself up for disappointment. A primer offers a smooth, absorbent surface that allows your paint to adhere evenly. Try a white spray primer for the best base for your white paint, and ensure you cover the pumpkin thoroughly. Without a primer, you’ll likely end up with an uneven, splotchy finish—definitely not the ghostly grace you’re aiming for.
2. The Wrong White
Not all white paints are created equal. Using interior paint instead of one designed for exteriors can be a huge mistake. Exterior spray paints are formulated to withstand temperature changes, like those between the warm autumn days and cool nights. These temperature-fluctuation-friendly paints will help prevent cracking, extending the life of your pumpkin decor beyond Halloween.
3. Impatience with Drying
“Weather” to paint or not to paint—the drying process is essential to your pumpkin makeover. If you’re too eager to layer on that luminous white, you’ll end up with a sticky mess. Patience is key; allow each coat of paint to dry thoroughly before applying the next. This is especially important for the final coat, as smudges or fingerprints can become permanent with improper handling. Always check the paint’s instructions for recommended drying times to avoid a hauntingly hasty result.
You’re on your way to a successful DIY pumpkin painting project by steering clear of these common missteps. Remember, a thoughtful approach, selection of the right materials, and a touch of patience can turn an orange gourd into a beautiful, ghostly sight.
Conclusion
Spray painting pumpkins white can be a fun and easy way to add a touch of glamour to your fall festivities. It’s a project that can be as simple or intricate as you like, providing a base for many creative ideas. So grab your pumpkins, paint, and imagination, and get ready to impress with your personalized pumpkin art.
Remember, with spray painting, less is often more, but there’s always room for your unique artistic vision. Thanks for reading our post about how to spray paint pumpkins white. Enjoy the transformation and the impact it brings to your seasonal decor!
You Can Check It Out To Decorate a Foam Pumpkin

