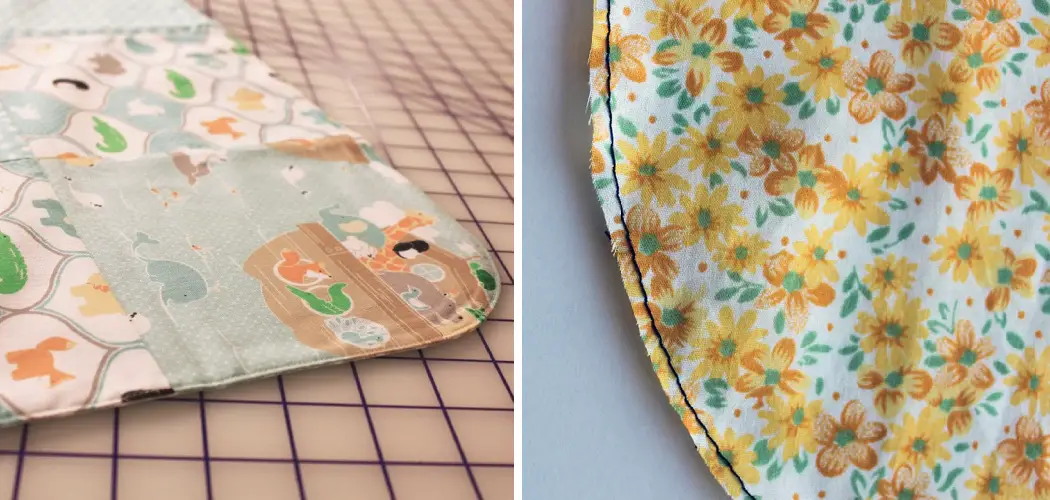
Are you looking for a way to perfect your sewing skills? If so, learning to sew rounded corners is an essential step. Rounded corners add a professional touch to any project and are easy to learn.
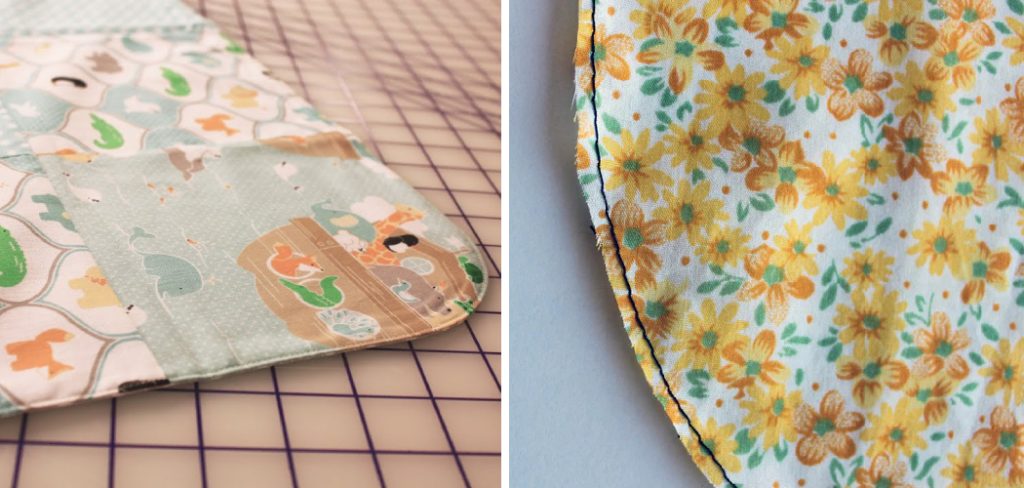
Knowing how to sew rounded corners can be a great skill for any sewer level. With the right tools and techniques, you can easily create neat edges that will give your sewn projects a professional touch. Whether creating pillows, bags, skirts, or window treatments, learning to sew rounded corners will help elevate your work from amateur to expert!
In this blog post, we’ll discuss why it’s important to use these techniques when sewing rounded fabric pieces together and provide simple instructions on how to complete this seemingly tricky task easily. Join us as we explore the world of sewing rounded corners!
What Will You Need?
Before you begin, you’ll need to gather the necessary tools and materials.
For this project, you will need:
- Fabric
- Thread
- Pins
- Sewing machine or needle and thread
- Tailor’s chalk (optional)
Now that you have your supplies let’s get started!
10 Easy Steps on How to Sew Rounded Corners
Step 1. Gather the Fabric Pieces:
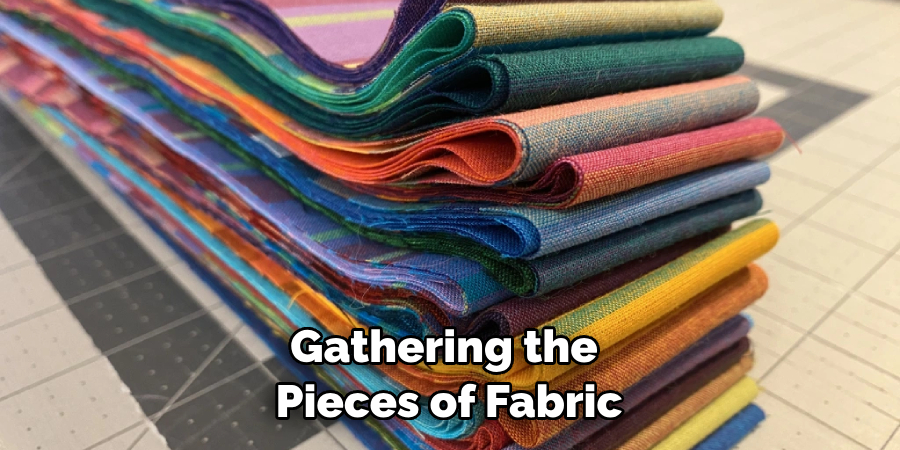
Start by gathering the pieces of fabric you’ll be sewing together. Ensure that all the edges are even and free from loose threads or imperfections. If necessary, trim any errant strings. It is important to have all the pieces of fabric in the correct order so that you can easily sew them together.
Step 2. Position the Fabric:
Position the two pieces of fabric right sides together so they overlap each other for at least ½ an inch on either side of the corner. If necessary, use pins to keep them in place. You can also use tailor’s chalk to mark where the corner should be folded.
Step 3. Mark and Cut Along Curved Line:
Use the tailor’s chalk (or a fabric marker) to draw a curved line along the edge of the corner, making sure that it is long enough to cover both pieces of fabric evenly when cut along this line. Then, carefully cut along the line you have drawn using sharp scissors. If necessary, use pins to keep the pieces of fabric in place.
Step 4. Pin Along Curved Edge:
Once the two pieces of fabric are cut, pin them along the curved edge, ensuring they remain right sides together and aligned as closely as possible. Try to space the pins along the edge evenly. Additionally, make sure that the pins don’t obstruct your sewing path.
Step 5. Sew Along Curved Line:
Using your sewing machine or needle and thread, stitch along the pinned curved edge, being sure to sew slowly and carefully until completed. Using a machine, use a zigzag stitch for extra strength in the seam. Another great way to finish the seam is by using a serger.
Step 6. Trim Seam Allowance:
Trim away any excess fabric from around the outside edges of the seam allowance (the space between where you’ve sewed and the edge of the fabric). Be careful not to trim too close, or else you risk weakening the seam. Otherwise, leave about a ¼ inch of seam allowance to ensure strength and stability.
Step 7. Turn Right Side Out:
Carefully turn your project right side out to see the neat rounded corner. Ensure that the edges are even and there are no loose threads. Use a blunt object such as a chopstick to push out any corners that may have gotten stuck carefully.
Step 8. Press Seam:
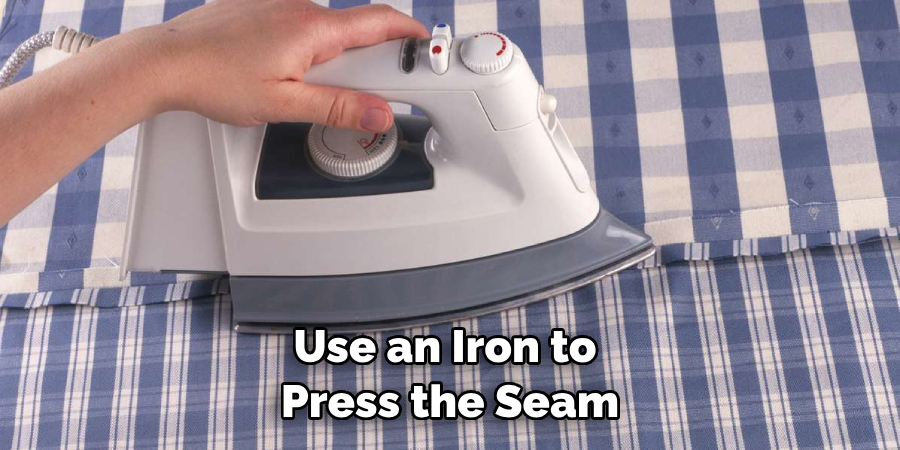
Use an iron to press the seam open and flat, ensuring it is smooth and even along all edges. It will help strengthen your seam and make it look professional. Moreover, it will help ensure your finished project looks its best.
Step 9. Topstitch Around Corner:
Secure the seam by stitching around it 1/8” from its edge on either side using a straight stitch or a zigzag stitch for extra strength. This will help prevent fraying and give your project a professional finish. Keep your stitches as even as possible.
Step 10: Enjoy!
Congratulations – you’ve just learned how to sew rounded corners! Now that you know this knowledge, it’s time to start creating beautiful projects with perfectly rounded edges. Have fun, and enjoy the process of learning new sewing skills! Remember, practice makes perfect.
This is the end of our guide on sewing rounded corners. We hope this article has helped teach you the basics of this technique, and we wish you all the best in your upcoming sewing projects!
6 Things You Should Avoid
1. Skipping the pinning process. Before you start sewing, take the time to pin the fabric together. Not only will this ensure your pieces line up correctly, it will also help define the rounded corner shape and prevent any rippling when you stitch.
2. Rushing through the cutting process. Make sure to take your time and accurately trace out the curve of each corner with a marker or tailor’s chalk before you start cutting. It’s important to get this right in order to achieve a nice neat finish on your project.
3. Sewing too close to the edge of your fabric. Sewing too close can cause puckering and pulling in your fabric when pushing into tight corners, which can spoil an otherwise perfectly finished piece of fabric.
4. Using too tight a stitch. Tight stitches can constrict the curve of your cornea and prevent it from turning out properly, so use a larger stitch size to ensure you get nice smooth curves when finished.
5. Not pressing the seam open. After you’ve sewn the two pieces of fabric together, press the seam flat and open using iron for a neat finish that won’t be lumpy or uneven when turned inside out later on in your project.
6. Not taking enough time. Sewing rounded corners can be tricky, so take your time to ensure you get it right. If you rush through this step, you may end up with uneven curves or unsightly bumps in your finished fabric.
By following these steps and avoiding these mistakes, you should be able to sew rounded corners that look professional and neat easily. With these tips in mind, you’ll be able to sew rounded corners like a pro!
5 Additional Tips and Tricks
1. Use a quilter’s ruler when cutting out the curves. This will help you get an accurate shape without jagged edges or uneven lines.
2. If you’re not confident in freehanding your curves, draw on cardboard templates first and use these as guides when marking out and cutting your fabric.
3. When sewing around corners, make sure that your needle is down into the fabric before pivoting around the corner for extra stability and support while stitching.
4. Add reinforcing stitches into tight corners for added strength and durability when turning right side out later on in the project.
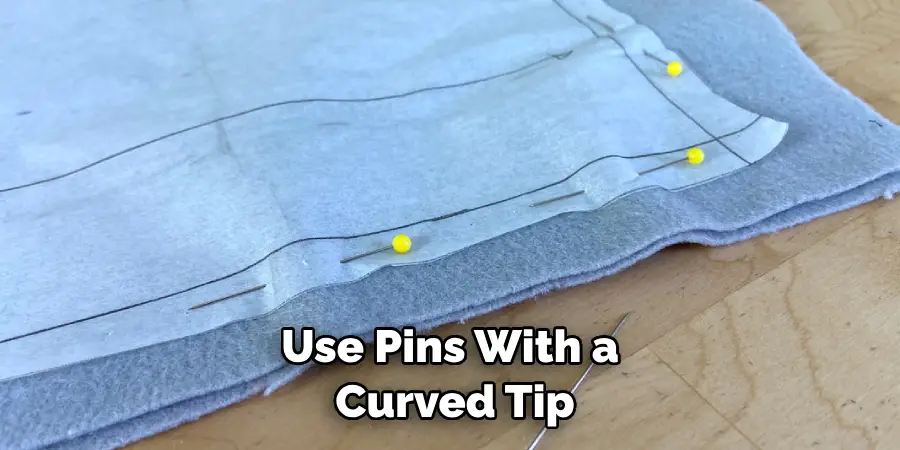
5. Use pins with a curved tip to hold layers of fabric together that have been cut at an angle or curve. These are much easier to maneuver around tight corners than straight pins.
Follow these tips and practice your stitching skills for better results every time you sew rounded corners. Happy crafting!
How Do You Sew Round Edges by Hand?
If you don’t own a sewing machine, or if the project requires more precision than a machine can offer, hand sewing round edges are the way to go. The best way to sew around curves and corners is to use small whipstitches. Start by marking the curve of each corner with the tailor’s chalk before cutting out your fabric pieces.
Then, when joining the two layers of fabric, make sure the pins are inserted perpendicularly so they won’t get stuck in tight places. When it comes to stitching, use a running stitch for most of the seam but switch to whipstitches when reaching a corner or curve. This will allow you to pivot smoothly without any puckering or wrinkles on the finished product.
When you’re done stitching, press the seam open and flat with an iron to get a nice smooth finish before turning right side out. With practice, you’ll be able to sew round edges like an expert!
What is French Curve in Sewing?
French curves are used in sewing to create smooth rounded edges on fabric pieces. The tool consists of a curved metal template used to trace out shapes and lines onto fabric before cutting it out.
French curves can be used for all sorts of projects, from creating patterns for garments to making home decor items such as curtains or cushion covers. When using this tool, make sure that you take your time and use gentle pressure when tracing the curve so that you get an accurate shape without any jagged edges or uneven lines.
Additionally, it’s a good idea to use a tailor’s chalk or marker when tracing out the curve, as this will help you to see the lines that need to be cut clearly. With French curves, you’ll be able to create perfect rounded edges on any sewing project!
How Can You Add Laces or Trims to A Seam?
Adding laces and trims to a seam can be a great way to add some extra pizzazz to your project. Commonly used in garments such as dresses and tops, this technique can also be applied to any sewing project that requires decorative details.
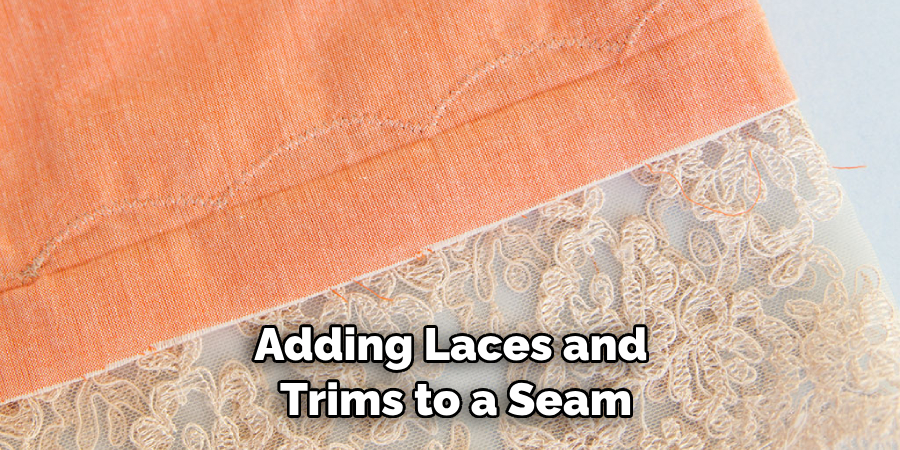
To start, measure out the desired length of trim or lace you’d like to use and cut to size. Position the trim or lace along the edge of the seam, making sure to leave a 5mm allowance for stitching. Pin the trim in place before sewing it down using small stitches around 1-2mm apart. This will ensure that it stays securely attached no matter how much wear and tear your project goes through.
When finished, press over the seam with iron on either side of the trim or lace for a neat finish. Following these steps, you can easily add laces and trims to any seams for beautiful garments that stand out!
Conclusion
Sewing rounded corners, though it requires more patience and effort than squaring off the sides of a project, is an easy way to add a unique flair to any handmade item. Giving the corners of your projects a rounded finish doesn’t have to be hard—follow the steps outlined in this blog post, and you can create beautiful rounded corner designs in no time.
With the right sewing tools and techniques, creating rounded corners on garments, accessories, and home decor projects is an inventive way to make each item extraordinary.
Hopefully, the article on how to sew rounded corners has helped unlock the possibilities of your next sewing project.
So have some fun with fabric, get creative with colors, and give those edges a touch of something special—rounded edges!

