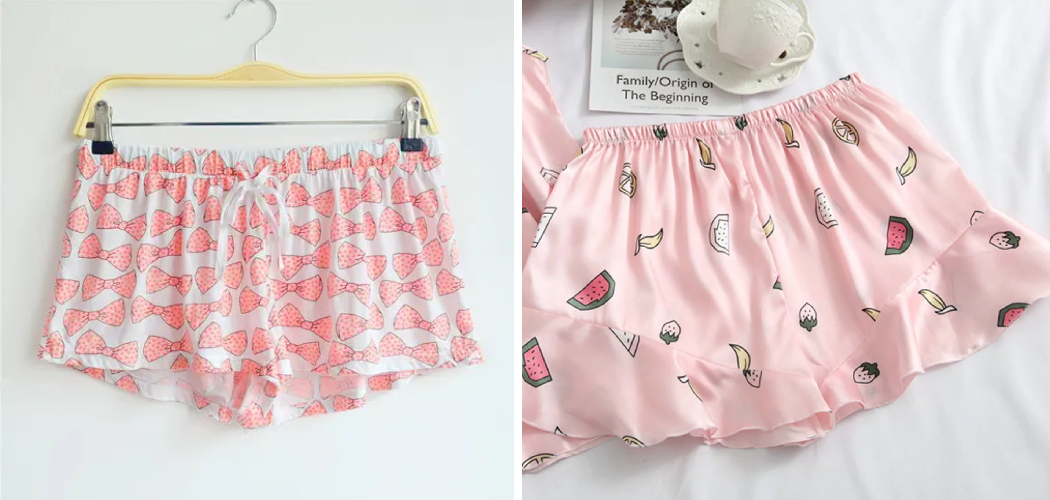
Welcome to the world of cozy and stylish comfort! In this article, we will guide you through the delightful process of crafting your very own pajama shorts. There’s nothing quite like slipping into a pair of soft, well-fitted shorts after a long day or to enjoy a lazy weekend morning.
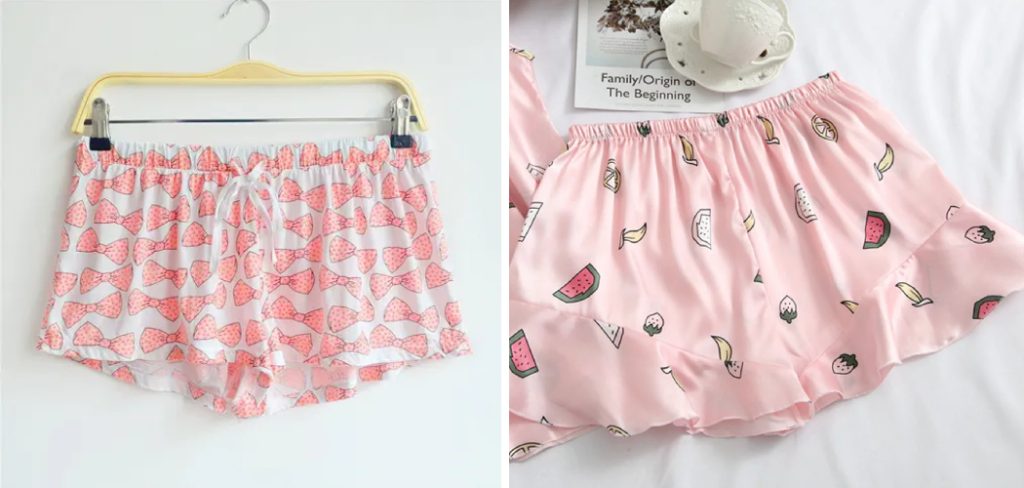
Whether you’re a seasoned sewing enthusiast or a complete beginner, making pajama shorts is a fun and rewarding DIY project that allows you to personalize your sleepwear to suit your unique taste and preferences. With just a few basic materials, some simple sewing techniques, and a pinch of creativity, you’ll soon have a collection of dreamy shorts to enjoy night after night.
So, let’s dive into the world of fabrics, patterns, and sewing tips as we embark on a journey to create the comfiest sleepwear you’ll ever own! Let’s get started on mastering how to make pajama shorts like a pro!
Importance of Comfortable Sleepwear
It’s no secret that the clothes we wear to bed can have a big impact on the quality of our sleep. If you’re looking for a way to improve your sleep, consider upgrading your pajamas!
Pajama shorts are an excellent option for those who want comfort and freedom while sleeping. Not only do they offer breathability and unrestricted movement, but they also allow you to keep cool during hot summer nights. With pajama shorts, you’ll be able to stay comfortable in any temperature.
Plus, they come in a variety of stylish designs so you can look good as you drift off into dreamland! Additionally, pajama shorts are great for lounging around and perfect for a lazy Sunday morning. Whether you’re getting ready for bed or relaxing on the weekends, pajama shorts will help keep you relaxed and comfy. So don’t forget to slip into a pair of pajama shorts when it’s time to catch some Zs!
By investing in quality sleepwear, such as pajama shorts, you can rest assured that you’ll be sleeping soundly throughout the night. With the right clothing choice, sleep doesn’t have to be uncomfortable or difficult. Instead, your nights can become more enjoyable with comfortable garments like pajama shorts. Not only do they look good but they’ll also feel good too!
Benefits of DIY Pajama Shorts
Making your own pajama shorts can be a fun and rewarding experience. Not only is it great for customizing the look of your sleepwear, but there are some other notable benefits too. Here are three reasons why making your own pajama shorts might be a worthwhile endeavor:
1. Save Money
Making your own pajama shorts can save you money compared to buying them from a store. All you need are some fabric, thread, scissors, and a sewing machine or needle and thread to get started. You may already have these items in your home so you could end up spending very little on supplies if not nothing at all!
2. Personalize Your Look
Another great benefit of DIYing your own pajama shorts is that you can create a look that is totally unique to you. You can choose the fabric, color, and patterns to make something truly special. Not only will it be one-of-a-kind but you’ll also enjoy wearing something that reflects your individual style.
3. Feel Accomplished
Finally, making your own pajama shorts gives you a sense of accomplishment when they are finished. It can take some time and effort but it feels so rewarding when you get them completed and can wear them with pride knowing that you made them yourself! Plus, if anything needs adjusting or fixing in the future, it’s easy for you to tweak since you have all the materials.
Making your own pajama shorts is an enjoyable activity that can save you money, allow you to customize the look of your sleepwear, and give you a sense of accomplishment when they are finished. So why not give it a try? With the right supplies and instructions, anyone can make their own cozy pajama shorts in no time!
10 Steps How to Make Pajama Shorts
Step 1: Gather Your Materials
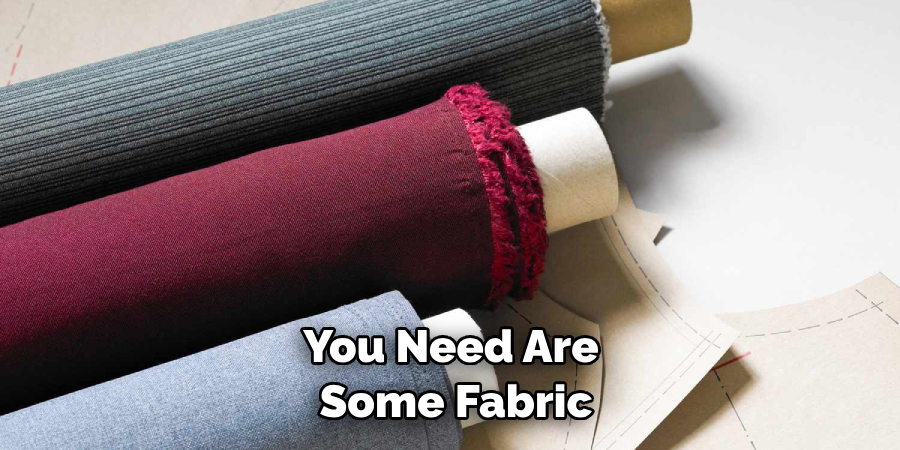
To begin your journey in crafting the perfect pajama shorts, gather all the necessary materials. Head to your local fabric store or explore online options to find the ideal fabric for your sleepwear. Consider soft and breathable materials like cotton, flannel, or jersey knit to ensure ultimate comfort during your slumber.
Additionally, choose a waistband elastic that is both comfortable and has a good stretch. Select a thread that matches the color of your chosen fabric, ensuring a seamless finish.
Step 2: Take Your Measurements
To achieve the perfect fit for your pajama shorts, take accurate measurements of your waist, hips, and the desired length for the shorts. Ensure the measuring tape is snug but not too tight to get precise numbers.
Add extra inches to your measurements for seam allowances and ease, as this will grant you enough room to move comfortably while sleeping. Jot down your measurements to refer to throughout the sewing process.
Step 3: Create Your Pattern
Now that you have your measurements, it’s time to draft your pattern on a piece of paper. Take your time and be precise in creating both the front and back pieces of your shorts. Adjust the width and length accordingly to match your preferences, and don’t forget to add seam allowances (usually ½ inch) around the edges of your pattern. Double-check your pattern’s accuracy before proceeding.
Step 4: Cut Out the Fabric
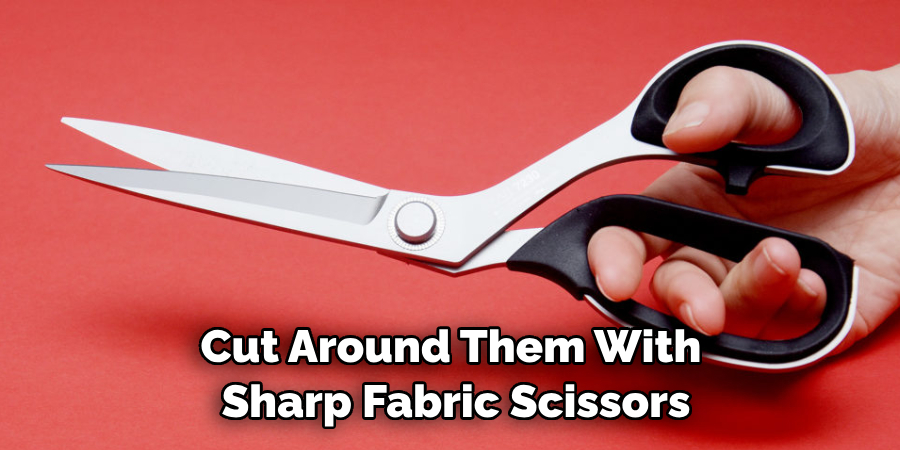
Lay your chosen fabric flat on a clean, spacious surface. Pin your pattern pieces to the fabric securely and proceed to cut around them with sharp fabric scissors. Be attentive to ensure you have two front pieces and two back pieces, ensuring they are mirror images of each other. Taking your time during this step will lead to precise and well-aligned fabric pieces, making the sewing process much smoother.
Step 5: Sew the Side Seams
With your fabric pieces ready, it’s time to bring the shorts to life. Begin by pinning the front pieces together along the side seams, ensuring the right sides of the fabric are facing each other.
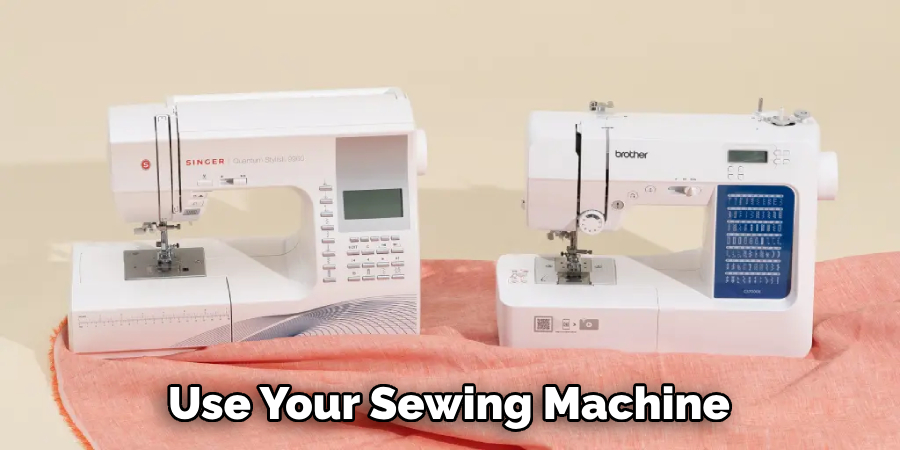
Repeat the process for the back pieces. This step will form the basic structure of the shorts. Utilize a straight stitch on your sewing machine to sew the side seams from the waist down to the hem. Once complete, use an iron to press the seams open, creating a neat and professional finish.
Step 6: Sew the Inseams
Continuing from the previous step, it’s time to work on the inseams. Once again, pin the front and back pieces together, this time along the inseams, ensuring the right sides are facing each other.
Sew from the crotch down to the hem on both sides. The inseams play a crucial role in determining the shorts’ overall fit, so sew with precision and accuracy. After sewing, press the inseams open with an iron to create a smooth and comfortable fit.
Step 7: Create the Waistband Casing
The waistband casing will provide a secure and comfortable hold for the elastic. To create this casing, fold over the top edge of the shorts by about 1 inch to the inside. Ensure the fold is even and consistent throughout.
Pin the fold in place to keep it secure, then use your sewing machine to stitch around the bottom edge of the fold, leaving a small opening to insert the elastic later.
Step 8: Insert the Elastic
With the waistband casing ready, it’s time to insert the elastic. Take a piece of waistband elastic that fits comfortably around your waist, and attach a safety pin to one end. This will aid in threading the elastic through the casing.
Carefully guide the elastic through the casing, making sure not to twist or bunch it. Once both ends of the elastic emerge from the opening, overlap them to achieve the desired waist size. Sew the ends together securely, ensuring the elastic is flat and free from twists. Close the opening in the casing by stitching it closed.
Step 9: Hem the Shorts
To complete the bottom edge of the shorts, it’s time to hem them. Start by folding the bottom edge over by approximately ½ inch to the inside. Use your iron to press the fold and keep it in place. Next, fold the edge over again by another ½ inch, enclosing the raw edge of the fabric.
Pin the fold in place, ensuring the fabric is smooth and even all around. Use a straight stitch on your sewing machine to secure the hem in place, leaving no raw edges exposed. This meticulous hemming step adds a polished touch to your pajama shorts.
Step 10: Finishing Touches
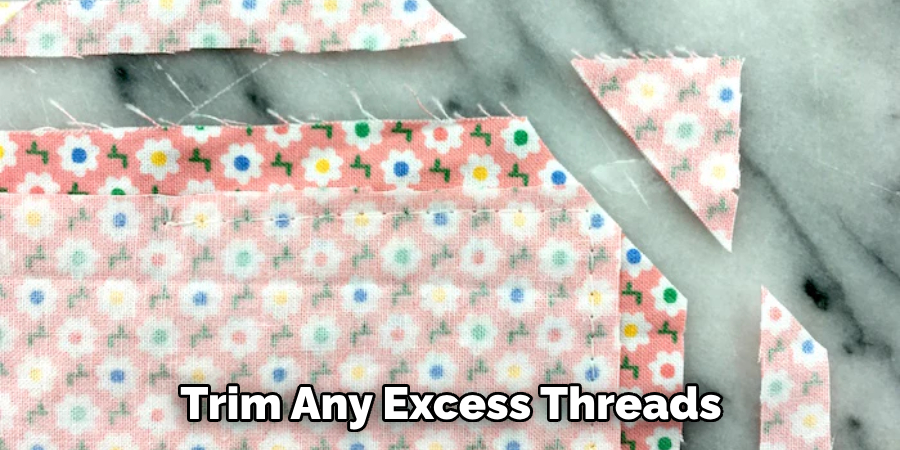
Now that your pajama shorts are fully assembled, it’s time to give them a final touch. Take your time to inspect the shorts for any loose threads or imperfections. Trim any excess threads with a sharp pair of scissors to achieve a clean and professional appearance.
Lastly, press your completed pajama shorts with an iron to remove any wrinkles or creases that may have formed during the sewing process.
Some Common Mistakes to Avoid When Making Pajama Shorts
1. Not Taking Proper Measurements:
It is important to take accurate and up-to-date measurements of your body to ensure the shorts you make fit properly.
2. Cutting Too Much Fabric:
Before you begin cutting, be sure that you have enough fabric for your pattern pieces and not too much excess that will need to be discarded.
3. Oversleeping the Hems:
When sewing a hem on pajama shorts, it’s best to use a minimal amount of stitching so as not to add bulk or weight which can make them uncomfortable when wearing.
4. Not Finishing Raw Edges:
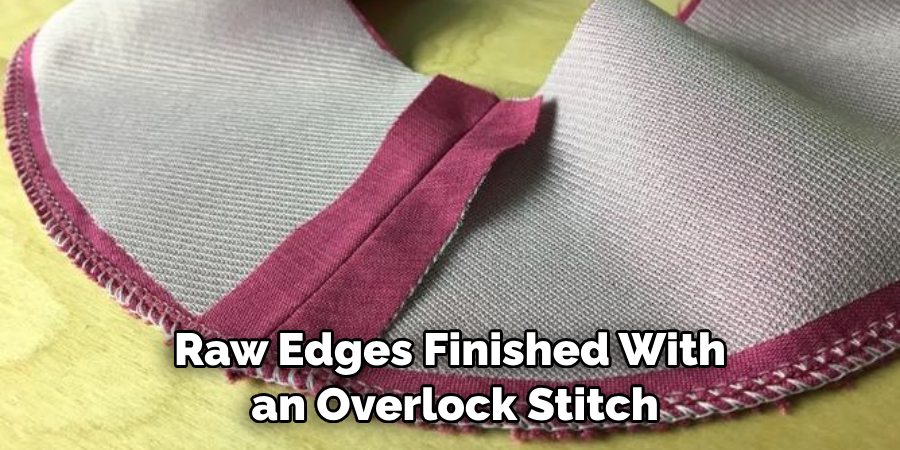
All fabrics should have their raw edges finished with an overlock stitch or serger before being sewn together in order to prevent fraying.
5. Not Testing the Fit:
Before finishing up your project, be sure to give it a try on to ensure the fit is comfortable and adjust where needed. This will help you avoid any disappointment when all the hard work has been done!
Conclusion
All in all, learning how to make pajama shorts is an easy and rewarding task that can be completed with items found around the house. No matter how you style your pajama shorts, having a DIY mindset is the key to creating something truly unique. You can take inspiration from other projects or come up with your own creative solutions.
The possibilities are endless when making something from scratch! Now that you have some tips for making pajama shorts, why not give it a try? Grab an old pair of jeans and get started sewing so you can have comfy and stylish sleepwear in no time!

