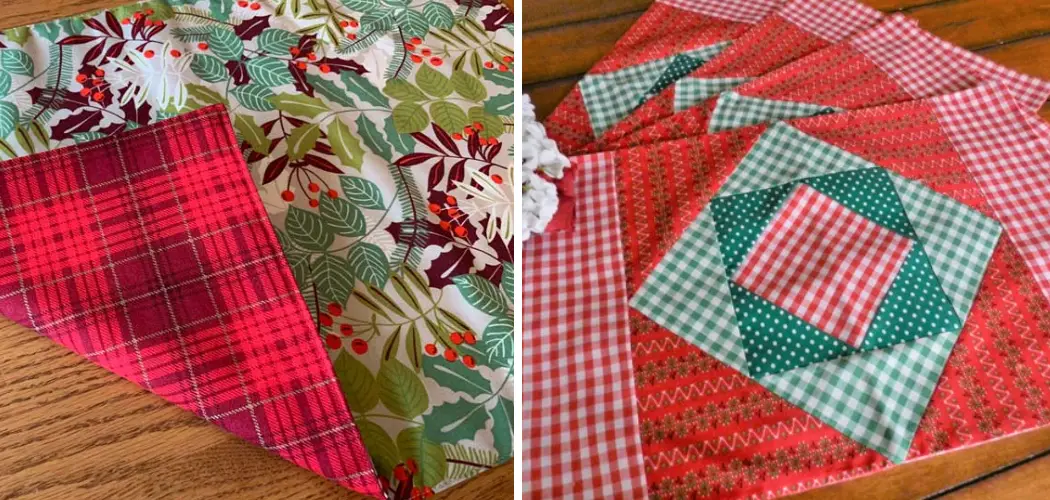
Are you looking for a creative way to add some pizazz to your dining room tablescape? Then consider learning how to sew placemats with batting! This easy tutorial will not only provide you with useful skills, but it is also an inexpensive way to revamp your table settings.
From double-fold bias tape and batting fibers to sewing pins and thread color matching – every detail matters when creating the perfect placemat set that’ll impress your dinner guests.
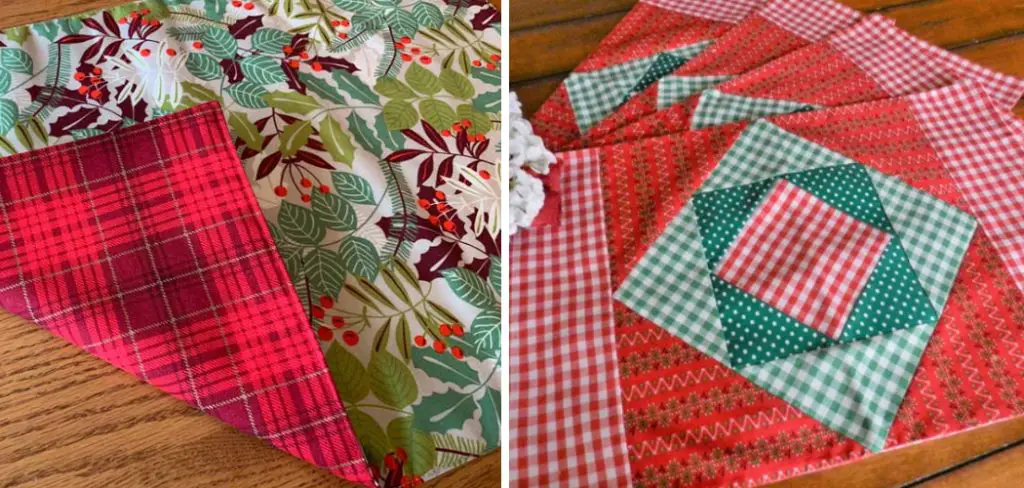
Read on for all the tips and tricks you need — from cutting fabric patterns accurately, marking seams properly, adding reinforcement along edges, and more — we’ve got each step covered in this comprehensive guide! So grab your favorite fabrics of choice; pull out those scissors and let’s get started on making picture-perfect placemats today!
Tools and Materials You Will Need to Sew Placemats With Batting
- The cotton fabric of your choice
- Batting fibers
- Double-fold bias tape
- Sewing pins
- Thread color matching the fabric of choice
- Ruler/measuring tape
- Marker/chalk pen
- Iron/ironing board
- Scissors
Step-by-Step Guidelines on How to Sew Placemats With Batting
Step 1: Cutting Fabric Patterns Accurately
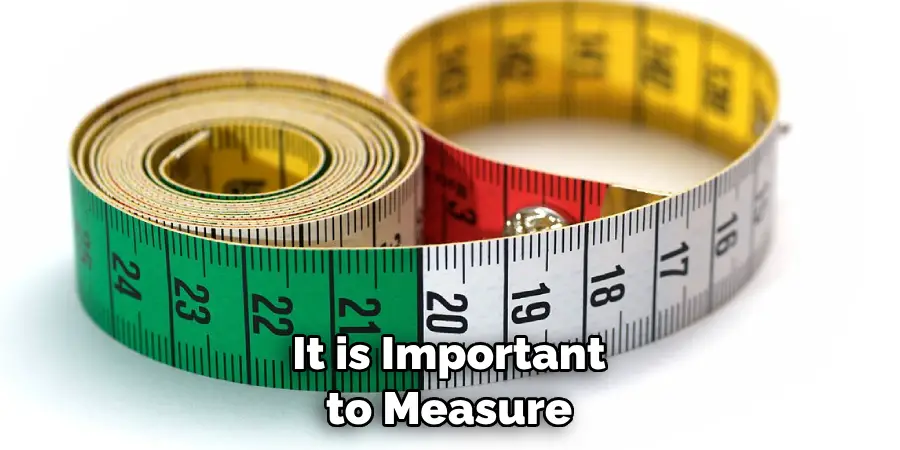
Before you begin sewing, it is important to measure and cut out your fabric patterns accurately. Cut the fabric into two pieces that measure 18” x 13” each (the finished placemat should be 17” by 12”). If you need to make a larger set of placemats, adjust the measurements accordingly. Also, make sure that the fabric grain runs parallel to the edges.
Step 2: Marking Seams Properly
Use a marker or chalk pen to draw a 1/4 inch seam allowance along each of the cut pieces with one side being equal in length. Make sure you mark the right sides of both cut pieces together so that all the edges match perfectly. While you’re at it, also mark the center of each piece.
Step 3: Adding Reinforcement Along Edges
Take one of the cut pieces and fold it in half along the marked edge. Secure it with sewing pins to add reinforcement along the edges. Cut a piece of double-fold bias tape measuring 1 1/2” wide, then press it with an iron over the folded edge. Now, stitch the bias tape firmly to the side with a straight line of stitches.
Step 4: Attaching Batting Fibers
Take one of the cut pieces and place it on top of some batting fibers. Secure it with sewing pins, then trim any excess fabric or batting that may be sticking out from the edges. Now, take the second cut piece that is marked with seams and place it on top of the batting fibers with the right sides together. Secure all edges by using sewing pins.
Step 5: Stitching Along Seams
Thread a needle with color-matching thread to the fabric of your choice and start stitching along each of the marked seams with small overcast stitches. Make sure you stitch both sides together, securing the batting fibers in place. This will create a pocket for the batting fibers. After stitching along all seams, trim off any excess threads.
Step 6: Finishing Placemats
Once your placemats are stitched along the seams, trim off any excess fabric and batting that may be sticking out from the edges. Your placemat should now measure 17” by 12”. To complete the placemats, press them with an iron to get a crisp and neat look.
Congrats! You completed your first set of creative placemats. Now that you know how to sew placemats with batting, make more for yourself or give them as gifts to friends and family. Get ready to wow your dinner guests with these stylish placemats!
Additional Tips and Tricks to Sew Placemats With Batting
1. The batting for placemats should be cut to the exact size of the linen before sewing. This will help ensure a smooth finish and prevent any wrinkles or puckering after stitching.
2. When sewing layers together, it is important to use a larger stitch length than normal. This will help keep all edges securely stitched together without bunching or pulling at the batting material.
3. If using a thinner batting, use an adhesive spray to keep the layers together while sewing. This will help prevent any shifting of the fabric during stitching and make sure all seams are even and neat when finished.
4. When pressing your placemats with an iron, use a light steam setting or low heat to minimize any damage to the batting material.
5. When sewing the edges of your placemats, use a rolled hem stitch for a smooth finish. This will also help keep the edges neat and secure against any wear or tear.
6. It is important to test out your batting material before proceeding with the project. This will allow you to make sure it works for your desired look and shape before cutting and stitching everything together.
7. To give your placemats a professional touch, you can top stitch around the perimeter of the placemat to add a bit of extra decoration and detail. This will also help keep the edges secure for longer-lasting use.
8. If you want to make a placemat set, consider making them reversible so each side has its own unique look and design. This is an easy way to give your placemats more depth and style without too much extra effort.
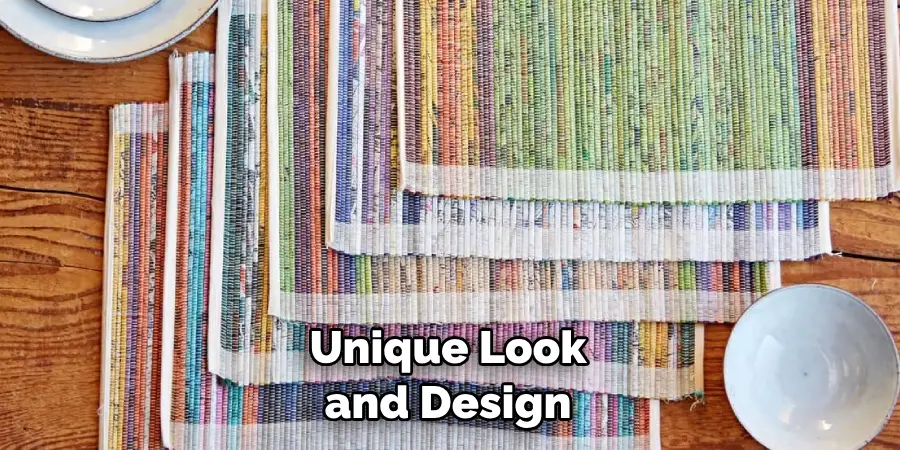
9. Consider adding quilting or other decorative stitches to give your placemats a personal touch. This is a great way to add texture and interest without having to buy any extra supplies or materials.
10. Finally, consider making several placemats as a set. This will ensure that all of your placemats match and fit together perfectly for a cohesive look.
Following these tips and tricks will help you create beautiful placemats with batting that are durable and long-lasting. With a bit of practice, you’ll be able to make professional-looking placemats without any extra hassle or stress. Happy sewing!
Precautions Need to Follow for Sewing Placemats With Batting
1. Make sure that your workspace is well-lit and tidy. You don’t want any fabric or batting getting in the way of your work.
2. If you’re using a regular sewing machine, make sure that the presser foot is correctly attached to the machine. Otherwise, your stitches won’t be even and neat.
3. Place the batting between two pieces of fabric and pin them together so the layers stay in place while you sew them together.
4. Start from one corner and slowly move along the edges, making sure to backstitch at the end. This will ensure that your placemat is securely stitched together.
5. When you’re done sewing, trim off any excess batting or fabric from the edges of your placemat. You can also use an iron over a pressing cloth to flatten out any wrinkles in the fabric.
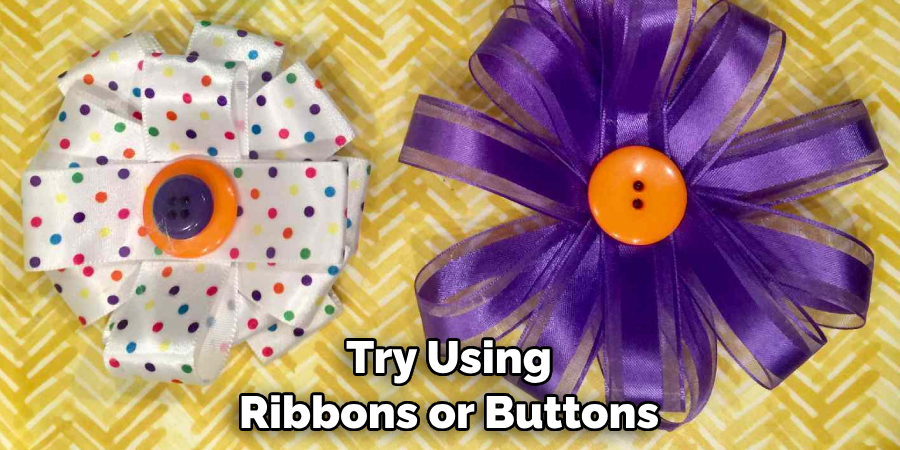
6. If you want to add a decorative element, try using ribbons, buttons, or other embellishments. Sewing these onto the placemat is a great way to make it more unique and eye-catching.
7. When you’re done with the placemat, place it in your washing machine on a gentle cycle with mild detergent. Dry it on a low heat setting or let it air-dry.
By following these precautions, you can make sure that your placemat looks its best and lasts longer. Have fun sewing and don’t forget to share your creation with us on social media! We’d love to see what you come up with. Happy crafting!
Frequently Asked Questions
Where Can I Buy Batting?
Batting is available in many craft stores or online. Make sure to check the label for the type of batting recommended for your project, as not all types are designed to be used in the same way. Some brands specialize in specific types of batting, so it is important to read the instructions and choose a suitable one.
Do I Need Special Supplies to Sew Placemats With Batting?
You will need some basic supplies to sew placemats with batting, such as fabric, thread, a sewing machine, and pins. If you are using a thicker type of batting than usual, it may require special needles for your machine in order to prevent the needle from breaking or jamming. Additionally, you should use an appropriate size stitch when sewing with heavier batting.
How Do I Cut the Fabric for My Placemats?
Before you begin sewing, it is important to make sure that your fabric is cut accurately. You can use either a rotary cutter or scissors to do this. If you are using a rotary cutter, be sure to use the appropriate cutting mat and ruler for accuracy. If you are using scissors, make sure to use a cutting board and straight edge to ensure your pieces are even.
Conclusion
All in all, knowing how to sew placemats with batting can be a great way to add creativity and unique style to any table setting. Be sure to read the instructions carefully, gather all the necessary supplies, and use accurate measurements when cutting your fabric for the best results. With just a few simple steps you will have beautiful placemats that are sure to impress your guests. Happy sewing!

