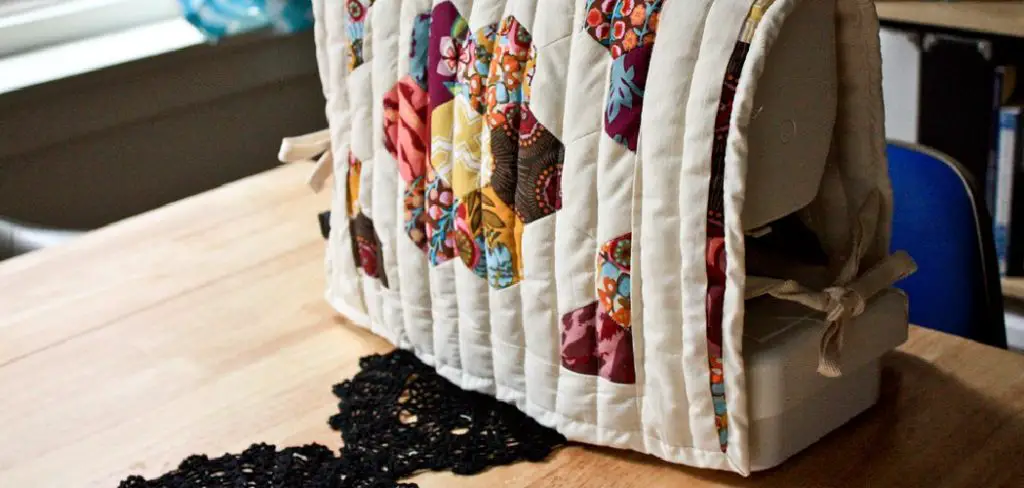
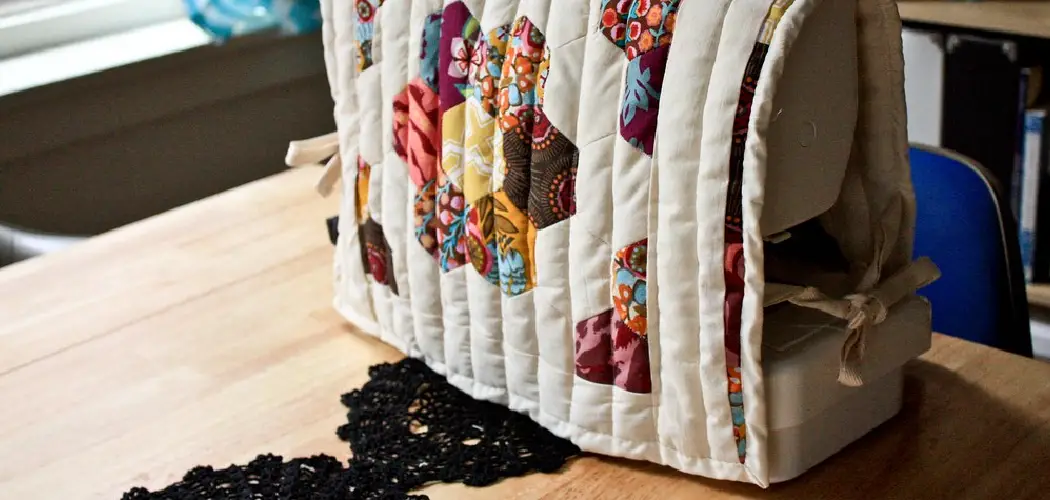
Are you a sewing enthusiast looking for an easy way to protect your beloved machine and keep it dust free? From quilting to making clothes, having access to a reliable sewing machine is essential. However, over time your machine can get worn down and may need extra protection.
In this blog post, we will show you how to make sewing machine cover for your sewing machine that will help ensure its longevity – perfect for sewers of all levels! By the end of this article, you’ll have not only figured out how to make an attractive cover but also what material and techniques are best suited for the job.

So let’s get started on creating something special that’ll keep your favorite projects humming along year after year!
Tools and Materials You Will Need to Make Sewing Machine Cover
- Fabric of your choice (enough to cover the surface area)
- Sewing machine and thread
- Pins and scissors
- Iron-on interfacing or foam batting
- Measuring tape or ruler
Step-by-Step Guidelines on How to Make Sewing Machine Cover
Step 1: Measure and Cut Your Fabric
The first step is to measure and cut your fabric for the cover. Measure the top, sides, and front of your sewing machine to determine how much fabric you’ll need. Cut out two panels (top and bottom) with the measurements. Measuring and cutting correctly is important. This will be the foundation for your cover and you want it to fit perfectly.
Step 2: Add Interfacing or Foam Batting
Adding interfacing or foam batting will give more structure and cushioning to your cover. This is especially important if you’re using lightweight fabric. Cut out two pieces of interfacing that match the size of your panel fabric. Iron or sew the interfacing onto the wrong side of one panel so that it’s firmly attached.
Step 3: Sew Pockets
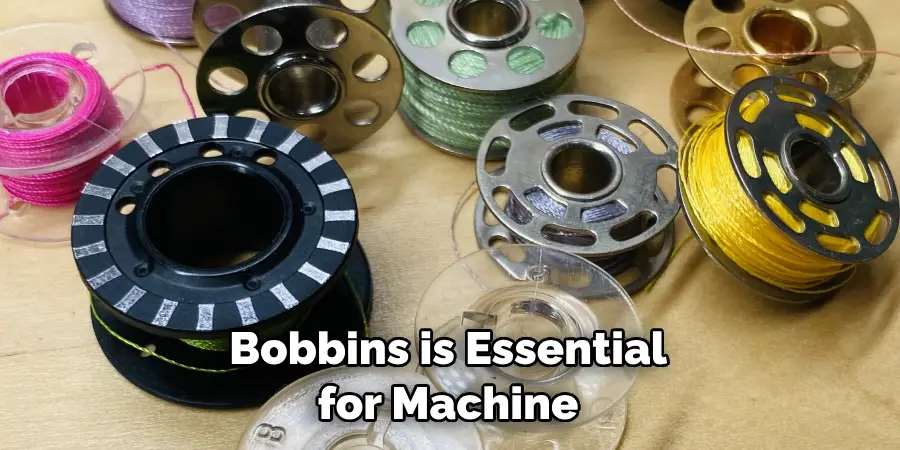
If you want to add pockets for storing items like sewing needles and bobbins, now is the time! Just mark out where you want your pockets and then use a contrasting thread to sew the pockets onto one side of the panel. While it’s not necessary, it does add extra convenience.

Step 4: Sew the Panels Together
Once the pockets are finished, you can start to sew your panels together. Place the panel with interfacing face down and then place the other panel on top of it with its right side facing up. Pin all around and then stitch the panels together, leaving a 2-3 inch gap for turning.
Step 5: Turn and Sew the Edges
Once your two panels are sewn together, turn it right side out through the gap. Use an iron to press and flatten the edges and then sew along the opening to close up the gap. Finally, fold over one side of the cover and top stitch all around. This will give your cover a neat finish and also keep it from fraying or warping over time.
Following these simple steps, you can make a sewing machine cover that will add extra protection to your machine. Whether you are an experienced sewer or just starting out, this project is sure to keep your beloved machine safe and dust-free!
Additional Tips and Tricks to Make Sewing Machine
1. Make sure to choose a fabric that is durable, such as canvas or cotton. Avoid fabrics like silk, which are more delicate and may not hold up as well over time.
2. If you’re looking for added protection from dust and dirt, consider using an interfacing material in between your fabric layers. This can help keep the cover from becoming damaged.
3. Consider adding a pocket or two to your sewing machine cover for extra storage. This is great if you need quick access to small tools or accessories, such as scissors and needles.
4. If you want to add some decorative accents, think about using ribbons or buttons for added embellishment. You can also add some embroidery or appliques to give your cover a unique touch.

5. Remember to measure your sewing machine before you begin sewing. This way, you can make sure that your finished product fits snugly and won’t be too small or too big.
6. Finally, consider adding a layer of batting or quilt wadding between the fabric layers for added cushioning and protection. This can help keep your sewing machine from getting scratched or damaged over time.
Following these tips and tricks will help you create a custom sewing machine cover that is both durable and stylish. With the right supplies and a bit of creativity, you can make sure your machine looks great for years to come!
Things You Should Consider to Make a Sewing Machine Cover
- Choose a fabric that is durable and easy to work with, like cotton or canvas.
- Consider the size of your sewing machine; you want to make sure your cover fits without being too loose or tight.
- Measure twice and cut once – it’s important to get precise measurements for this project if you don’t want to waste fabric.
- A good sewing machine cover should also be easy to remove and put back on; consider adding an elastic band or ties that will help to keep it securely in place.
- The pattern of your fabric can really help make the project more interesting, so don’t be afraid to pick out something bold and colorful.
- Lastly, remember to take your time and do a good job when making the sewing machine cover; it will be worth it in the end!
- Add an extra layer of protection by using batting material or foam inside the fabric for padding. This can help protect delicate parts from dust and other debris that might otherwise get inside.
- When attaching the fabric to the machine, make sure to use strong thread that can withstand wear and tear.
- Finally, if you want your cover to last for a long time, consider using interfacing material on both the inside and outside of your fabric for added reinforcement.

Following these considerations will help you make a beautiful and long-lasting sewing machine cover. Have fun experimenting with different fabrics and patterns to customize the look of your project! With a little patience and practice, you can be sure that the end result will be something you’ll love. Happy Sewing!
Precautions Need to Follow for Making Sewing Machine Cover
1. Always use heavy-duty fabric for your sewing machine cover. This will ensure that the cover lasts longer and provides a better fit.
2. Make sure that you have all of the necessary tools before beginning the project. These include scissors, pins, needles, thread, and measuring tape.
3. Measure the sewing machine accurately before you cut out the fabric for your cover. The measurements should include the length, width, and height of the machine. This will ensure that your sewing machine cover fits perfectly when it is finished.
4. Take extra care when cutting out the fabric pieces for your sewing machine cover. Make sure that you have straight edges and no jagged lines. This will make it easier to sew together the cover pieces later.
5. Once you have cut out the fabric pieces, pin them in place before sewing. This will ensure that all of the pieces stay in place while you are stitching them together.
6. Always use a thread color that matches or compliments your fabric. This will give your sewing machine cover a professional look when it is finished.
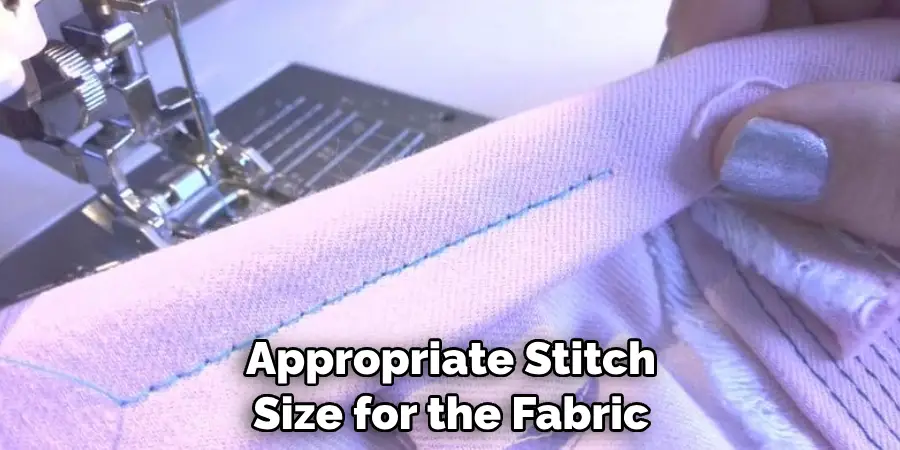
7. Use an appropriate stitch size for the fabric you are using. Too small of a stitch can cause the seams to pull apart and too large of a stitch can cause bunching on the cover.

Following these precautions can help ensure that your sewing machine cover comes out perfect every time. With the right materials and tools, you can make a beautiful and durable cover for your sewing machine that will last for many years to come. Happy crafting!
Frequently Asked Questions
How Do I Take Measurements for the Sewing Machine Cover?
It is important to take precise measurements of your sewing machine when making a cover. This will ensure that the cover you make fits your machine perfectly.
To measure, use a flexible tape measure and record the width, length, and depth of your machine. You should also take into account any buttons or features on the front panel so that those can be worked around when cutting out the fabric.
What is the Best Way to Cut Fabric for a Sewing Machine Cover?
When cutting fabric for a sewing machine cover, it is best to use sharp scissors or a rotary cutter. This will ensure that you get clean, even cuts with minimal fraying. Before cutting, make sure to iron out any wrinkles in the fabric so it lies flat. You can also use a fabric marker or tailor’s chalk to mark out the pattern pieces and make sure everything is in proportion.
How Do I Attach the Zipper to the Sewing Machine Cover?
Adding a zipper to your sewing machine cover is simple. Pin one of the ends of the zipper in place on one side of your fabric and sew it into place using a straight stitch. Then, pin the other end of the zipper in place on the other side of the fabric and stitch it securely. Make sure to backstitch at both ends and check that your zipper works smoothly before continuing with the rest of the project.
Conclusion
Knowing how to make sewing machine cover can be a great way to protect your machine from dust, dirt, and debris. It is important to take accurate measurements of the machine before cutting out fabric in order to ensure that the cover fits properly.
You should also select a sturdy yet flexible fabric for the cover. Finally, use sharp scissors or a rotary cutter to make precise cuts with minimal fraying. With these tips, you will be able to make a perfect cover for your sewing machine.


