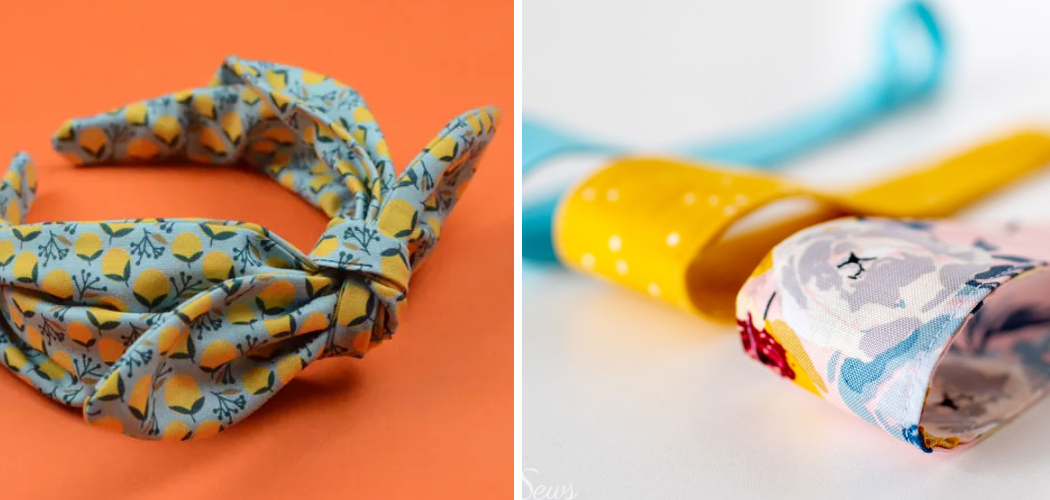
Are you tired of buying headbands from the store and want to try making your own? With minimal experience, materials, and time needed, sewing a custom headband is easy to add personalized flair to your wardrobe.
Whether you’re just starting or a seasoned pro, here are the steps to make your headband. Follow these simple steps, and you’ll be ready to show off your fabulous new headband in no time.
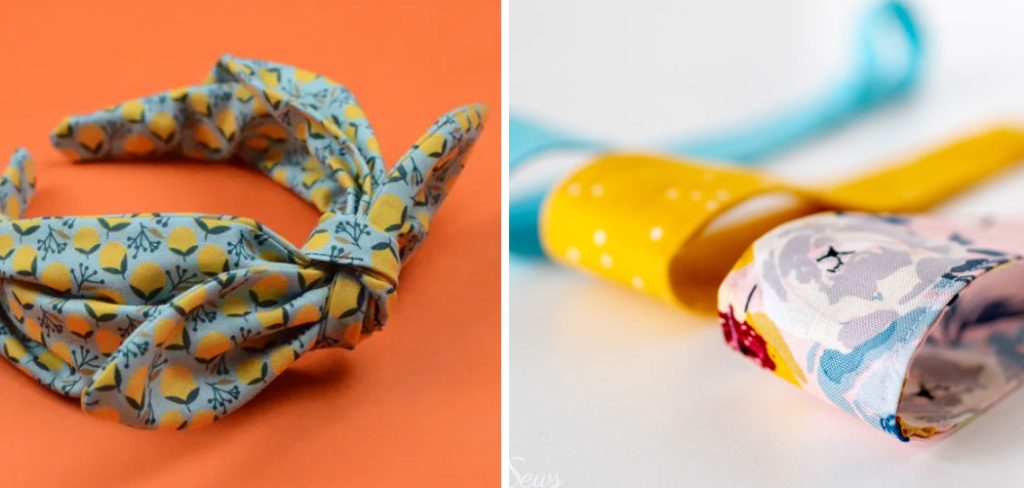
With our comprehensive guide on how to sew headbands, you’ll be creating homemade hair accessories in no time! Learn all there is to know about selecting fabric, understanding the pattern pieces, cutting out pieces accurately, and assembling them for a gorgeous finished project. Keep reading to find out how to sew a headband from start to finish.
What Will You Need?
- A headband pattern or craft template
- The fabric of your choice – cotton, jersey knit, velvet, felt, etc.
- Thread to match the color of your fabric
- Sewing machine and basic sewing supplies
Once you have all of the supplies and tools, it’s time to get started on your headband.
10 Easy Steps on How to Sew Headbands
Step 1. Preparing Your Pattern Pieces
First, start by printing a pattern piece for the headband and cutting out the fabric pieces according to their measurements. Measure twice, cut once! Your pattern piece must be accurate for the headband to fit properly.
Step 2. Preparing Your Fabric Pieces
Once you have your pattern pieces cut out, lay them on top of your fabric and trace them onto the wrong side of the fabric with a marker or tailor’s chalk. Then, make sure to add 1/4 inch seam allowances around all sides before cutting. Be careful when cutting your fabric and take extra care around the curves.
Step 3. Sewing the Pieces Together
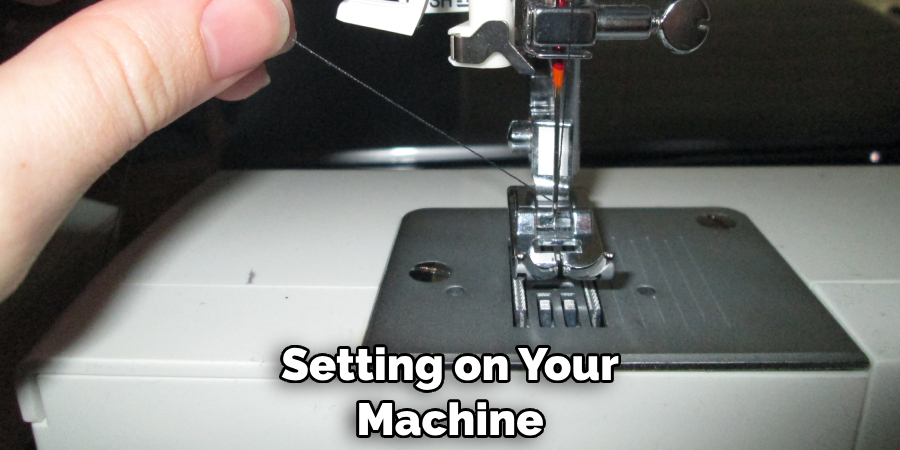
Now that your pieces are cut out, it’s time to sew them together! Begin by matching up the right sides of the two pattern pieces and pin them in place. Then, sew around the headband about 1/4 inch from the edge using a straight-stitch setting on your machine. Leave a 3-inch gap on one side of the headband open to turn it inside out later.
Step 4. Turning The Headband Inside Out
Once you’ve sewn the pieces together, carefully turn the headband inside out through the opening you left. Be sure to gently push out the curves of the headband with your fingers or a chopstick for a better shape. Additionally, tuck in the raw edges from the opening before you close it.
Step 5. Closing the Opening
Now that your headband is turned inside out, it’s time to close the opening. To do this, use a slip stitch to hand-sew the opening closed. Don’t worry if your stitches aren’t perfect, as they will be hidden inside the headband.
Step 6. Pressing The Headband
Once the opening is closed, press your headband with an iron to ensure all the seams are flat. This will also help create a professional-looking finish for your headband. Try using a pressing cloth when you press your headband so it doesn’t get too hot.
Step 7. Sewing the Ties
Now, it’s time to add the ties for the headband. Start by measuring out two strips of fabric about 1/2 inch wide and twice as long as the circumference of your headband. Then, pin them on either side of the headband and sew along each side with a straight stitch.
Step 8. Adding Elastic
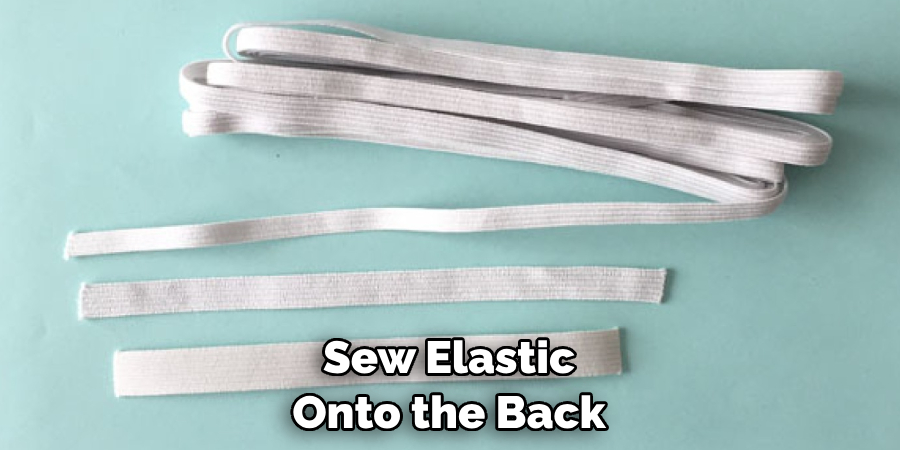
To add extra stability to the headband, you can also sew elastic onto the back of the headband. Start by measuring your head and cut out a piece of elastic slightly longer than your head’s circumference. Then, pin it in place on the inside of the headband and sew it in place with a straight stitch.
Step 9. Finishing The Edges
Now that your ties and elastic are sewn on, all you need to do is finish the band’s edges. To do this, simply fold over the edge of the headband about 1/4 inch and press it flat with an iron. Then, sew a straight stitch along the folded edge to finish it off.
Step 10. Adding Embellishments
Finally, you can add any embellishments to give your headband a personalized touch. Add buttons, beads, ribbons, or other decorative accents for extra style! Remember, have fun with this step, and be creative with your embellishments.
And there you have it! You’ve now created your very own custom headband in 10 easy steps. Whether you want to wear it yourself or gift it to someone special, your homemade headband will make a stylish statement. Now all that’s left is to show off your stunning new accessory!
5 Additional Tips and Tricks
- When stitching your headband, use a knot or stitch to secure the end of your thread. This will keep the ends from fraying and coming undone.
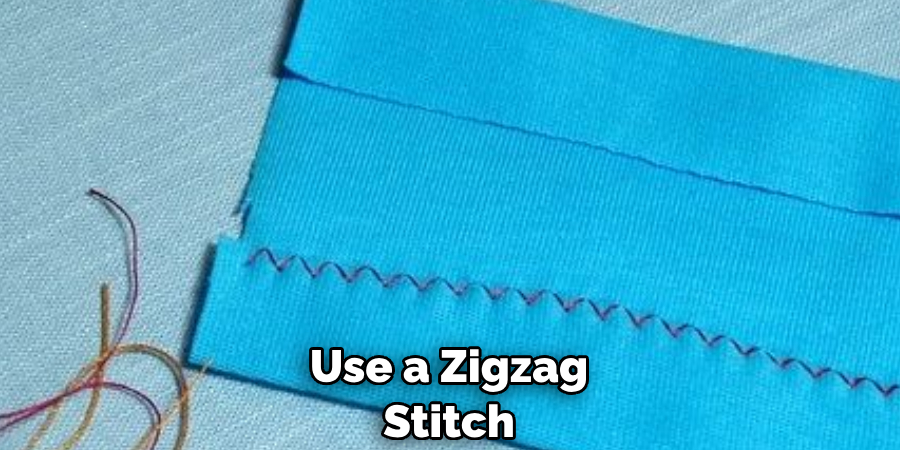
- Use a zigzag stitch when sewing around tight curves to ensure a smooth finish in your fabric.
- If you’re having trouble turning the band right side out, try using a safety pin to help push the fabric through.
- Using felt, use an iron-on adhesive to keep your headband together instead of stitching it. This will make it more durable and less likely to come apart.
- To finish off your headband, add a decorative button or applique for an extra pop of personality!
These tips and tricks should help you sew the perfect headband for your unique style. With a few simple steps, you’ll have a beautiful accessory that will last years! Happy crafting!
5 Things You Should Avoid
- Don’t forget to measure your head circumference before cutting the fabric for your headband. This will ensure that you have the right size and fit.
- Steer clear of stretchy fabrics when stitching a headband, as they are difficult to work with and can warp easily over time.
- Avoid using pins or needles while turning the band right side out. This can create holes in the fabric and weaken it.
- Don’t use too much thread when stitching your headband, as this can make the stitches too tight and cause them to break easily.
- Steer clear of using hot glue or other adhesives on felt headbands, as they will not hold up over time. Iron-on adhesive is much better for this purpose!
By avoiding these common mistakes, you can create a beautiful, durable headband that will last through wear and tear.
What Stitch is Best for Headbands?
The best headband stitch is straight, especially if you’re using thicker fabrics. This will ensure your stitches are secure and won’t come undone over time. You use a zigzag stitch to help the fabric lay smoothly if you’re stitching around curves or tight corners.
You can also use decorative stitches to add more personality to your headbands. Sew a decorative stitch along the band’s edges or use different colored threads for a unique look. With these tips, you can create a beautiful accessory showing your unique style!
How Can You Personalize Your Headbands?
Personalizing your headbands is easy and fun! You can add a decorative button or applique to the center for an extra pop of personality. You can also sew different colored fabrics to create a unique design or use different stitching patterns for a unique look.
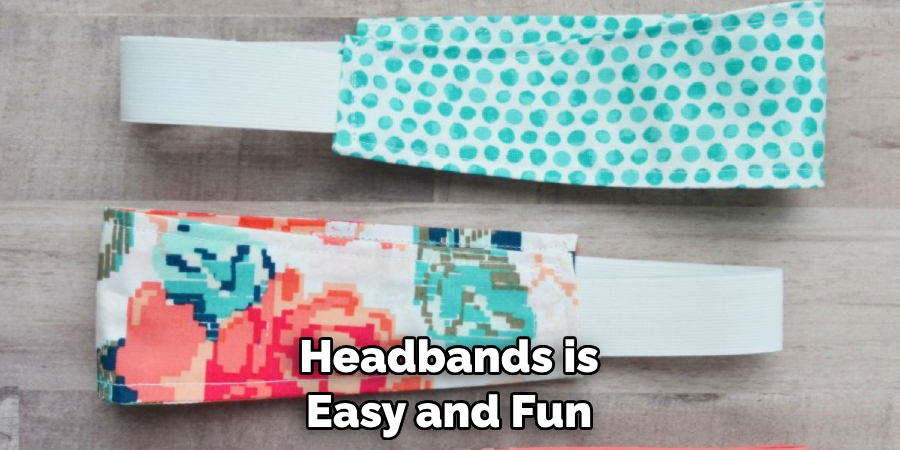
For an even more personal touch, try adding embroidery to your headband. Choose any pattern you like and embroider it onto the fabric for a truly one-of-a-kind look. You can also use fabric paint to add colorful designs or quotes if you feel extra creative!
You can easily create headbands that showcase your style using these tips and tricks. Have fun personalizing your headbands and show off your unique fashion sense!
Which Type of Hairband is Good for Hair?
The best type of headband for hair is made from a breathable fabric, such as cotton or linen. These lightweight fabrics won’t cause discomfort when worn for long periods. They also don’t absorb sweat, so you won’t have to worry about your hair becoming greasy or weighed down.
Felt headbands are also a great option for hair. They’re lightweight and breathable, plus they add texture to any hairstyle. Use thicker fabric like canvas or denim if you want more support and hold. This fabric will provide extra grip and keep your hair in place all day!
No matter what type of headband you choose, make sure it’s the right size for your head. It won’t be comfortable if it’s too tight or loose and may cause discomfort or headaches.
By following these tips, you can find the perfect headband for your hair to keep you looking and feeling great all day!
Conclusion
In conclusion, sewing headbands is an enjoyable and satisfying craft. Not only do you get to create something beautiful with your own two hands, but it also provides a great opportunity for self-expression.
Whether you choose to sew a simple design or go all out with sequins and crystals, your headband will be the statement piece of any desirably fashionable ensemble. And if you ever feel like trying something new, just remember that the sky is the limit when making unique and stylish headbands.
Hopefully, the article on how to sew headbands was helpful to you and has given you the confidence and motivation to begin your project.
So why break out the needle and thread and see what possibilities emerge? With a little patience and practice, you, too, can easily make your stylish handmade headbands in no time!

