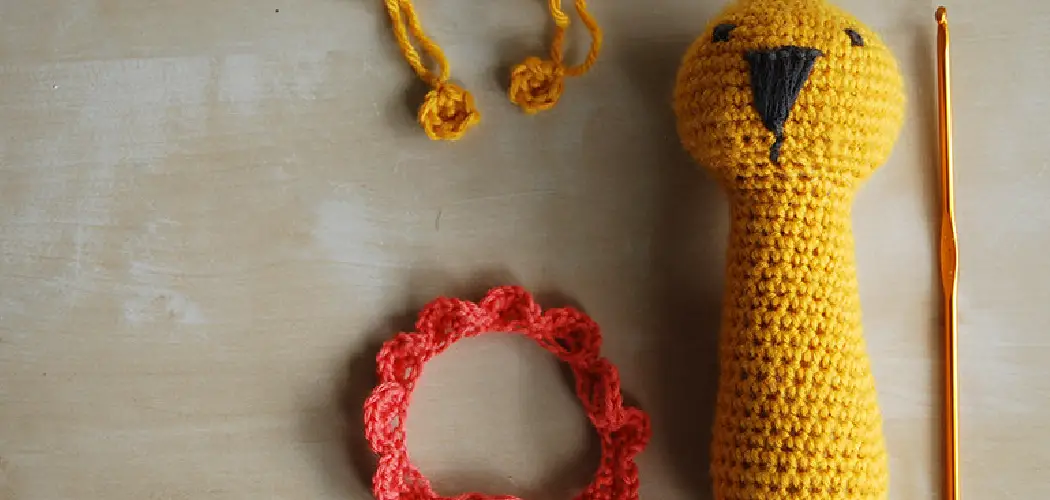
Amigurumi, the Japanese art of crocheting or knitting cute stuffed toys, has become increasingly popular in recent years. From adorable animals to cartoon characters, the possibilities are endless.
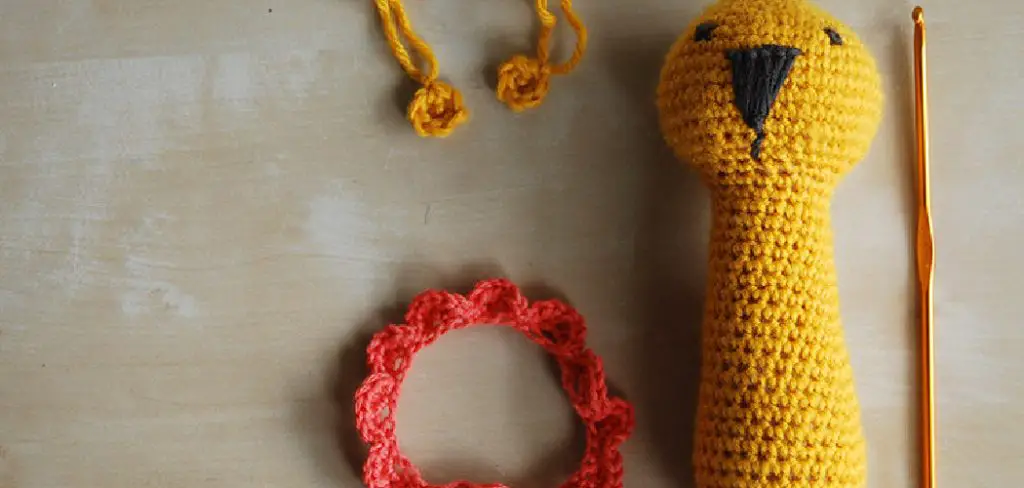
However, once you’ve crocheted all the pieces, the thought of sewing them together can be daunting. Don’t worry, though – sewing amigurumi can be just as fun! In this guide, we’ll go over step-by-step instructions on how to sew amigurumi together so you can create beautifully finished projects that are sure to impress.
Can You Sew Amigurumi Together?
Amigurumi is an exciting form of crochet that allows any crafter to create adorable and huggable characters. But the question arises: can you sew them together? The answer is yes! Sewing the pieces together takes patience and precision, but it’s not impossible.
The process involves aligning the edges of the pieces you want to join and stitching them with a tapestry needle and yarn. However, if you want to make your amigurumi seamless, you can use the invisible join method to achieve a perfect look. With a little practice, you can bring your amigurumi characters to life with sewn-together pieces that look like they were crocheted as one. So, put on your sewing hat and create some adorable amigurumi creatures!
Why Should You Sew Amigurumi Together?
For those who enjoy the challenge and rewards of knitting or crocheting, amigurumi is the perfect way to test your skills while also creating a cute and lovable toy. However, creating the individual parts is only the beginning of the process. To truly bring your amigurumi to life, it is important to learn how to sew the pieces together.
Not only does sewing allow for a sturdier and more secure finished product, but it also adds a level of personality and customization that cannot be achieved through only knitting or crocheting. You can experiment with different facial expressions, poses, and even clothing options by sewing your amigurumi together. Plus, the satisfaction of completing a fully assembled amigurumi is truly unbeatable.
How to Sew Amigurumi Together: A Step-by-Step Guide
Step 1: Tools You’ll Need
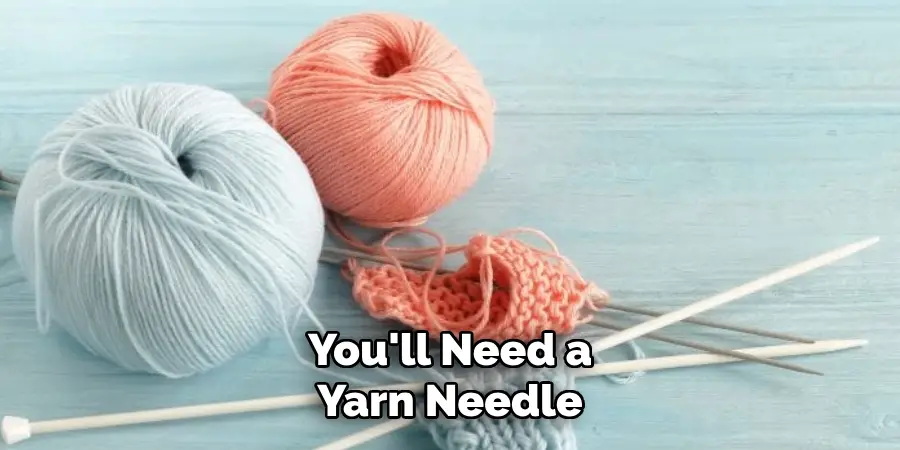
Before you get started, it’s important to gather the right tools. You’ll need a yarn needle, scissors, and pins. Some people prefer to use a curved upholstery needle, which can be helpful for certain shapes. Make sure to also have the yarn you used to crochet your pieces and any embroidery floss or other embellishments you plan to use.
Step 2: Plan Ahead
Before you start sewing, plan out how you want your finished product to look. Take the time to play around with the positioning of the pieces and ensure you’re happy with how they fit together. Pinning them in place can help. This way, you won’t have to undo your work if you’re unsatisfied with the final result.
Step 3: Choose Your Technique
There are a few different ways to sew amigurumi together, so decide which one works best for you. The whip stitch is the most common technique, which involves passing the needle through both pieces of fabric and then bringing it back out. The mattress stitch can also be used, which results in a nearly invisible seam. And for certain shapes, such as arms or legs, you can use the ladder stitch, which creates a neat, ladder-like seam.
Step 4: Follow the Pattern
If you’re using a pattern, always follow the instructions for sewing the pieces together. The designer may have specific tips or techniques for achieving the best result. Plus, it’s always good to double-check that you’re sewing the correct pieces together in the right positions. This will save you from having to redo any mistakes.
Step 5: Knot Your Yarn
Before you start sewing, make sure to knot your yarn. You don’t want your pieces falling apart after all your hard work! Leave a long tail when you cut the yarn so you have enough to work with. Then, tie a knot close to the end of the yarn. This will prevent it from slipping through the stitches and getting unraveled.
Step 6: Sew with Care
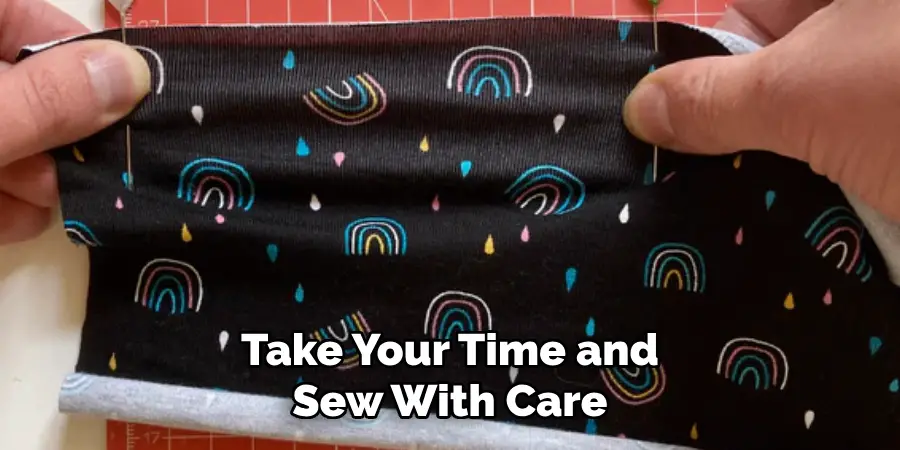
When sewing, be sure to take your time and sew with care. Try to keep your stitches consistent in size and tension. If you’re using a whip stitch, ensure the stitches are evenly spaced for a neat finish. And if you’re using a ladder stitch, try to keep the stitches small and tight. This will also help prevent any gaps or holes in your finished product.
Step 7: Finish Off
Once you’ve sewn all the pieces together, it’s time to finish off your work. You can either tie a knot at the end of the yarn and weave in the tail with your yarn needle, or you can make a hidden knot by passing the yarn through the stuffing and pulling it tight. This method creates a seamless finish without any visible knots.
5 Considerations Things When You Need to Sew Amigurumi Together
1. Choosing the Right Yarn
When sewing amigurumi together, it is important to choose the right yarn for your project. The yarn should be soft, durable, and easy to work with. Acrylic or cotton yarns are often recommended for amigurumi as they are affordable and come in various colors.
2. Matching Thread Color
To achieve a seamless finish, it is important to match your thread color to the color of your amigurumi. This will help hide any visible stitches and give your finished project a polished look. If you cannot find an exact match, choose a slightly lighter shade, as it will blend in better than a darker shade.
3. Using the Correct Stitch
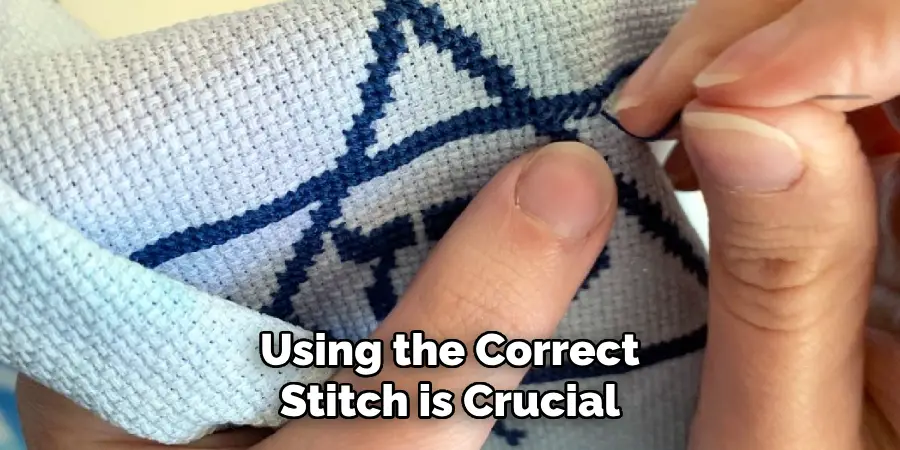
When sewing amigurumi together, using the correct stitch is crucial for achieving a neat and sturdy finish. The most commonly used stitch for joining pieces is the whip stitch, which involves weaving the needle in and out of both pieces of fabric. It is important to keep your stitches tight and even for a clean appearance.
4. Stuffing Properly
Before sewing your amigurumi pieces together, make sure they are properly stuffed with fiberfill or stuffing of your choice. Overstuffing can result in lumpy or uneven seams, while under-stuffing can cause gaps between pieces or an overall flimsy appearance.
5. Paying Attention to Details
When sewing amigurumi together, it is important to pay attention to small details such as placement and symmetry. Take time to align each piece correctly before securing them with stitches. This will ensure that your finished project looks just as you envisioned it and has a professional quality finish.
Benefits of Sew Amigurumi Together
Creating amigurumi, the art of crocheted or knitted stuffed toys, can be a satisfying and therapeutic hobby. But did you know that sewing amigurumi together has even more benefits? First, it’s a great way to connect with other makers who love the craft. Gathering with others to share tips, exchange patterns, and admire each other’s work can be a fun social activity.
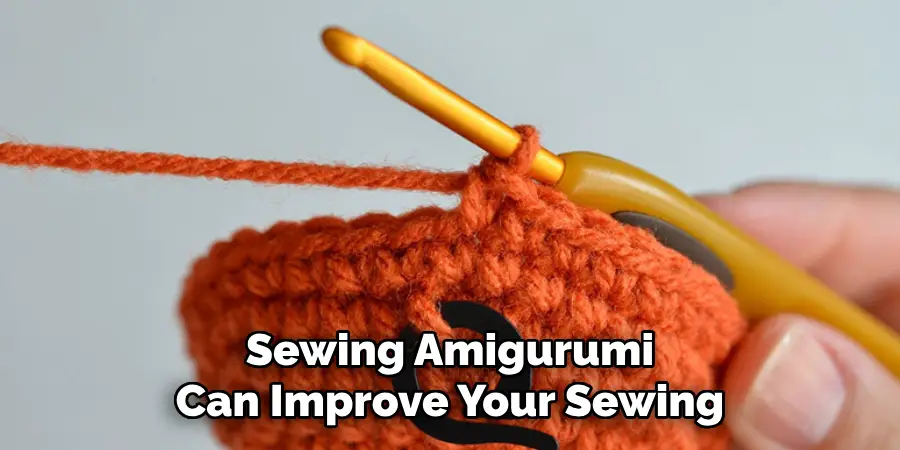
Additionally, sewing amigurumi can improve your sewing, crocheting, or knitting skills. Assembling the pieces correctly and evenly requires attention to detail and patience, skills that can translate into other areas of life as well.
Furthermore, seeing your creation come to life after all the pieces are put together can be deeply rewarding and boost confidence in your abilities. So, next time you reach for your hook or needles, consider the extra benefits of sewing amigurumi together.
4 Common Mistakes People Make When Trying to Sew Amigurumi Together
1. Not Using the Correct Stitch
One of the most common mistakes people make when trying to sew amigurumi together is not using the correct stitch. Amigurumi patterns often call for a specific type of stitch, such as the single crochet or slip stitch, to create a seamless and sturdy finish. Using the wrong type of stitch can result in a lumpy or uneven appearance and may cause your amigurumi to fall apart.
2. Skipping the Blocking Process
Blocking is an important step in creating amigurumi that have a clean and polished look. This process involves wetting your finished pieces and then shaping them with pins or other tools before allowing them to dry. It helps to smooth out any uneven stitches and gives your amigurumi a more professional finish. Skipping this step can result in misshapen or wrinkled amigurumi.
3. Not Stuffing Correctly
Proper staffing is crucial for creating well-shaped and firm amigurumi. Many people make the mistake of either overstuffing or understuffing their pieces, which can affect the overall appearance of their finished project. Overstuffed amigurumi may appear bulky and distorted, while understuffed ones may look flat and floppy.
4. Rushing Through the Sewing Process
Sewing together all of the individual pieces of an amigurumi can be tedious, but it’s important not to rush through it. Taking your time and paying attention to detail will ensure that your seams are neat and secure, giving your amigurumi a professional look. Rushing through this process can result in crooked seams or loose stitches that may cause your amigurumi to come apart over time.
Conclusion
Sewing amigurumi together doesn’t have to be intimidating. Anyone can create beautiful, finished projects with the right tools, planning, and technique. Remember to take your time, follow the pattern, and have fun adding your own personal touches. Soon, you’ll be well on your way to creating an ever-growing collection of adorable stuffed friends! Thanks for reading our post about how to sew amigurumi together.
Expertise:
Crafting expert with a focus on innovative techniques and diverse materials.
Specialization:
- Textile arts (weaving, embroidery, and fabric dyeing)
- Woodworking and furniture design
- Mixed media and upcycling projects
Recognition:
- Featured in local art exhibits showcasing innovative craft projects
- Collaborated with community organizations to promote crafting workshops
- Received accolades for contributions to sustainable crafting initiatives
Mission:
- To inspire and empower crafters of all levels to discover their creative potential
- Encourages experimentation and self-expression through hands-on projects

